Every time I bake a cherry pie, the song (you know the one) plays over and over in my head for days, non-stop. No kidding.
Every…single…time.
And, just when I’ve gotten it out of my head, I’ll offer a piece to someone and they’ll inevitably break out singing as if this will seem humorous or clever to me in some way. Now the song is stuck in my head for another three days (and long nights).
Thanks for that.
So, I figured I’d embrace it since you’d all be singing it anyway and just call it what it is. Because, in fact, she is MY cherry pie.
You’re welcome.
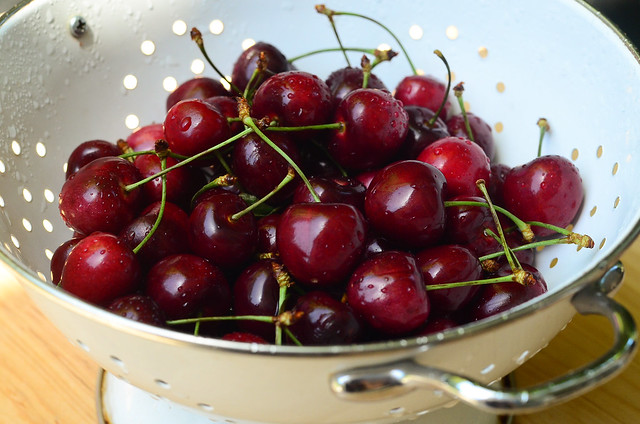
The stars of this show are dark, sweet cherries. There are many varieties and all would work wonderfully in this recipe. Bing cherries are very popular here in California but use what you can find. Just be sure you don’t choose sour cherries since they will not work as well here.
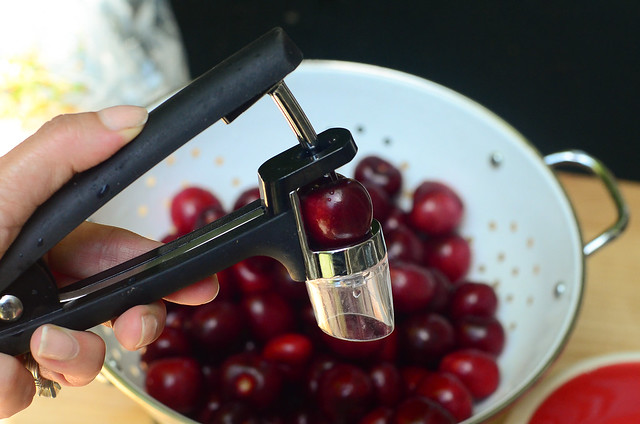
I’d like to introduce you to one of my all-time favorite kitchen tools, the OXO Cherry Pitter. I only use it a few times a year but it makes the process of pitting cherries so incredibly easy that it goes to the top of my list. If you are a fan of cherry desserts, I highly recommend you try one of these out.
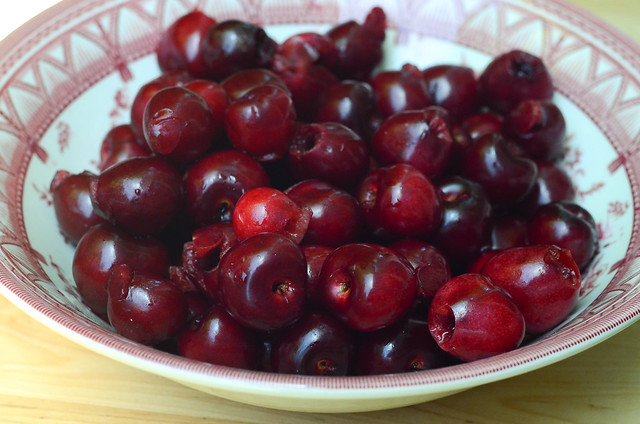
Remove the pits from about 3 cups of cherries.
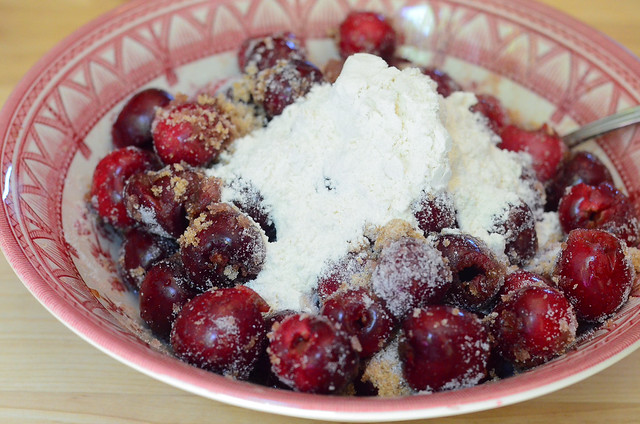
Add 1/4 teaspoon almond extract and 1/3 cup each of brown and white sugar. Gently toss and then add 1/4 cup flour.
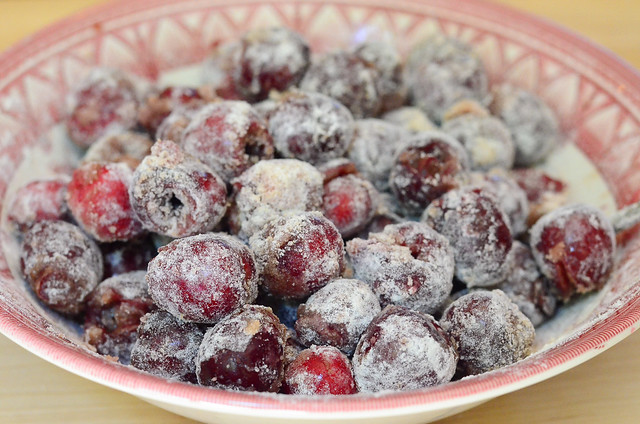
Gently mix until all the cherries are coated.
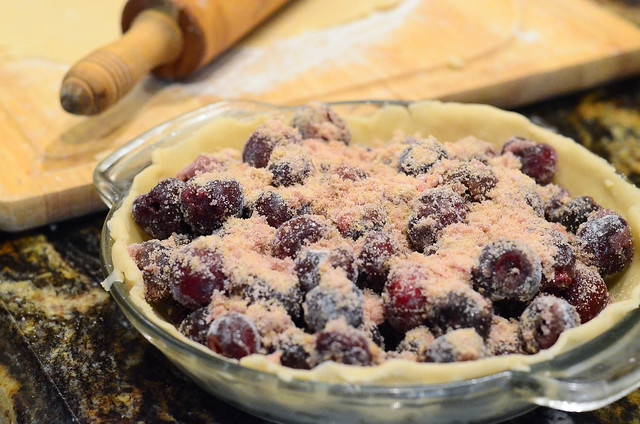
Pour the cherry mixture into a prepared pie crust. You can use your own special recipe, my recipe (click here), or even a store bought pie pastry. I won’t tell!
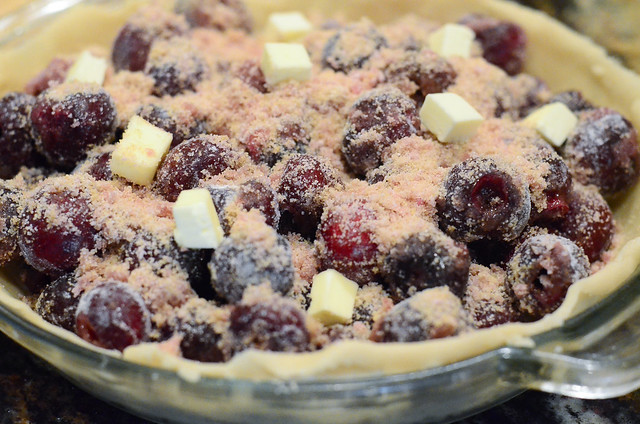
Cut about one tablespoon of butter into small pieces and drop them over the cherry pie filling.
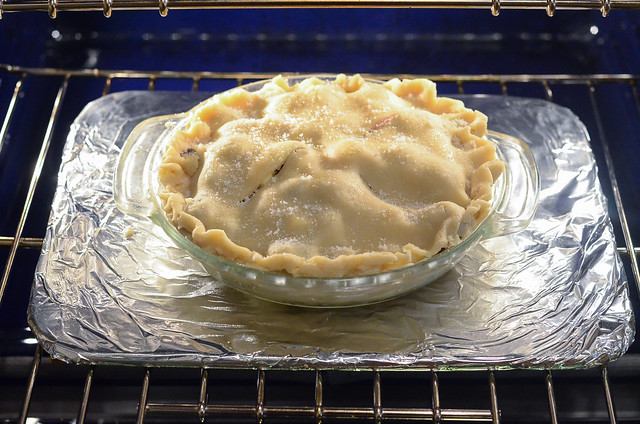
Cut some vents into the top crust, sprinkle it with a little white sugar and it’s time for the oven. I always bake my pies on one of the lower racks on top of an old pizza stone that I’ve covered with foil. The pizza stone heats up and ensures a nicely baked bottom crust and I’ve learned to cover it with foil in case anything oozes out during the baking process.

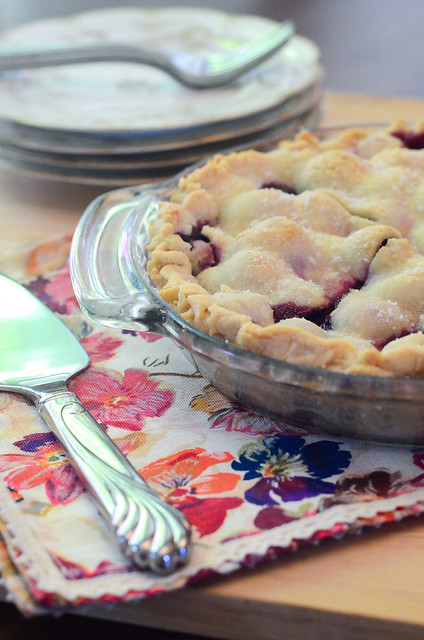
After about 35 to 40 minutes the filling will be bubbly and the crust will be a nice golden brown.
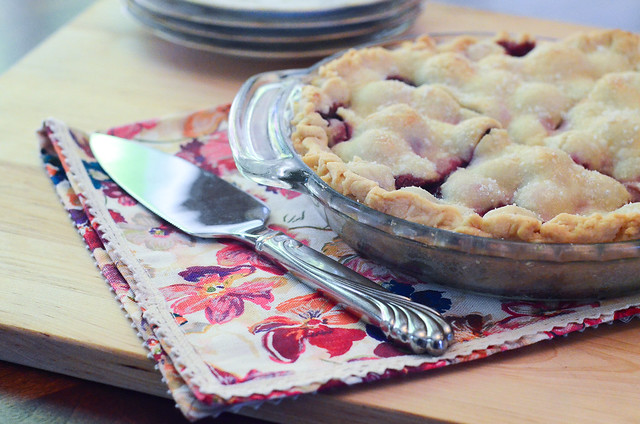
The key to the success of any cherry or berry pie is patience. It’s absolutely necessary to bake the pie the day before you want to serve it and allow it to sit for at least 24 hours before cutting into it. In this time, it will set up and you will get a nice clean cut when you serve it. If you’ve ever baked a cherry or berry pie and ended up with cherry or berry soup, you’ll know what I’m talking about here.
I also feel strongly that you must have vanilla ice cream on hand when you serve cherry pie. This is one of my core beliefs and I stand by it.
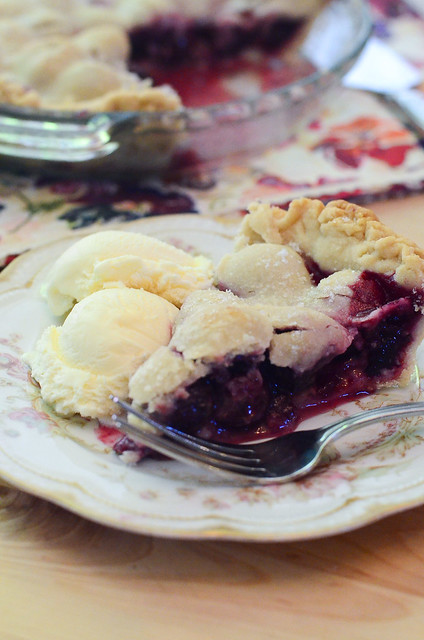
Tastes so good makes a grown man cry…Sweet Cherry Pie. Sing it!
She’s My Cherry Pie
Yield: One 9″ pie
Ingredients:
- 3 cups (approximately 1-1/2 to 1-3/4 pound) pitted fresh dark sweet cherries
- 1/4 teaspoon almond extract
- 1/3 cup brown sugar
- 1/3 cup plus 1 tablespoon white sugar, divided
- 1/4 cup all-purpose flour
- 1 pastry for a double-crust 9-inch pie
- 1 tablespoon butter, cut into small chunks
Directions:
Preheat oven to 425 degrees.
In a bowl, mix the cherries, almond extract, brown sugar, white sugar (reserve 1 tablespoon for later), and flour. Set cherries aside while you prepare pie crust.
Line a 9-inch pie dish with a pastry crust, and fill with the cherry filling. Top the filling with small pieces of butter. Top with the remaining crust, and crimp the edges to seal. Use a sharp knife to cut steam vents into the top crust. Dampen the top of the crust just slightly with wet hands and sprinkle with 1 tablespoon white sugar.
Bake on the lowest rack in the preheated oven until the cherry filling is bubbling and thickened and the pie crust is browned, 35 to 40 minutes. Allow to cool completely and then cover lightly with plastic wrap. Let the pie sit overnight before serving.
Recipe Note: To ensure a nicely baked bottom crust, bake your pie on top of a pizza stone on one of the lowest racks in your oven. Cover the pizza stone with foil for easy clean-up in case of spills.


When I leave the pie sit for 24 hours before cutting, do you leave it sit at room temperature or in the refrigerator?
Fruit pies that don’t contain dairy should be cooled completely at room temperature for at least 4 or more hours. After that, it’s up to you. You can cover the pie and transfer it the refrigerator or if you plan to consume it that day, it can stay on the kitchen counter.