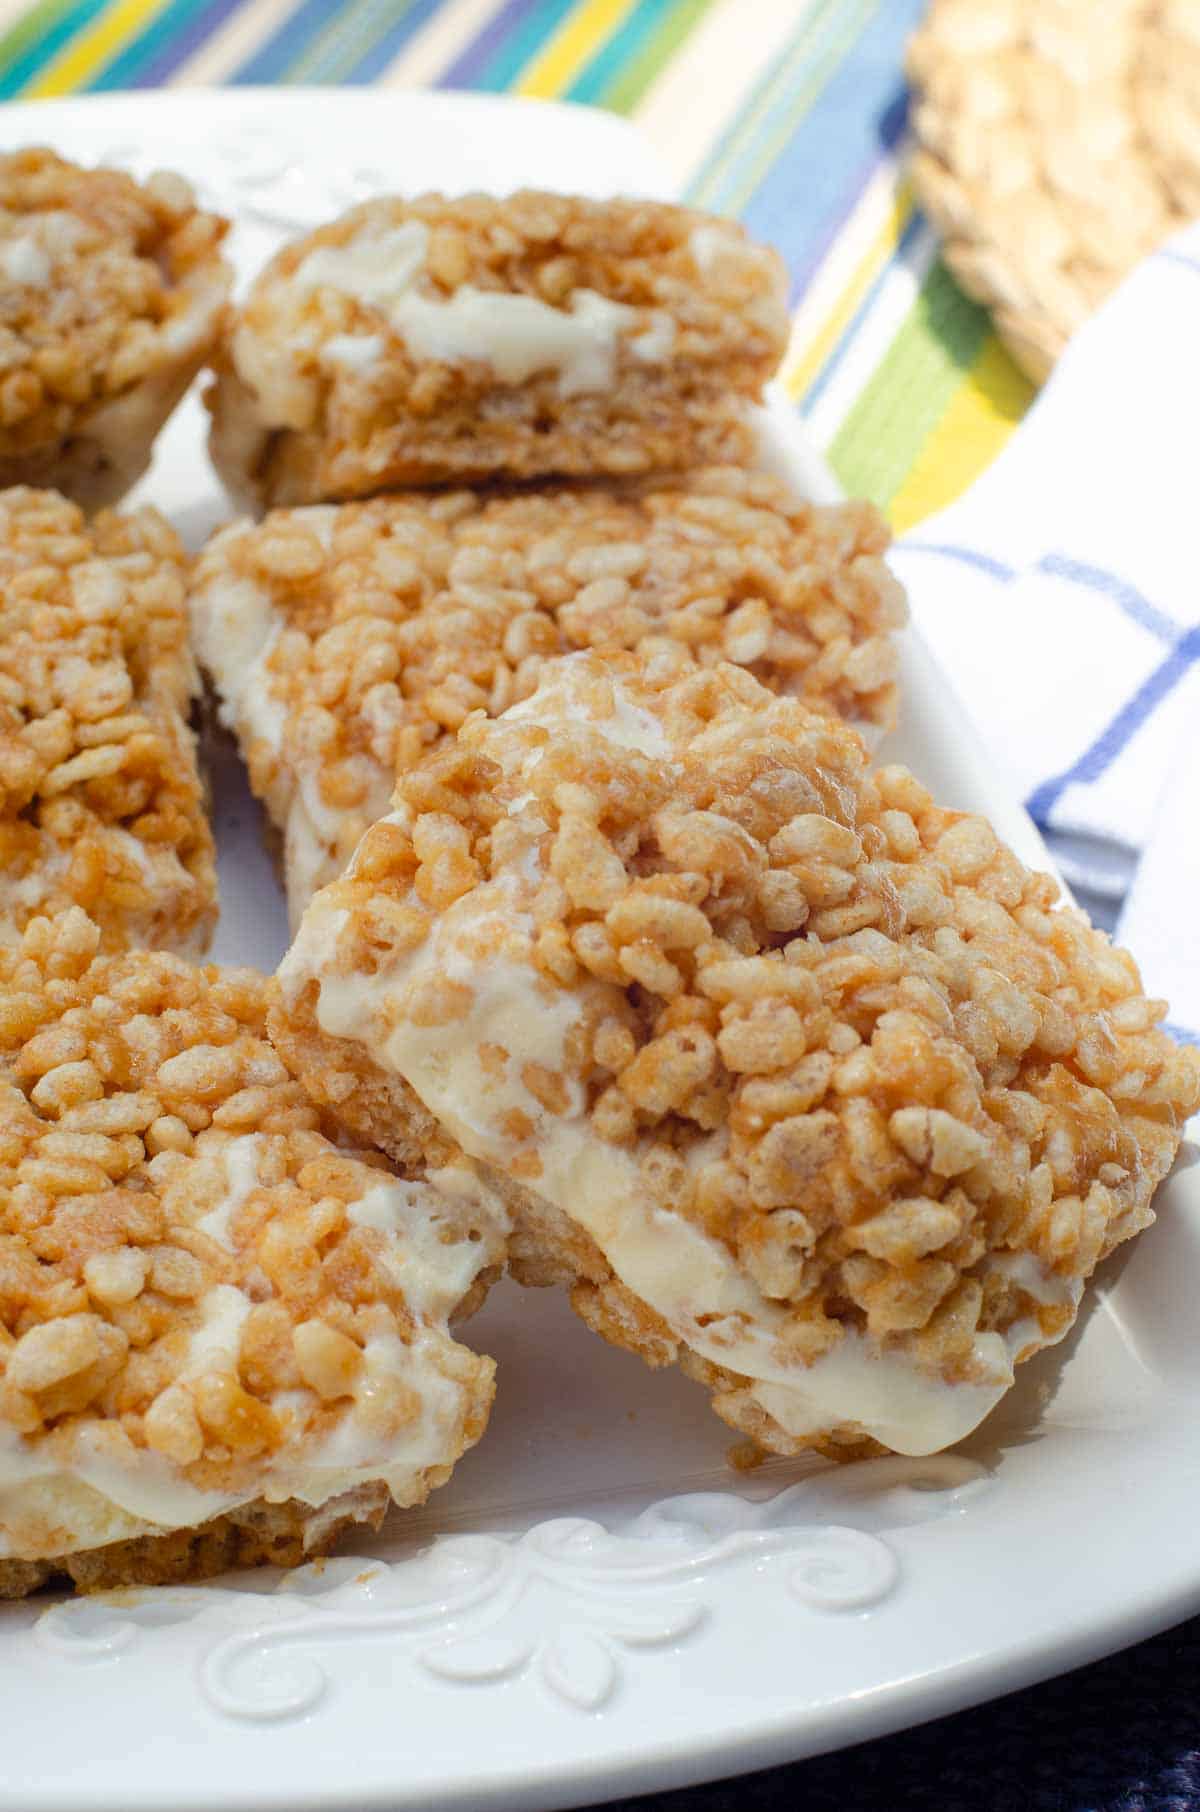
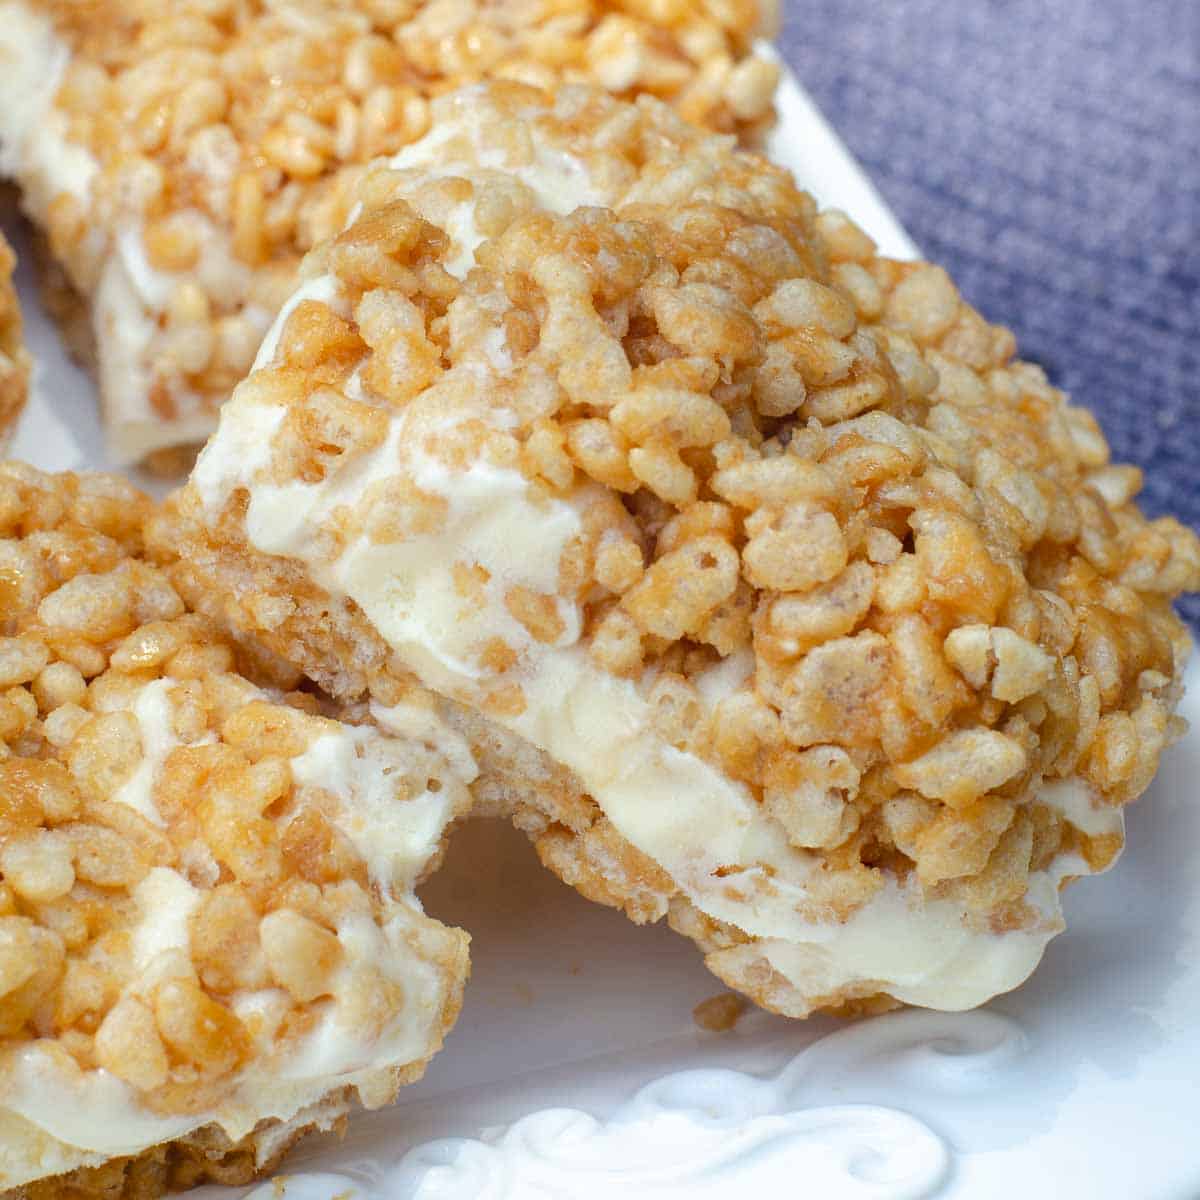
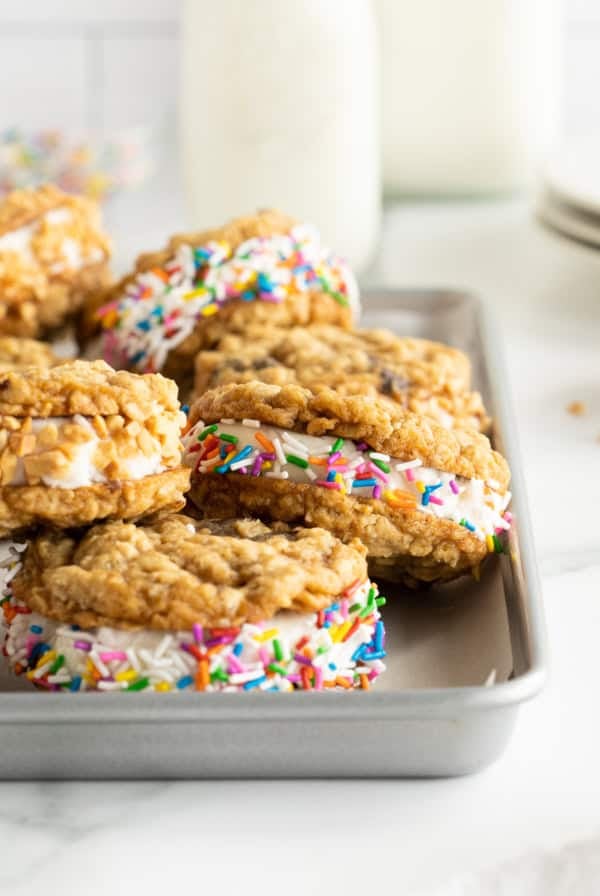
These Peanut Butter Rice Krispie Ice Cream Sandwiches are a nostalgic summer treat that bring back the best food memories. Vanilla ice cream is sandwiched between layers of a chewy peanut butter rice krispie mixture to create the most delicious ice cream sandwiches ever.
If you love this recipe, you’ll love my Cookie Ice Cream Sandwiches too!
This post may contain affiliate links. Please read our disclosure policy.
I’m blasting back to my past with this beloved recipe. My mom made these sweet treats every summer, as I’m sure tons of other moms did back in the day. I’m pretty certain it was one of those recipes printed on the back of a cereal box or featured in Better, Homes, and Gardens.
In true, big family fashion, we had a spare fridge in our garage. I can remember running, soaking wet from our above-ground Doughboy pool on the patio, straight to that freezer to grab one of these. It’s a vivid, delicious memory that still comes to mind every summer.
Ingredient Notes
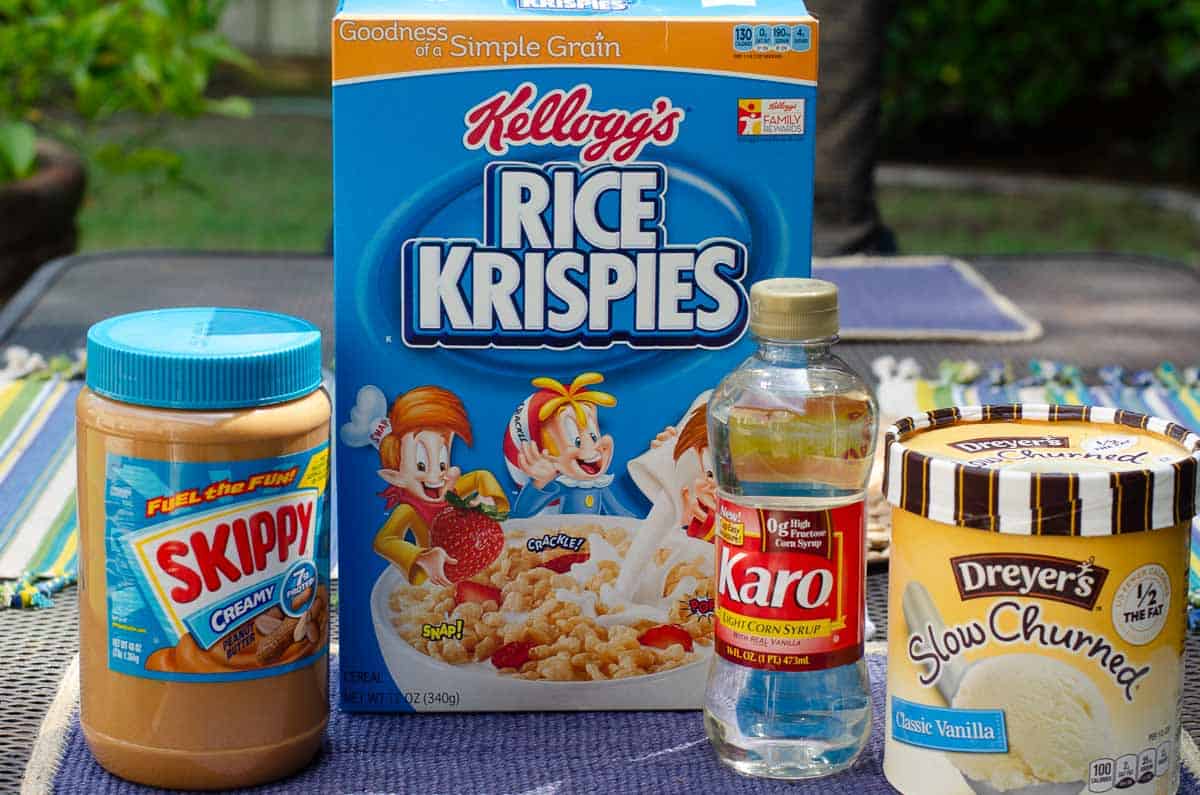
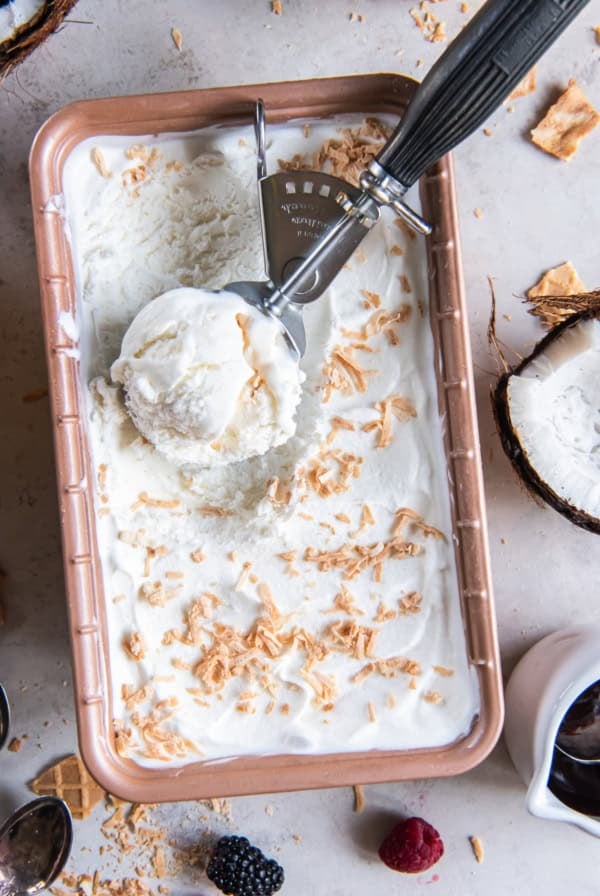
The short ingredient list consists of creamy peanut butter, Rice Krispies cereal, light corn syrup, and vanilla ice cream. You can actually use any flavor of ice cream you’d like, but Mom used vanilla so that’s what I’m going with.
How to Make Peanut Butter Rice Krispie Ice Cream Sandwiches
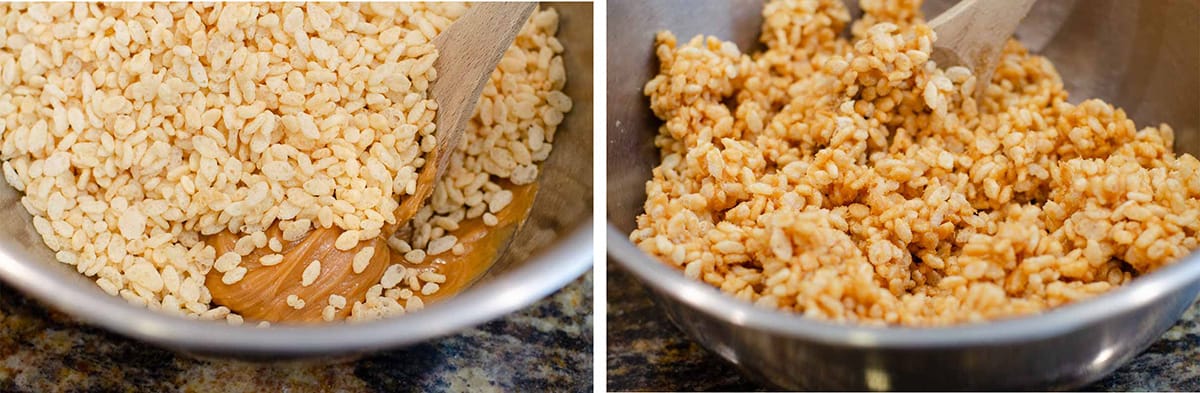
- Combine half the peanut butter and half the corn syrup in a large mixing bowl until smooth. Add half the cereal.
- Stir the mixture with a wooden spoon until it’s well combined.
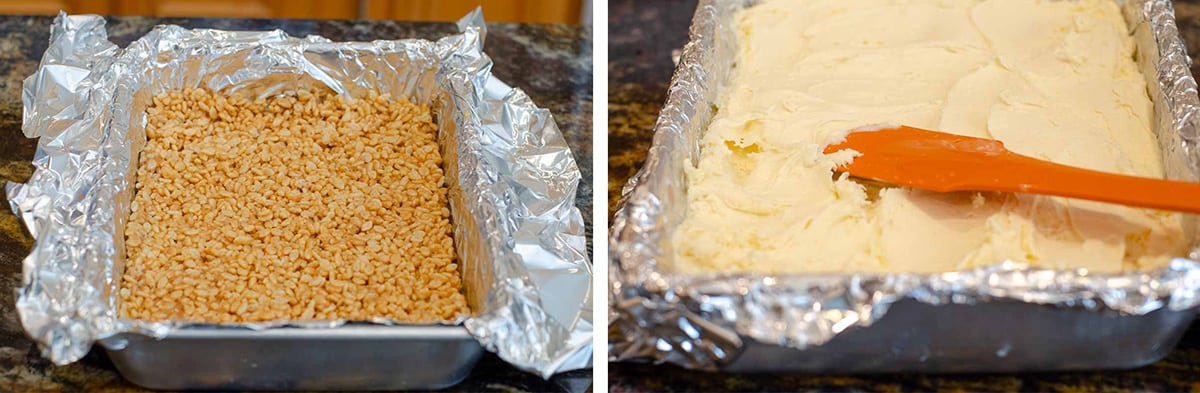
- Line a 13- x 9-inch freezer-safe pan with heavy duty foil, overlapping by a couple of inches on either side. Coat the foil with nonstick cooking spray and transfer the cereal mixture to the dish, patting it down into a nice, even layer. Now, mix a second batch of the cereal mixture using the remaining ingredients and set it aside.
- Allow the ice cream to sit at room temperature for about 5 minutes then soon the slightly softened ice cream on to the cereal layer. Spread it out as evenly as possible.
Pro Tip
To prevent the cereal mixture from sticking to your hands, coat them with a little nonstick cooking spray if needed.
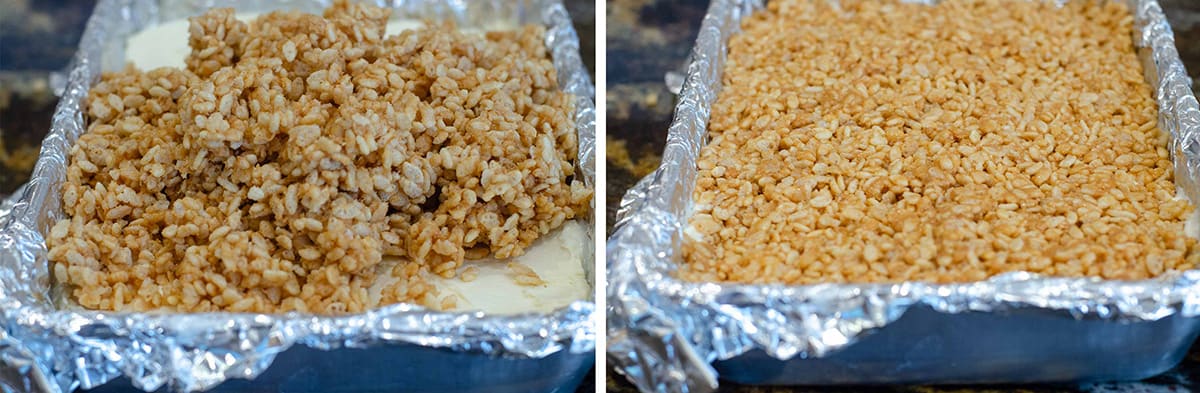
- Pour the second batch of cereal mixture over the ice cream.
- Use your hands to pat down the top layer and the dish goes back to the freezer for at least 2 hours or more. You want it to be frozen solid before slicing into it.

- When frozen solid, remove the pan from the freezer. You can lift the whole kit and kaboodle out of the pan by lifting up the edges of the foil.
- Transfer the giant ice cream sandwich to a cutting board and use a sharp knife to cut it evenly into bars. You can cut them as big or small as you’d like. They will slice and hold their shape better if they are frozen solid. Mine are a bit melty cause I’m taking pictures for y’all, and taking pictures takes time.
Variations
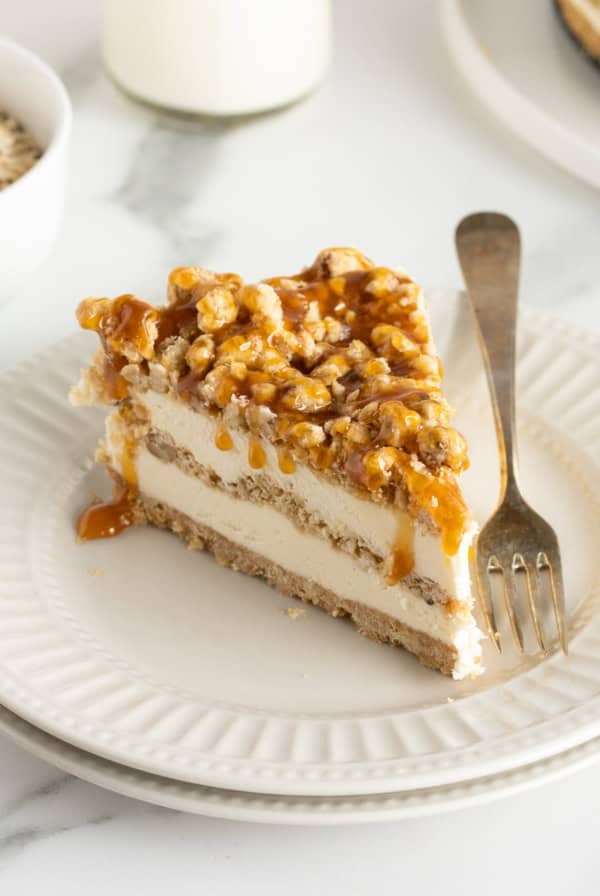
These ice cream bars are delicious in their most simple form, but you can jazz them up by adding any of the following ingredients on top of the ice cream layer.
- Crushed Oreo cookies
- Chopped peanuts
- Toffee bits
- Mini chocolate chips
- Chopped candy bars (Butterfinger, Snickers, etc.)
- A drizzle of caramel or fudge ice cream topping
Storage Tips
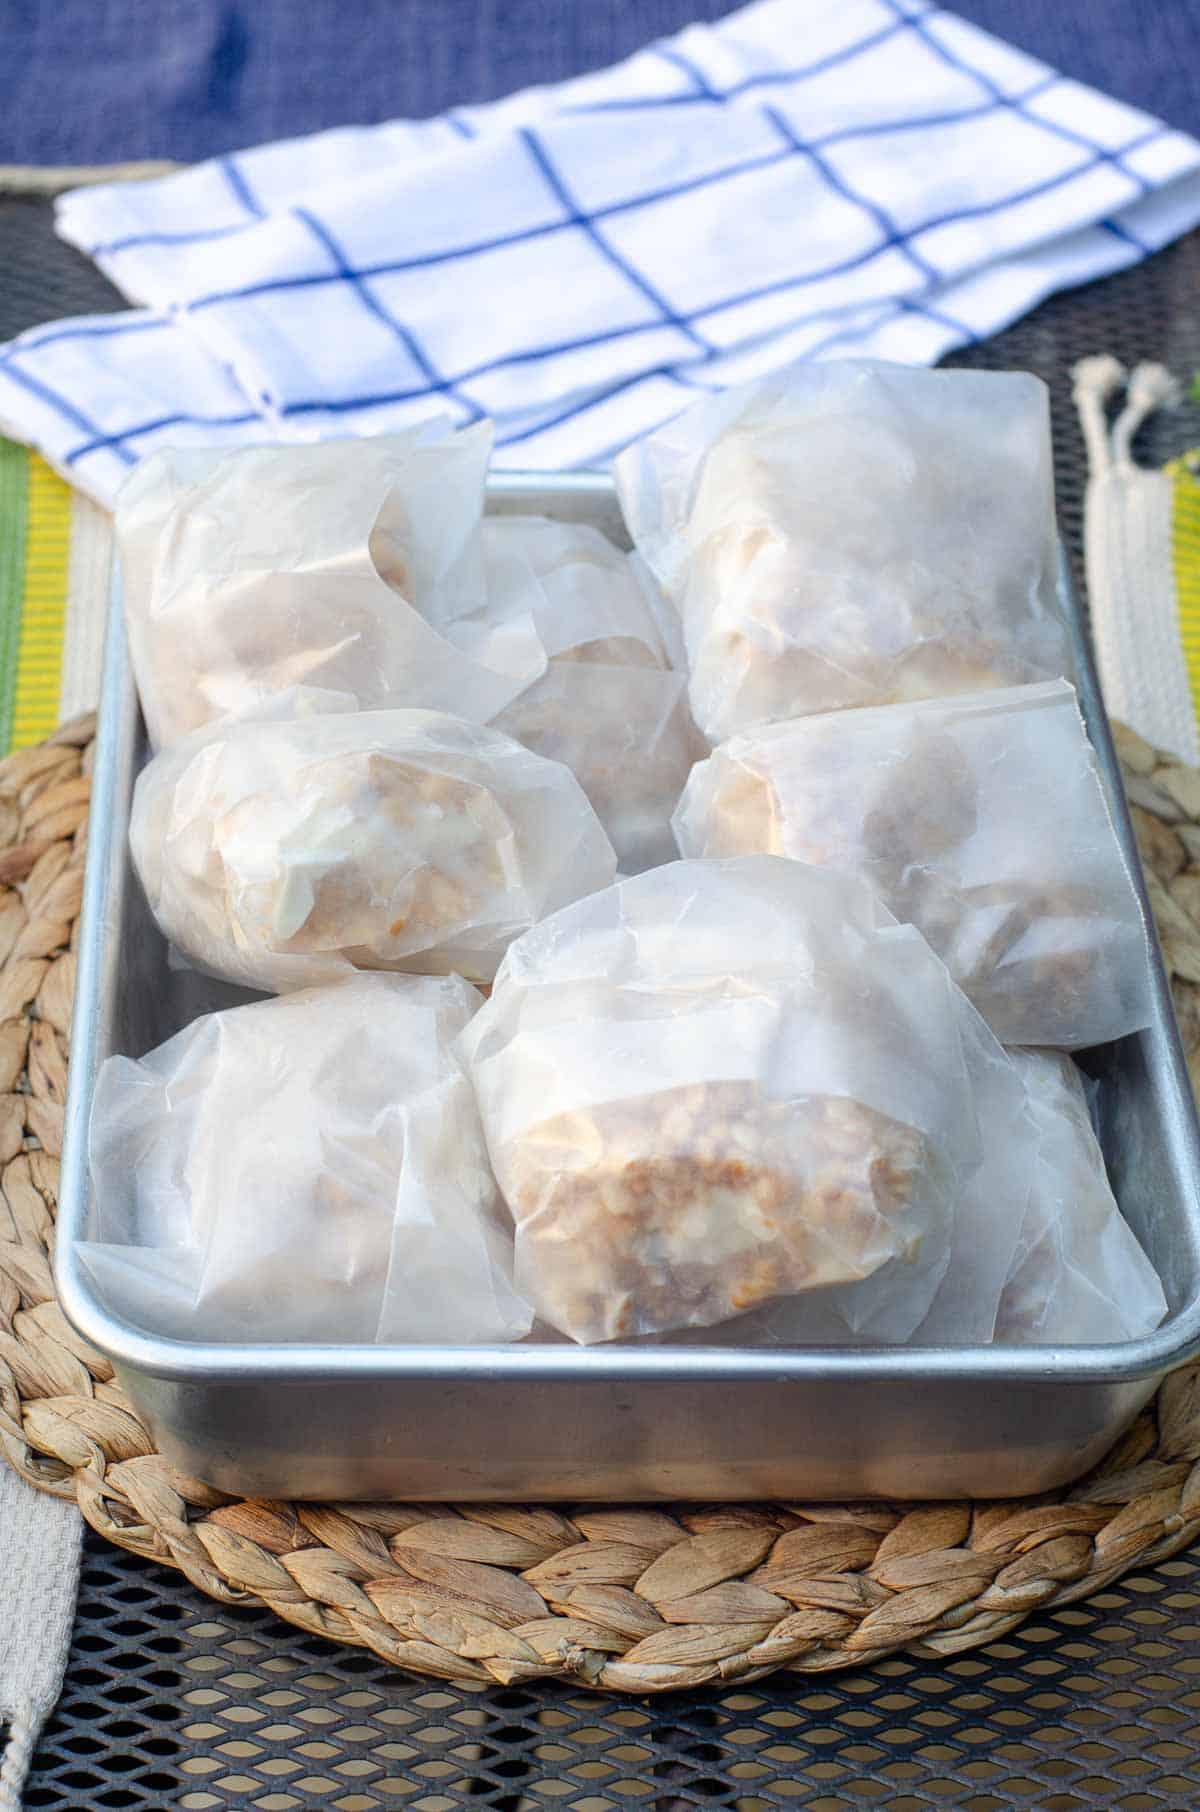
My mom always wrapped them individually in wax paper and stored them in the freezer. Foil or plastic wrap will work as well.
Transfer the wrapped ice cream bars to a gallon-size zippered plastic storage bag to help prevent freezer burn. They’ll stay fresh and tasty for upwards of a week but it’s doubtful they’ll last that long.
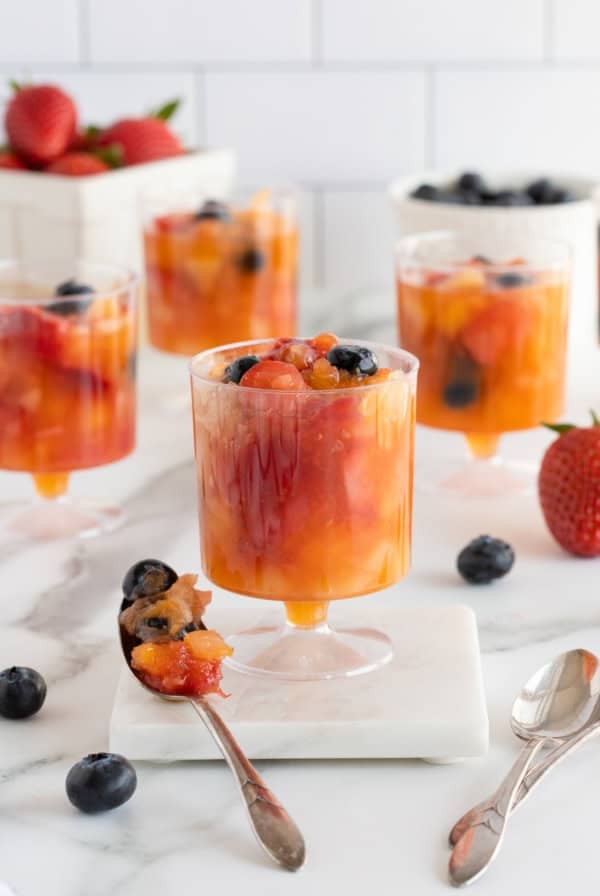
More Frozen Treats You’ll Love
Sign up for my free newsletter for all the latest recipes and join me on Facebook, Instagram and Pinterest for more cooking inspiration!
Peanut Butter Rice Krispie Ice Cream Sandwiches

Ingredients
- 1 cup light corn syrup, divided
- 1 cup creamy peanut butter, divided
- 8 cups Rice Krispies cereal, divided
- 1½ quarts vanilla ice cream
Instructions
- Line a 13- x 9-inch freezer-safe pan with heavy duty foil, overlapping the sides by a couple of inches. Coat the foil with nonstick cooking spray and set it aside.
- In a large mixing bowl, use a spoon to combine ½ cup creamy peanut butter with ½ cup corn syrup. Add 4 cups Rice Krispies and mix until well combined. Pour the cereal mixture into the foil-lined dish. Spray your hands with a little nonstick cooking spray and pat the mixture down evenly into the dish. Alternately, use a small piece of wax paper to pat the mixture down. Place the pan in the freezer for about 15 minutes, or until cereal mixture is firm.
- In a large bowl, mix together the remaining ½ cup peanut butter and ½ cup corn syrup with the remaining 4 cups Rice Krispies. Combine well and set it aside.
- Remove ice cream from freezer and allow to soften at room temperature for about 5 minutes.
- Remove the pan from freezer and spread the softened vanilla ice cream evenly over the top. Pour out the 2nd layer of cereal mixture over the top and pat it down on top of ice cream in same manner as before. Return the pan to the freezer and freeze until firm, about 2 hours.
- Remove the pan from freezer and use the foil overhang to lift the giant ice cream bar from the pan and transfer it to a cutting board. Use a sharp knife to cut it into bars. Wrap the bars individually in wax paper, plastic wrap, or foil and store them in the freezer. To prevent freezer burn, place the individually wrapped ice cream bars in a gallon-size freezer-safe zippered plastic storage bag.
Notes
- Crushed Oreo cookies
- Chopped peanuts
- Toffee bits
- Mini chocolate chips
- Chopped candy bars (Butterfinger, Snickers, etc.)
- A drizzle of caramel or fudge ice cream topping
Like this? Please rate & comment below!


Such a hit with my book club ladies.
Using natural peanut butter and brown rice syrup. I found that microwaving the syrup and nut butter for a minute and stirring to combine made it easier to combine with the crispy cereal. Love the idea of drizzling or dipping in a bit of milk chocolate.