This Peach Raspberry Freezer Jam preserves the freshness of summer without the hassle of pressure canning. Simple method, delicious result!
As hard as this may be to believe, this jam was made in about 30 minutes, give or take.
I love the method of making freezer jam so much more than traditional heat canning. It’s quick, easy, and you don’t need to be a scientist in order to ensure that you’ll end up with a safe and properly preserved jar of jam. When you pull some out of the freezer in December and taste the fruit of summer, you’ll be so happy you took a little time out of your day to preserve some of that summer freshness. So, go out and grab those peaches, apricots, nectarines, plums, and berries while they are in abundance and make some freezer jam!
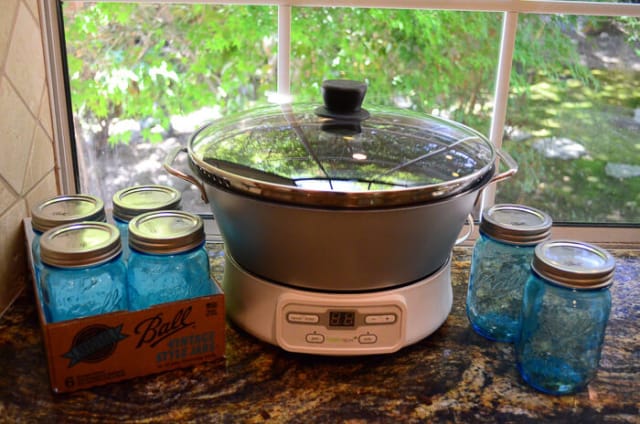
This weekend I had the opportunity to try out the new Ball Automatic Jam and Jelly Maker.
- And it was fun!
- And I came up with a yummy Peach Raspberry Freezer Jam recipe!
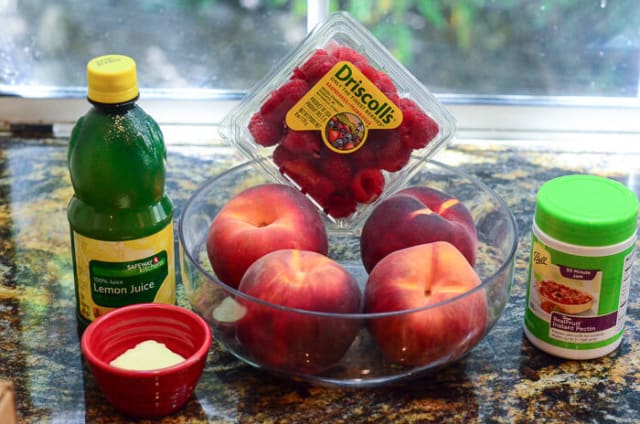
I saw these gorgeous peaches at the store and knew I had to go with peach jam.I bought some that were firm to the touch and let them sit for almost a week to soften a bit. When making jams and jellies always use blemish free, nicely ripened (but not over ripened) fruit. I thought it would be pretty to throw in some raspberries too. I was right. You’ll also need some bottled lemon juice, a touch of butter to reduce foam, some pectin, and not pictured but totally essential – sugar.
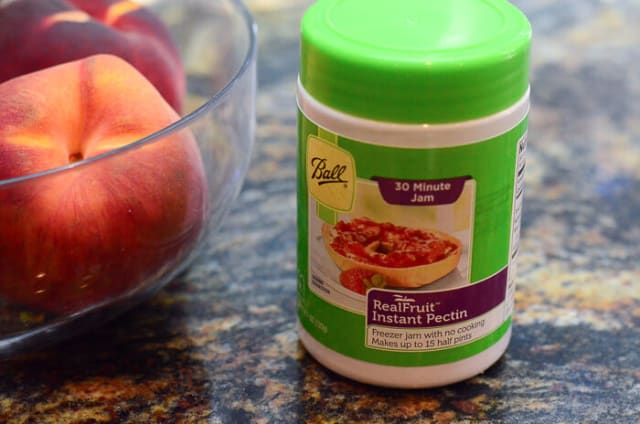
Pectin is a natural gelling agent derived from apple and citrus fruits and is a necessary ingredient when making jams and jellies. This powdered version from Ball is available both online and in stores that sell canning supplies.
I’m making use of my new Jam and Jelly Maker from Ball. It makes the process SO easy!
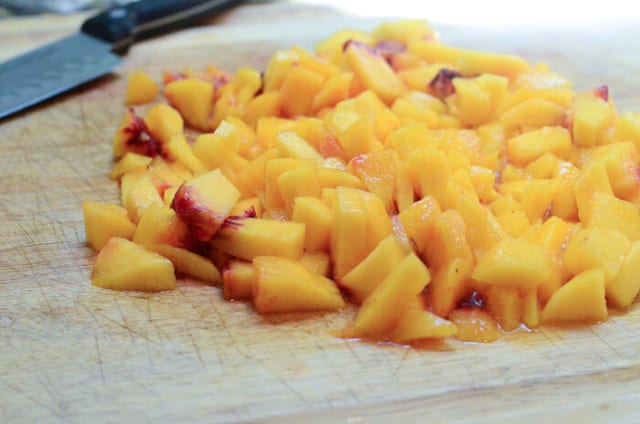
We’ll start by peeling and coarsely chopping our nicely ripened peaches.
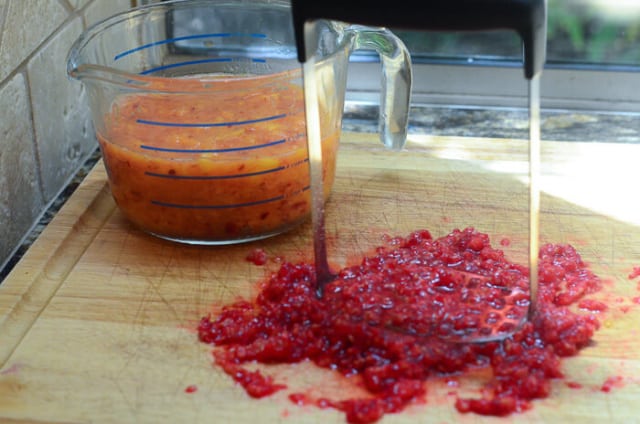
Crush the fruit with a potato masher. Don’t be tempted to use a food processor because it can break down the fruit’s natural pectin and prevent a good set. Measure out about 2-1/2 cups of the crushed peaches. You’ll use the entire 6 ounce container of raspberries. Set the fruit aside for now.
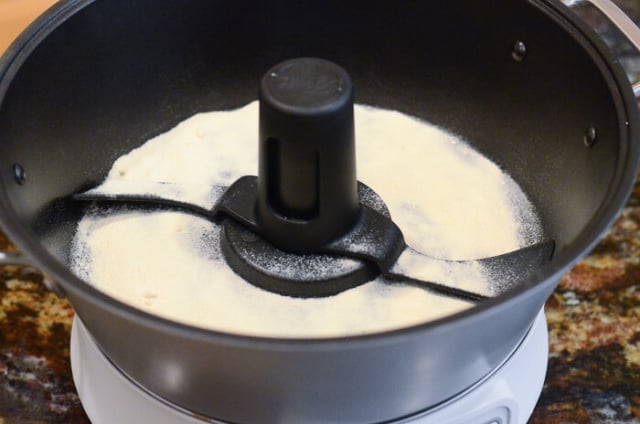
Sprinkle 3 tablespoons of pectin evenly over the bottom of the pot.
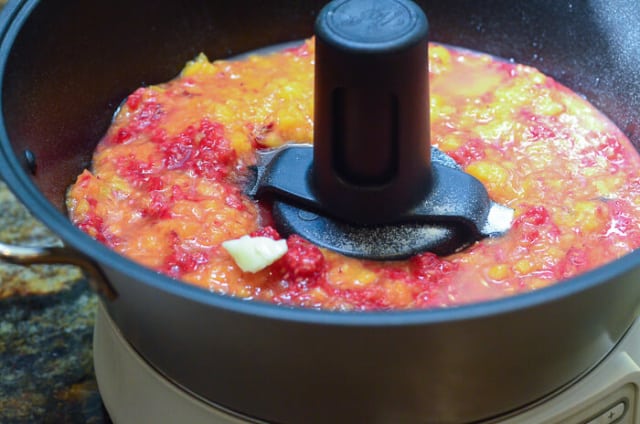
Add the crushed fruit and just a dab of butter. It only takes 1/2 a teaspoon to help prevent foam from forming on the surface of the jam. Press the Jam button and the machine will automatically default to 21 minutes. This is how long the entire process will take. Press Enter and the machine will start to process the fruit. After 4 minutes, you’ll hear a beep which means it’s time for the sugar.
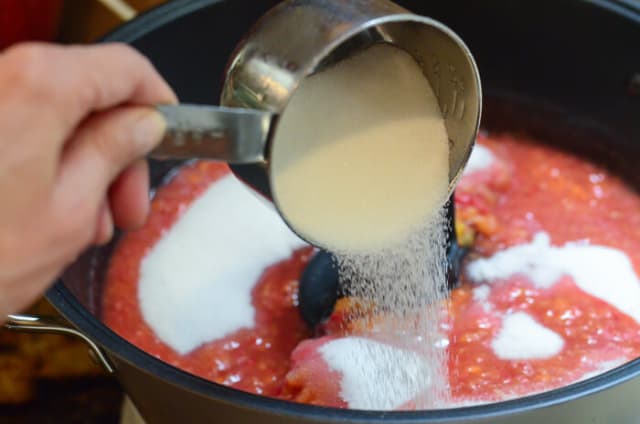
Gradually add the sugar and then cover the pot. Stay close by because, at the end of the processing time, the unit will beep to alert you that the jam is ready.
A word about sugar. One of the great things about making your own jams and jellies is that you can control the amount of sugar. Ball’s recipes include both traditional and reduced sugar options for those who are watching their sugar intake. The recipe I’m sharing today is a traditional version.
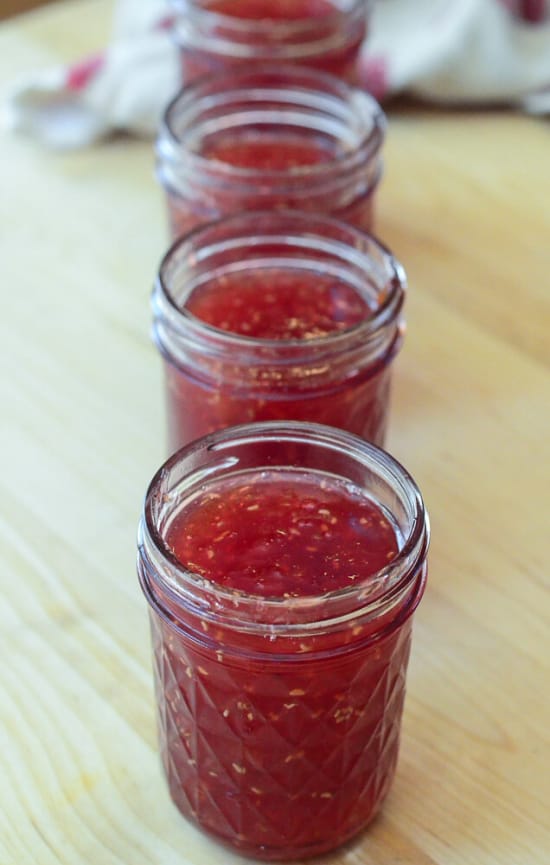
It’s important the jars are hot when you transfer the jam. Cold glass jars and hot jam are a no no. Please see the recipe below for more details on how to get them ready ahead of time so they’ll be nice and hot when you’re ready for them. For freezer jam, it’s best to use wide mouthed, straight-sided jars like these Ball 8-ounce Quilted Crystal Jelly Jars to avoid any issues with expansion of the contents upon freezing. I love these jars. I think I’m going to fill a room with mason jars.
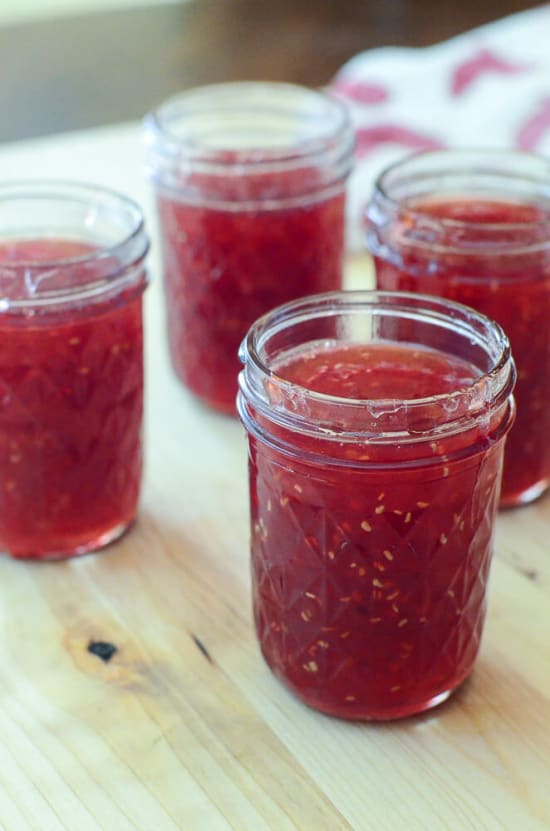
I ended up with five 8-ounce (half pint) jars from this recipe, a couple of which I’m keeping in our fridge for instant consumption. The remaining three jars went into the freezer which will keep the jam perfectly fresh for up to a year.
And, now for the good stuff…
***Giveaway Closed***
Contest Rules:
There are six ways to enter. Leave a separate comment for each one. Enter once or enter six times to increase your odds of winning!
Like Ball Canning on FacebookFollow Ball Canning on Twitter and tweet the link to this giveaway using the following text: ” Enter to win @BallCanning Automatic Jam & Jelly Maker & Vintage Heritage Blue Mason Jars https://www.fromvalerieskitchen.com/?p=13063 @ValeriesKitchn #Giveaway “Follow Ball Canning on PinterestLike From Valerie’s Kitchen on FacebookFollow From Valerie’s Kitchen on TwitterFollow From Valerie’s Kitchen on Pinterest
Be sure to leave a separate comment below for each entry. Maximum of six entries per person. Giveaway closes on Wednesday, August 21 at 11:59pm. Winner will be chosen at random and contacted by email on Thursday, August 22. If winner does not claim their prize within 48 hours, another winner will be selected.
Contest is open to U.S. residents only.
Good luck to everyone and happy canning!
Disclosure: This giveaway is sponsored by Ball Canning who provided me with a Ball Automatic Jam and Jelly Maker and a package of Heritage Blue Mason Jars in addition to the ones I am giving away. All opinions expressed on Valerie’s Kitchen are solely my own.
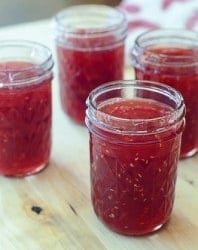
Peach Raspberry Freezer Jam
Ingredients
- 2 1/2 cups crushed peaches, a little less than 2 pounds or 3 or 4 medium peaches
- 1 6 ounce container fresh raspberries, crushed
- 3 tablespoons Ball RealFruit Classic Pectin
- 2 tablespoons bottled lemon juice
- 1/2 teaspoon butter
- 3 1/3 cups granulated sugar
Instructions
- Heat your jelly jars by either simmering in hot water on the stove in a large pot or running through a dishwasher cycle. Set lids and bands aside for later. Jars must be hot when jam has finished processing.
- Wash, peel and pit the peaches. Coarsely chop them and then crush with a potato masher. Measure out 2-1/2 cups of the crushed peaches and set aside. Rinse, drain, and crush the fresh raspberries with the potato masher and set aside.
- Sprinkle pectin evenly over bottom of the pot fitted with the stirrer. Add crushed peaches and raspberries evenly over pectin. Pour lemon juice over the fruit. Add butter to help prevent foam from forming on surface of jam.
- Press Jam button – the cook time will automatically default to 21 minutes. Press Enter. Allow to process, uncovered.
- Wait 4 minutes for appliance to sound 4 short beeps indicating that it is time to add sugar. Add sugar gradually while stirrer continues running. Place the glass lid on the pot.
- The appliance will continue to automatically stir your ingredients while it cooks. Stay within earshot of the Jam & Jelly Maker, the appliance will beep again at the end of the process signaling jam cooking is complete. Press cancel, unplug the appliance and immediately remove lid.
- Remove stirrer using a pot holder. Skim foam from top of jam, if necessary.
- Ladle jam into hot jars leaving 1/2" headspace. Wipe down the tops and edges of the jars to clean off any excess jam. Allow to cool to room temperature, about 30 to 45 minutes, then place lids and bands on jars. Let covered jars sit at room temperature for an hour or two to continue to set further.
- Label if desired and refrigerate for up to 3 weeks or freeze for up to 1 year.
- Note: This recipe should yield about 5 (8 ounce) jars, give or take.
Notes
Nutrition
Nutrition information is automatically calculated using generic ingredients, and is an estimate not a guarantee. For more accurate results, please refer to the labels on your ingredients at home.




I have been reading up on this cute little guy! Would love to win one!
Just leaving a comment to enter the drawing 🙂
Sounds yummy!!!
I am entered through Facebook and my fingers are crossed!!
Follow Ball Canning on FB
Follow Valerie’s Kitchen on Pinterest