This easy method turns an economical cut of beef into super tender, flavorful Deli Style Roast Beef. Skip the deli and make your own lunch meat at home!
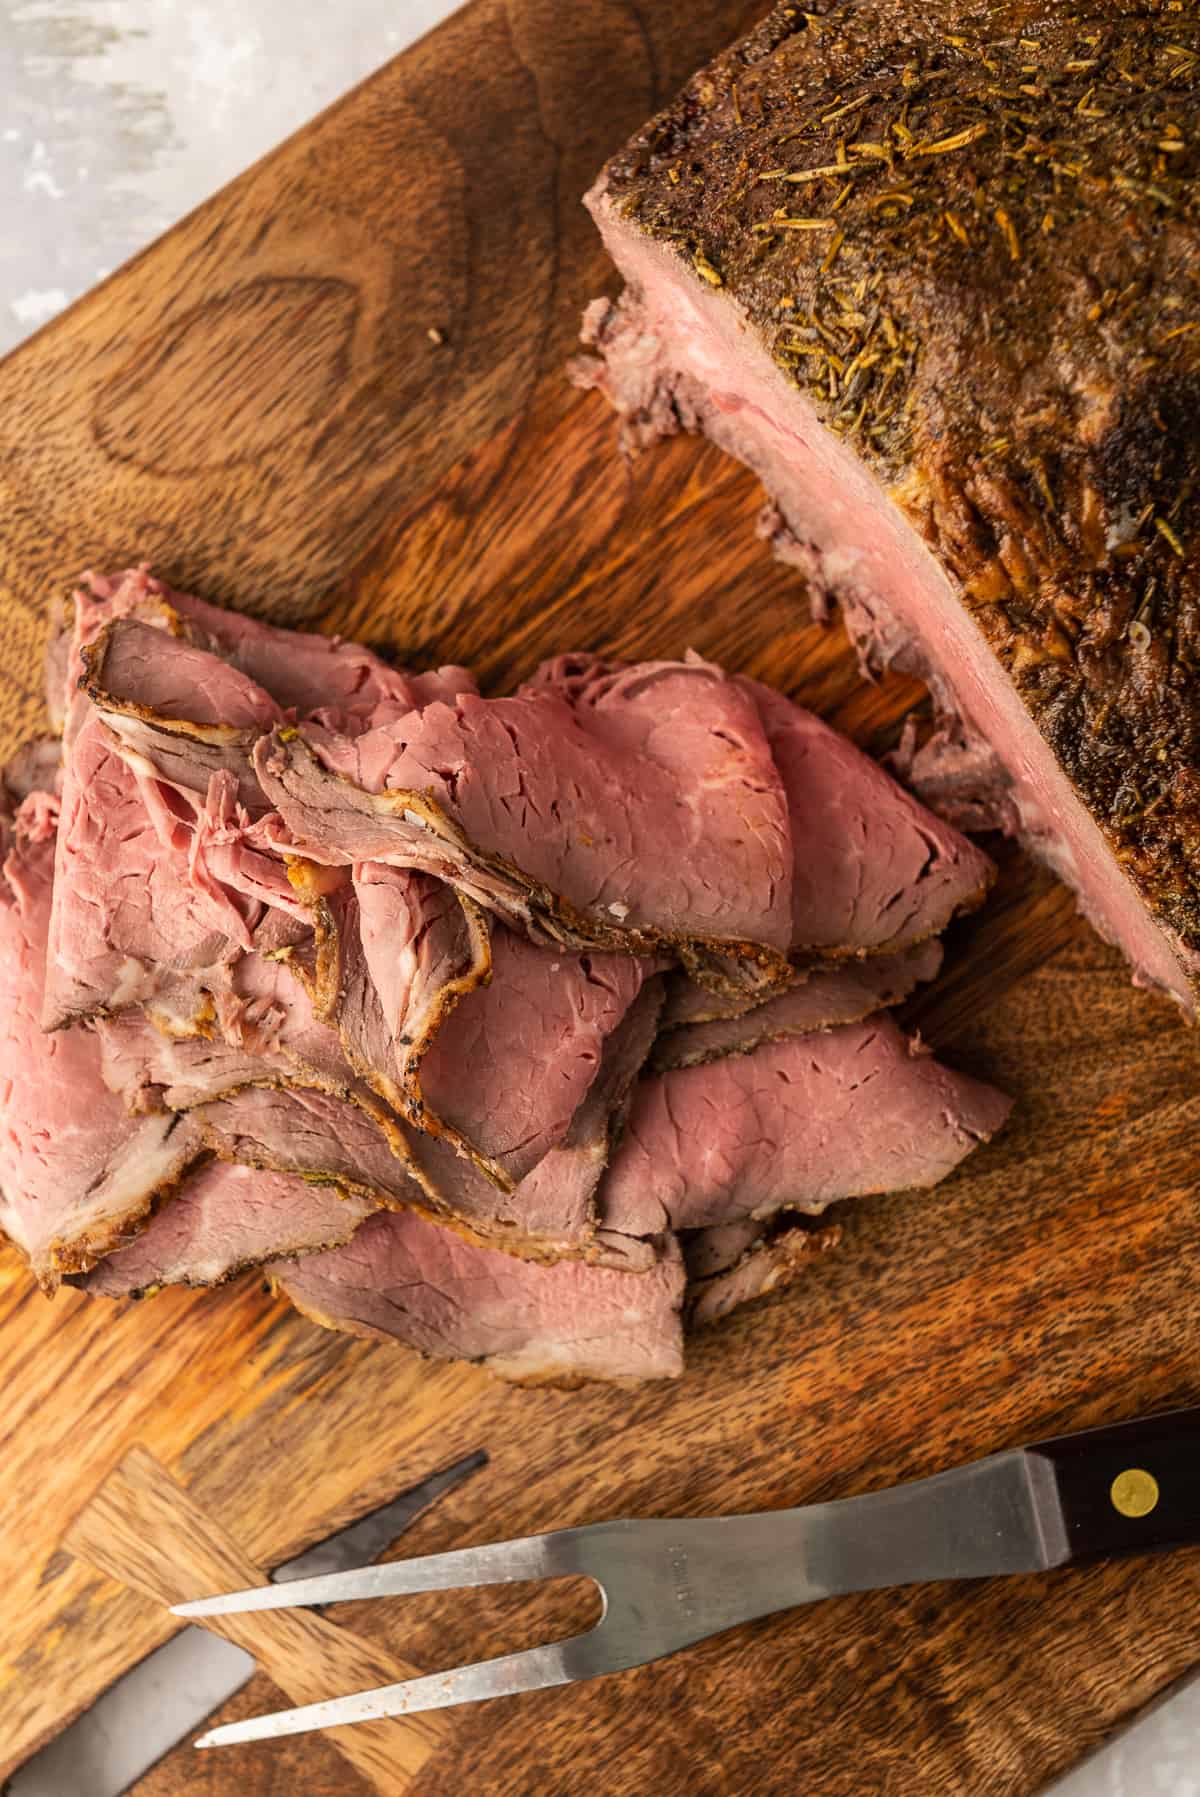
I’ve been a regular at the grocery store deli counter for most of my adult life. It’s so convenient to have sliced deli meat on hand when you have a lot of people to feed every day and lunches to pack for work. Since my husband requests deli roast beef be added to the grocery list every week, I decided it was time to try and create my own deli roast beef at home.
Friends, the result is nothing short of amazing! This recipe has opened my eyes to inexpensive cuts of beef and what can be done with them.
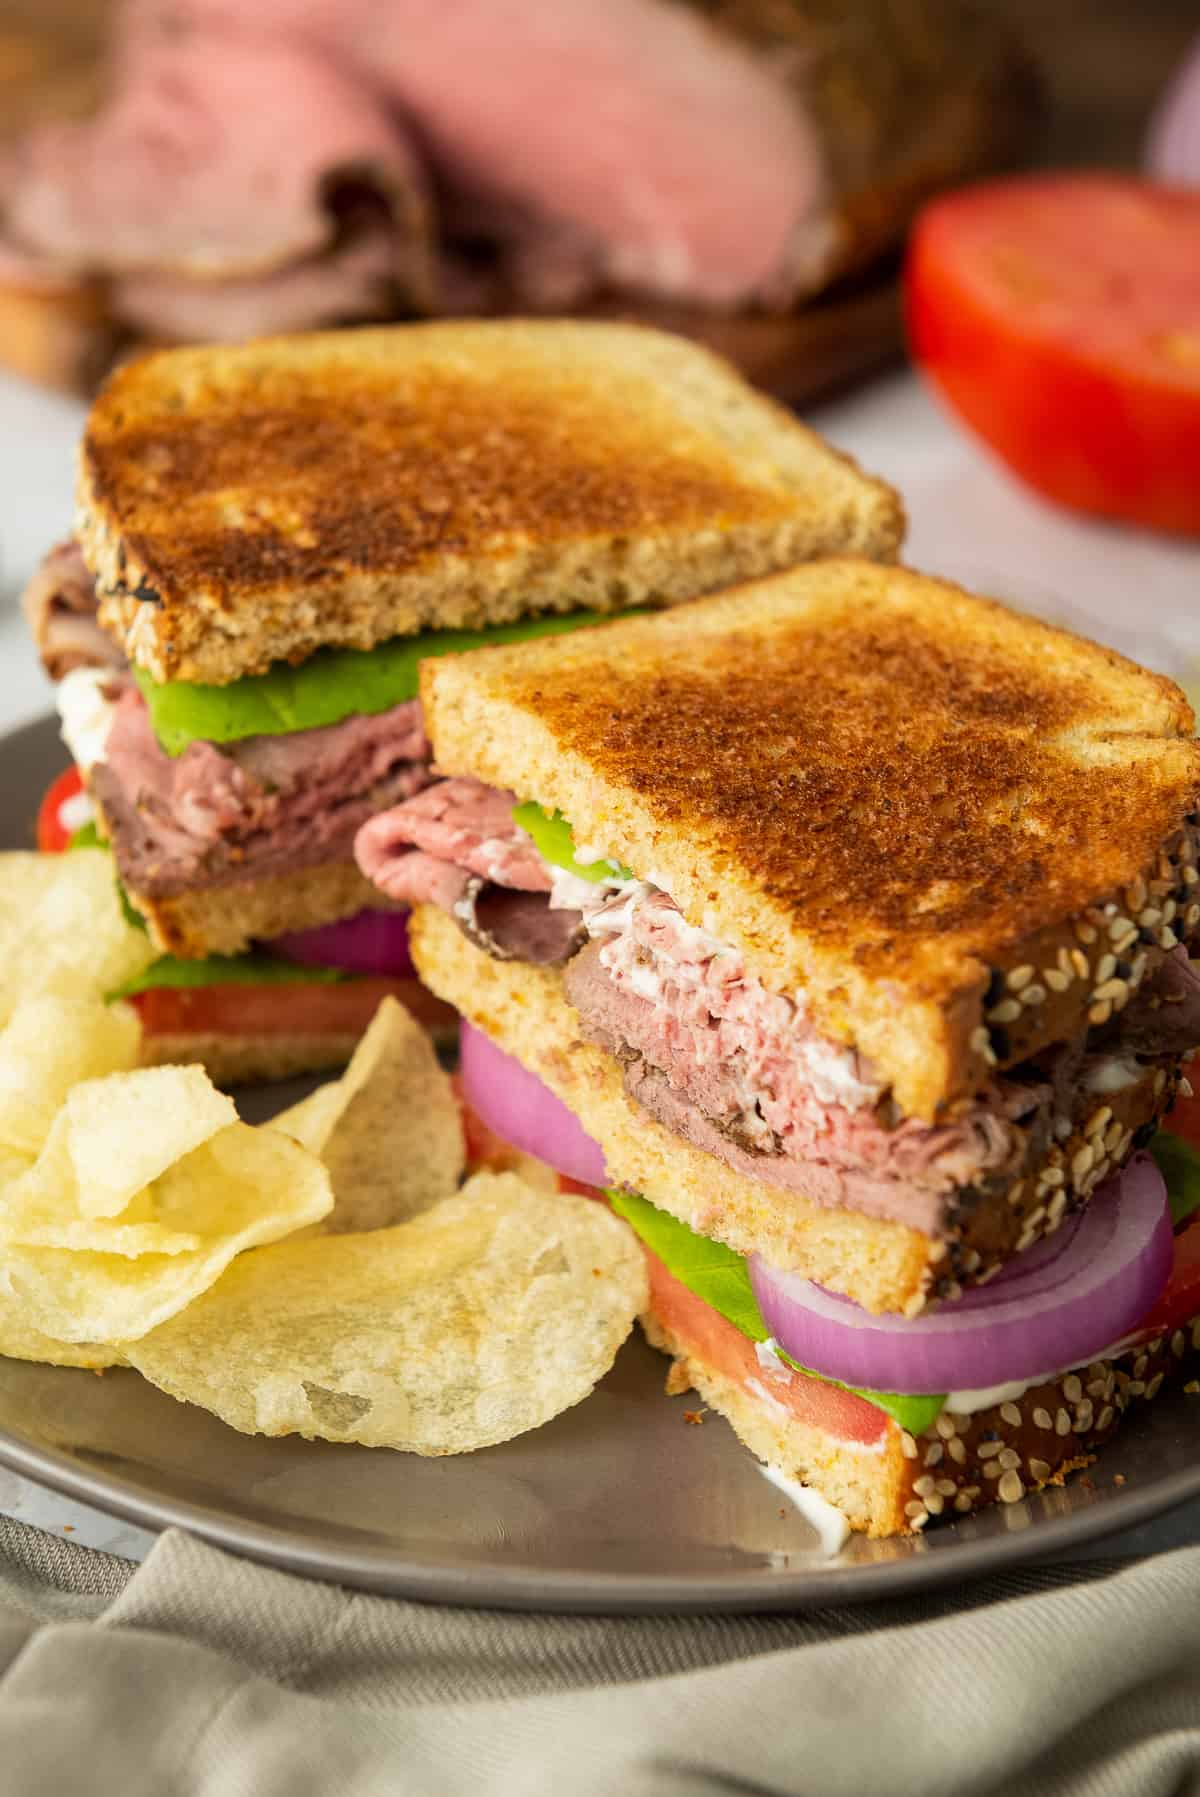
There is technique involved in properly cooking an inexpensive beef roast. I go through that process in detail in my recipe for Tender Eye of Round Roast Beef with Gravy. This is the same base recipe but instead of slicing and serving it with gravy for dinner, it is chilled and thinly sliced to create the most delicious roast beef sandwiches we’ve ever had.
This recipe yields a Deli Style Roast Beef that is far lower in sodium than the store bought variety. You can reduce the sodium even more by adjusting the amount of salt used. Just one of the many benefits to making your own deli meat at home!
Ingredient Notes
The Best Cut for Deli Style Roast Beef
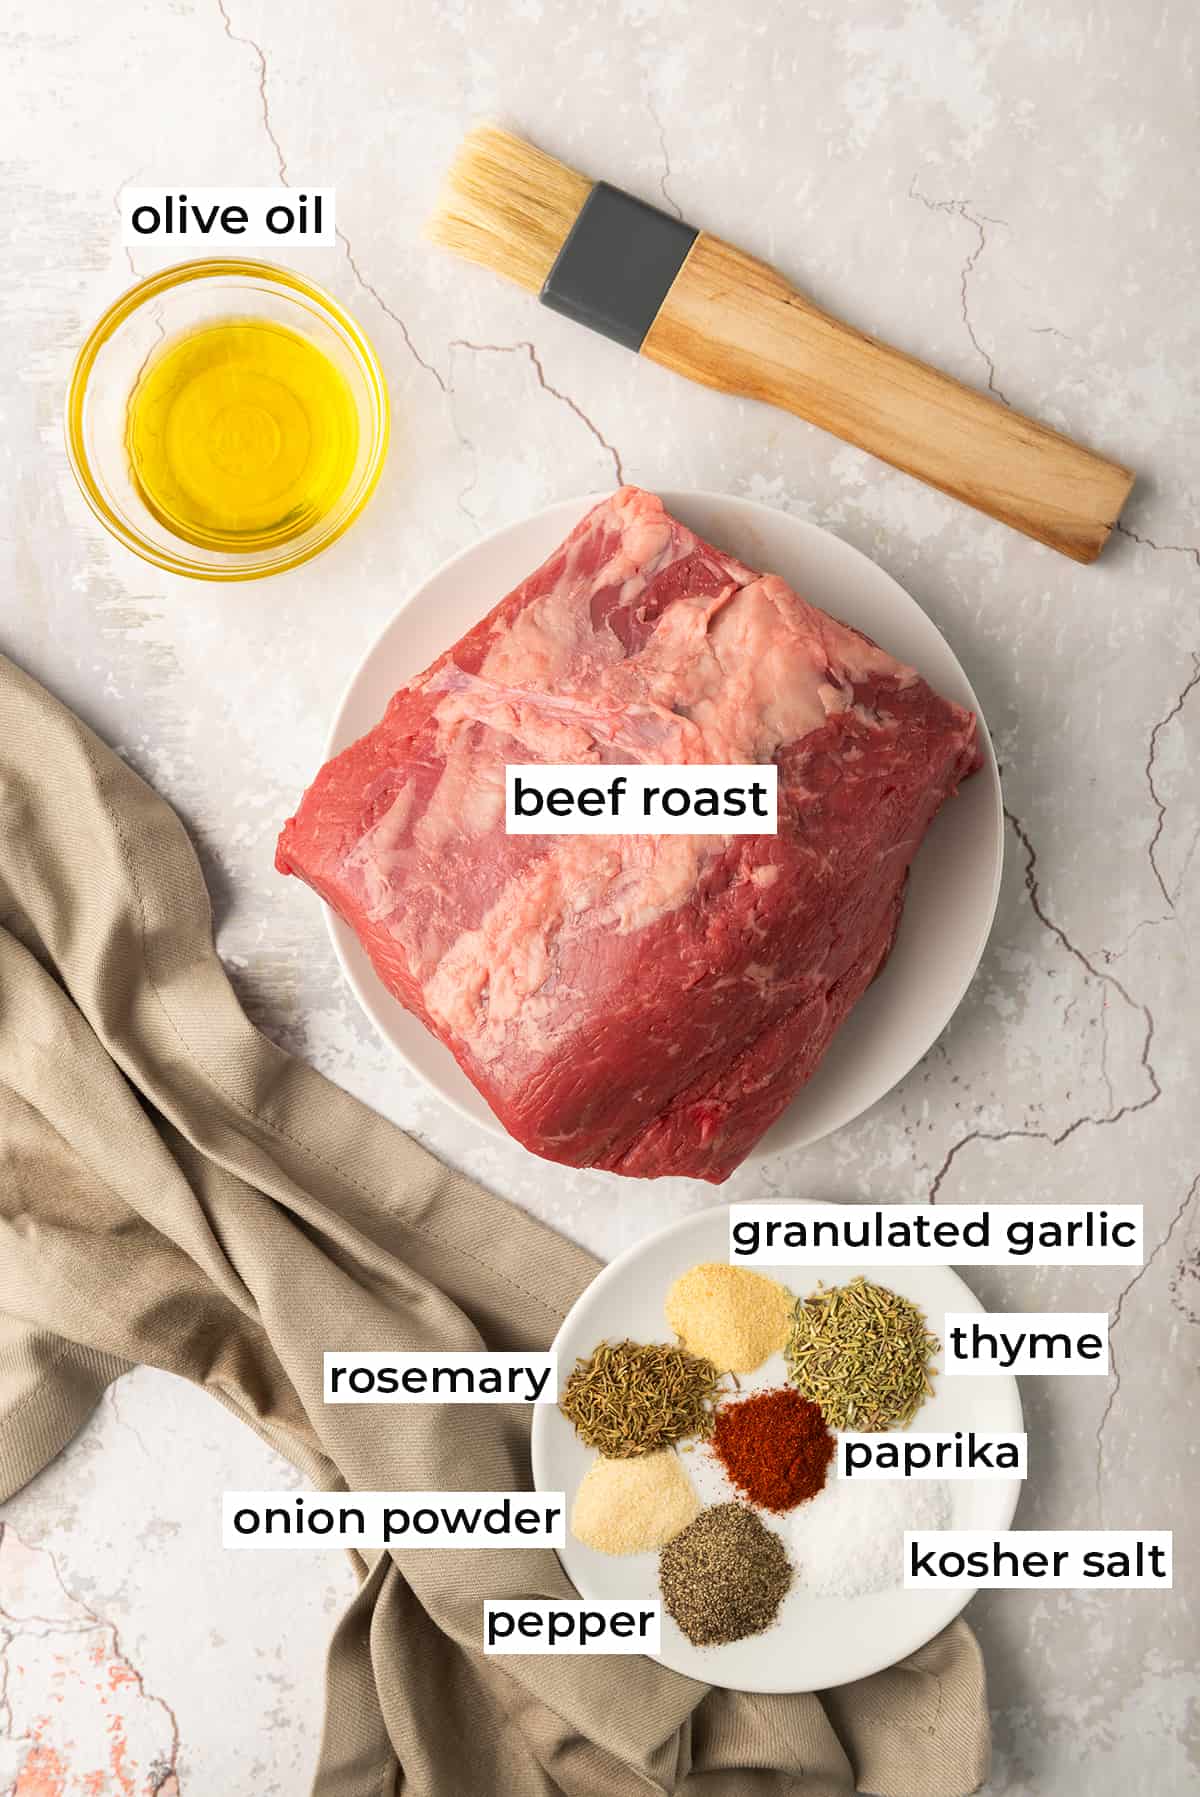
My favorite cut and the one tested for this recipe is the eye of round roast. It is a lean, flavorful, and relatively inexpensive cut of beef. It requires a special roasting technique to cook it to tender perfection. But fear not! It is incredibly easy and foolproof if you follow the directions. My local Costco regularly carries a two-pack of prime eye of round roasts at a great price. This cut should be easy to find at most grocery store chains.
Although I haven’t tested it for myself, I believe this recipe would also work well with a top or bottom round roast. One of my recipe testers used a top sirloin roast with a fabulous result leading me to believe that a sirloin tip roast would also be a good choice.
Roast Beef Seasoning Mix
A mixture of dry spices creates a flavorful crust as the roast cooks. I’m betting most, if not all of these spices are likely stocked in your pantry. Kosher salt has more oomph than table salt and I highly recommend using it in dry rubs like this one. Granulated garlic has a grainy texture and I prefer it over garlic powder for this spice mix but either can be used. In addition you’ll need freshly ground black pepper, rosemary, thyme, onion powder, and paprika.
How to Make Deli Style Roast Beef
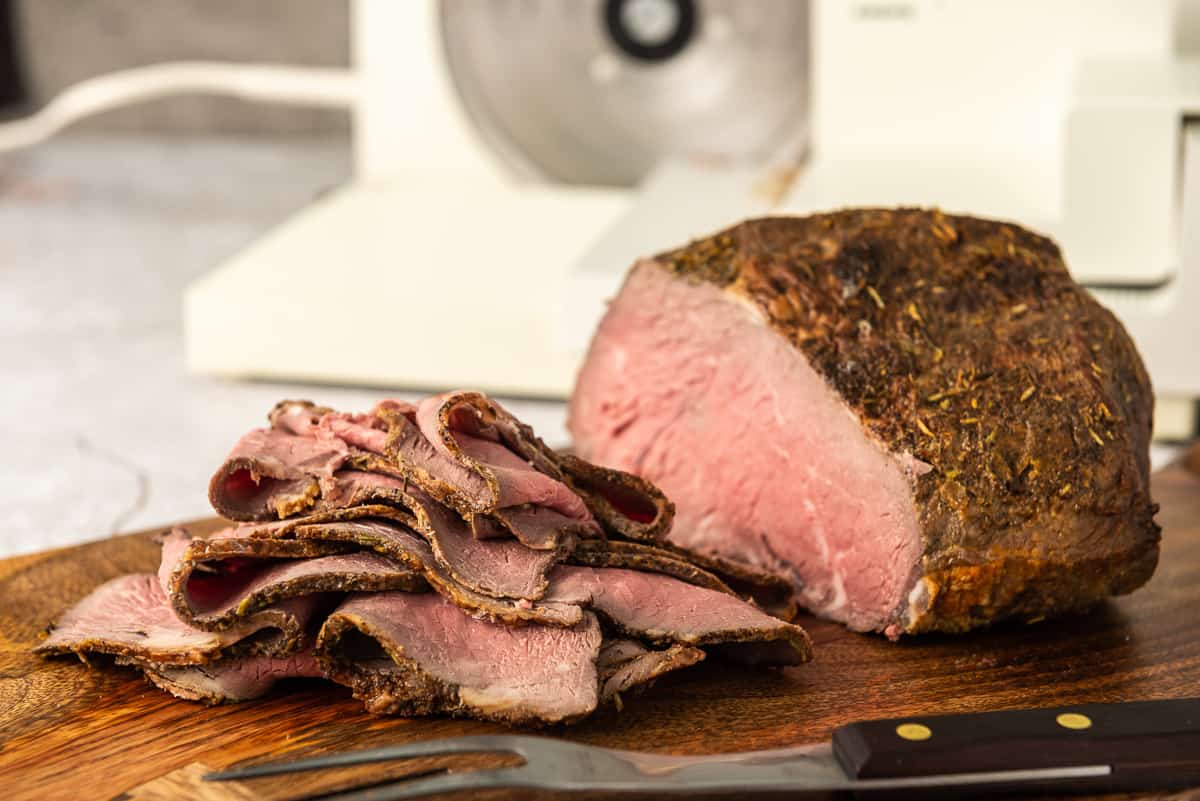
The most important aspect to ensuring a perfectly pink and tender result is to watch the roast closely towards the end of the cooking time. Check the temperature as directed in the recipe card below with an instant read thermometer. Do not allow it to roast beyond 135 F. for the best result.
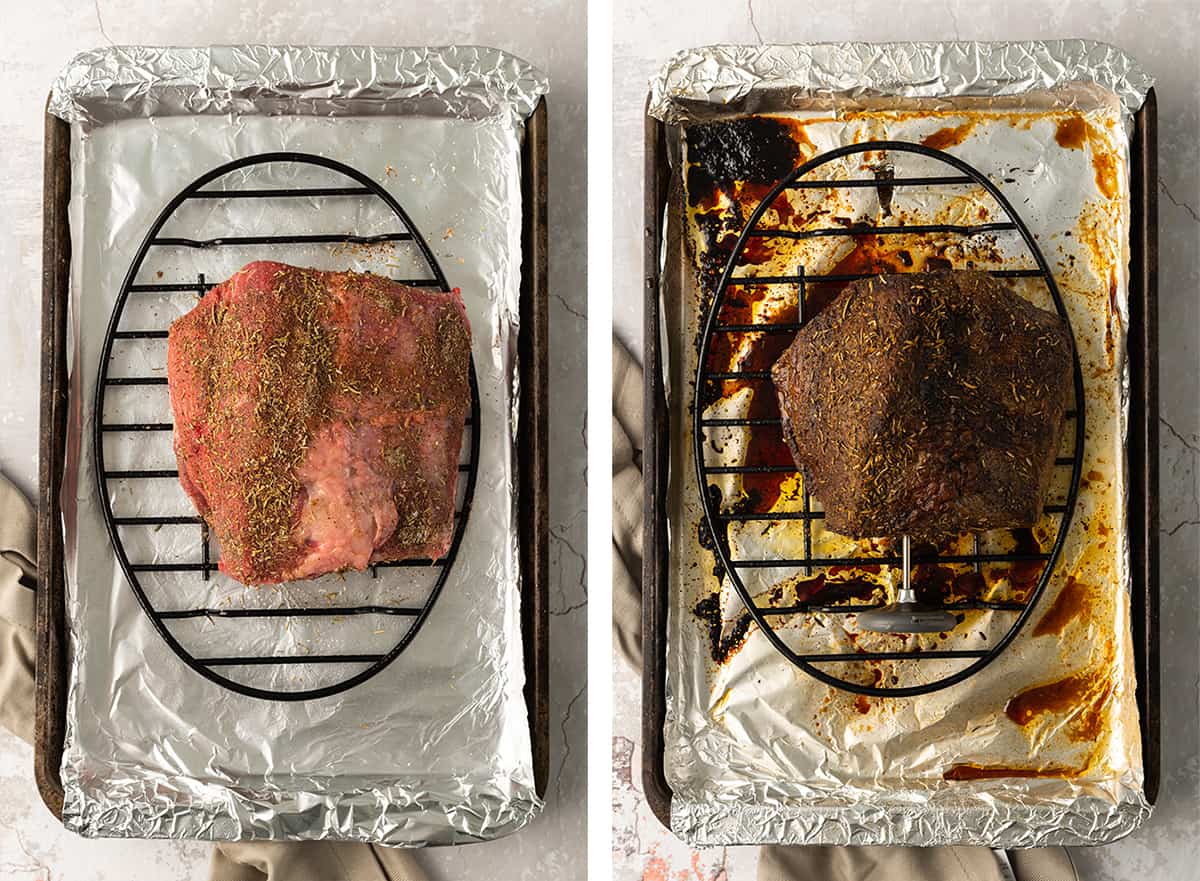
- Remove your roast from the refrigerator and allow it to rest on the counter for 1 hour to take the chill off. Meanwhile, preheat your oven to 500 degrees. Pat your roast with paper towels to dry the surface coat all sides of the roast with olive oil. Sprinkle all sides with the dry rub mixture. Place your roast on a wire rack on a foil lined baking sheet with the fat cap side facing up.
- Transfer to the preheated oven and roast for 15 minutes or until nicely browned. Reduce the oven temperature to 300 degrees F and continue to roast for another 40 to 50 minutes or until the internal temperature reads 130 to no more than 135 degrees F. (medium rare). Begin checking the temperature after 35 minutes by inserting an instant read thermometer through the center of the roast from the side.
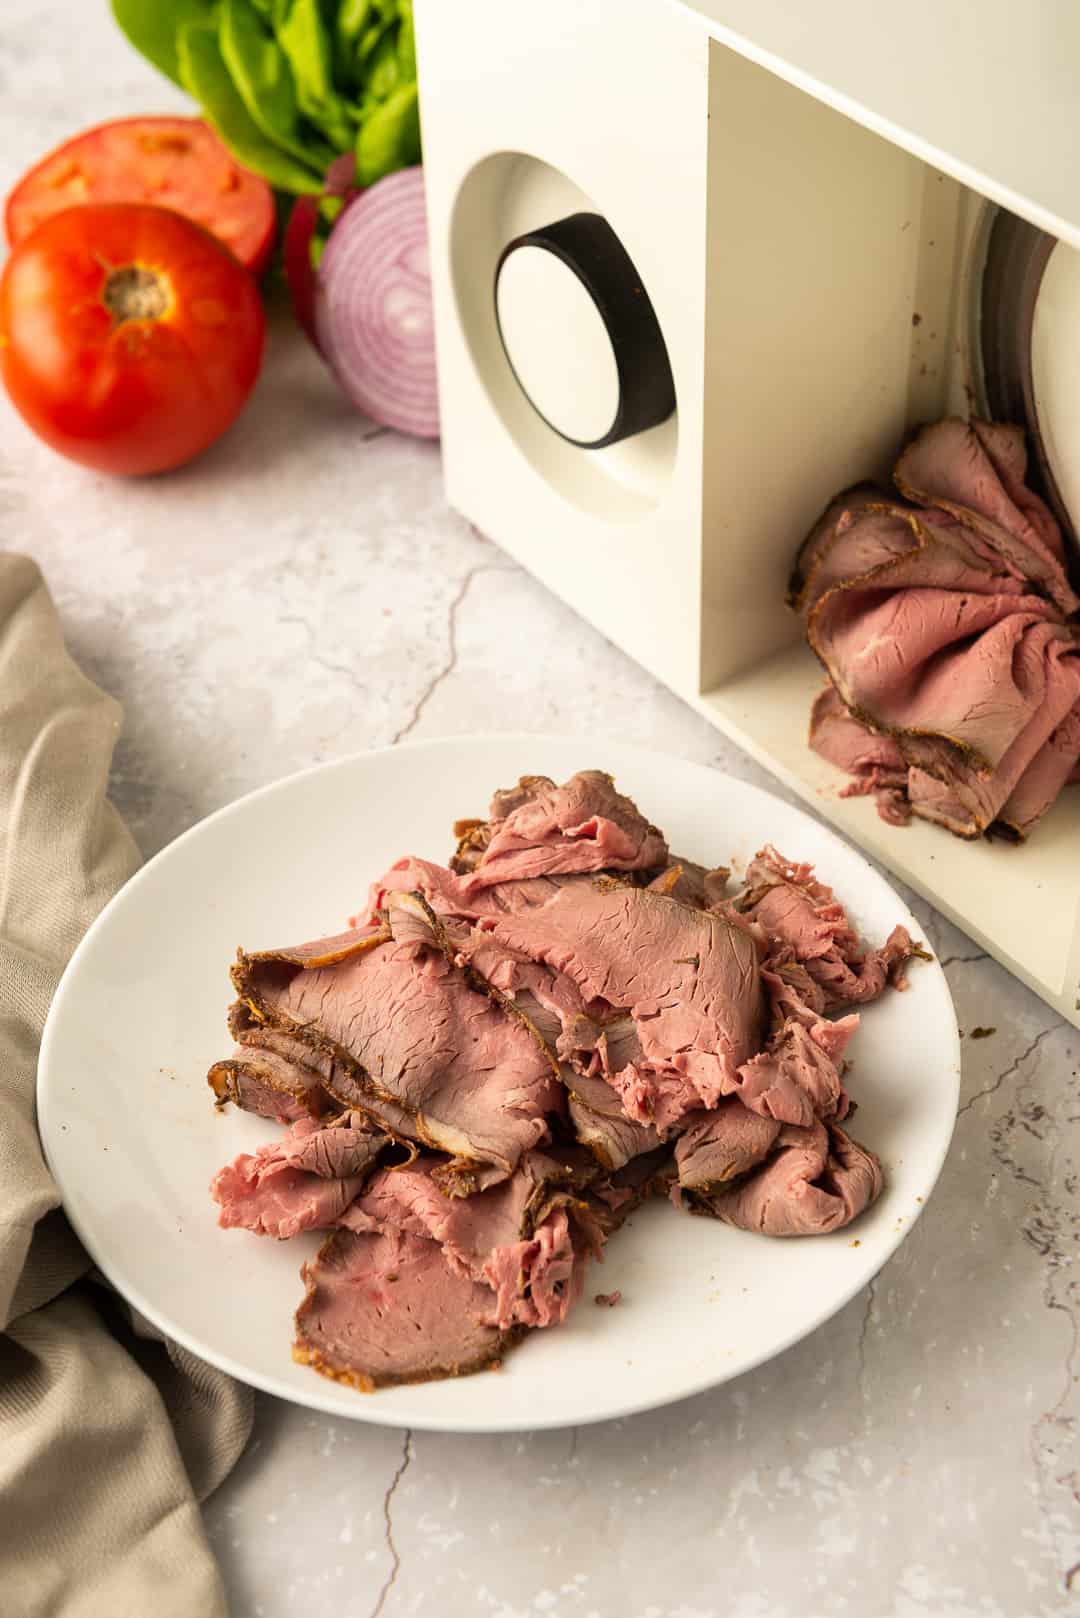
- Allow the roast to cool for at least 30 minutes before slicing. Even better, allow it to rest for 20 to 30 minutes then wrap it with foil and refrigerate it for several hours or overnight.
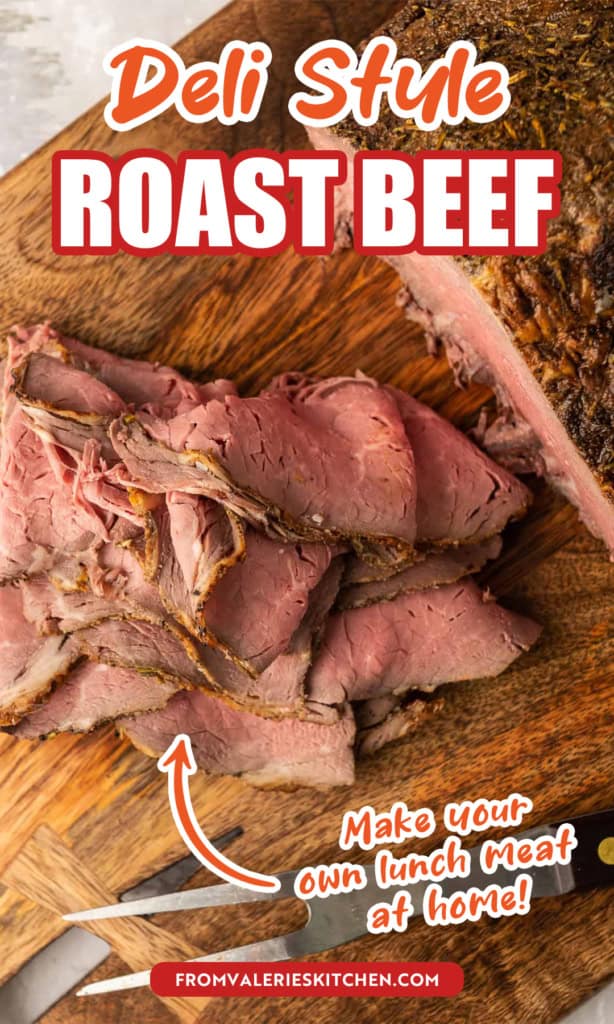
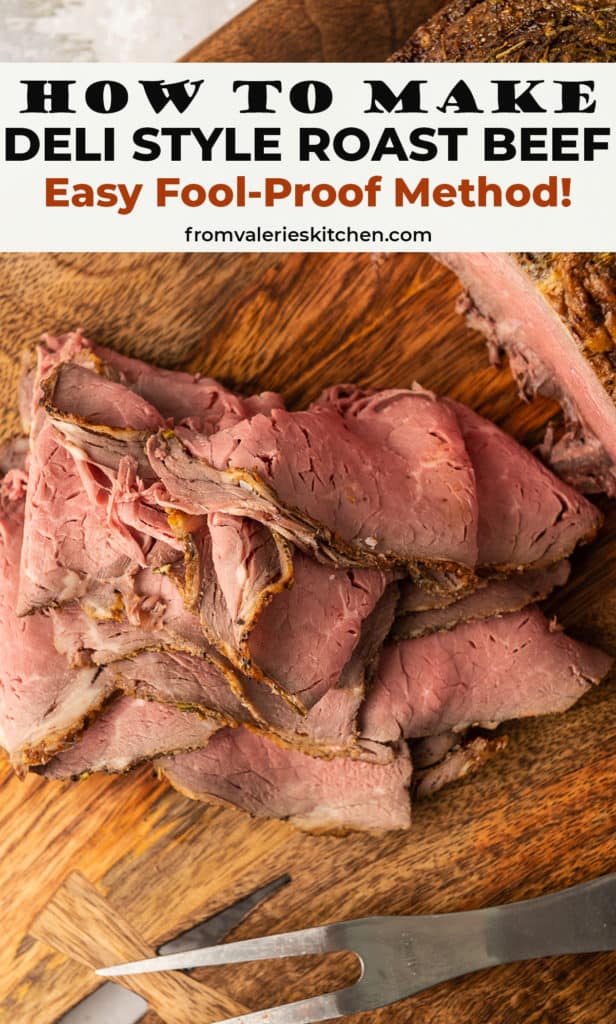
- Slice it across the grain as thinly as possible. Whether you are using a meat slicer or sharp knife, it will be easier to get nice, deli style thin slices if the roast is chilled.
How to Store Cooked Roast Beef
Wrap the cooled, sliced roast beef in heavy duty foil and place the foil packet in a plastic storage bag. Label it with the date and refrigerate it immediately. It can also be stored in shallow, airtight deli meat container.
This Deli Style Roast Beef should be refrigerated and used within 3 to 4 days for the best quality and food safety concerns.
For longer storage, I recommend portioning it out and sealing it with a vacuum sealer. Vacuum sealed deli meat stored in the refrigerator will stay fresh for up to 10 days. Pop it in the freezer and store it for up to 2 to 3 months. Safely thaw frozen cooked meat completely in the refrigerator before serving. No vacuum sealer? Wrap the deli meat securely in wax paper and then a layer of heavy duty foil before freezing.
Serving Suggestions
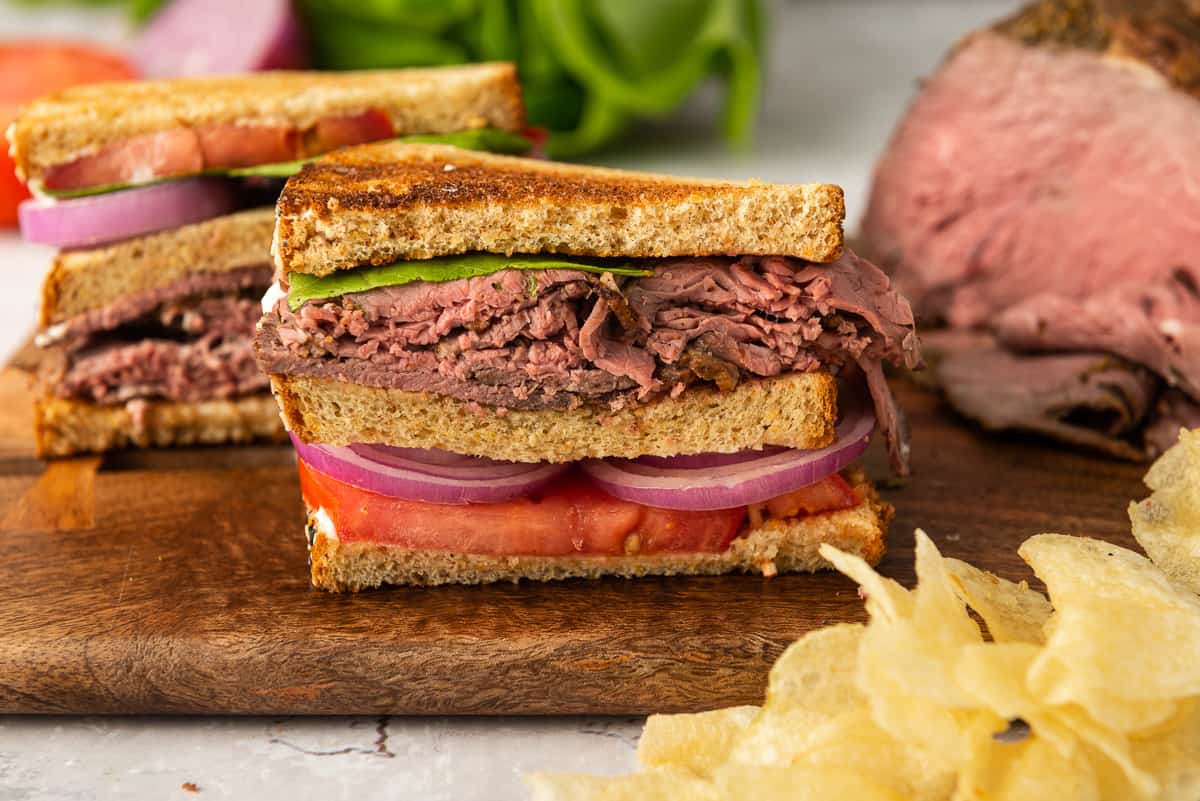
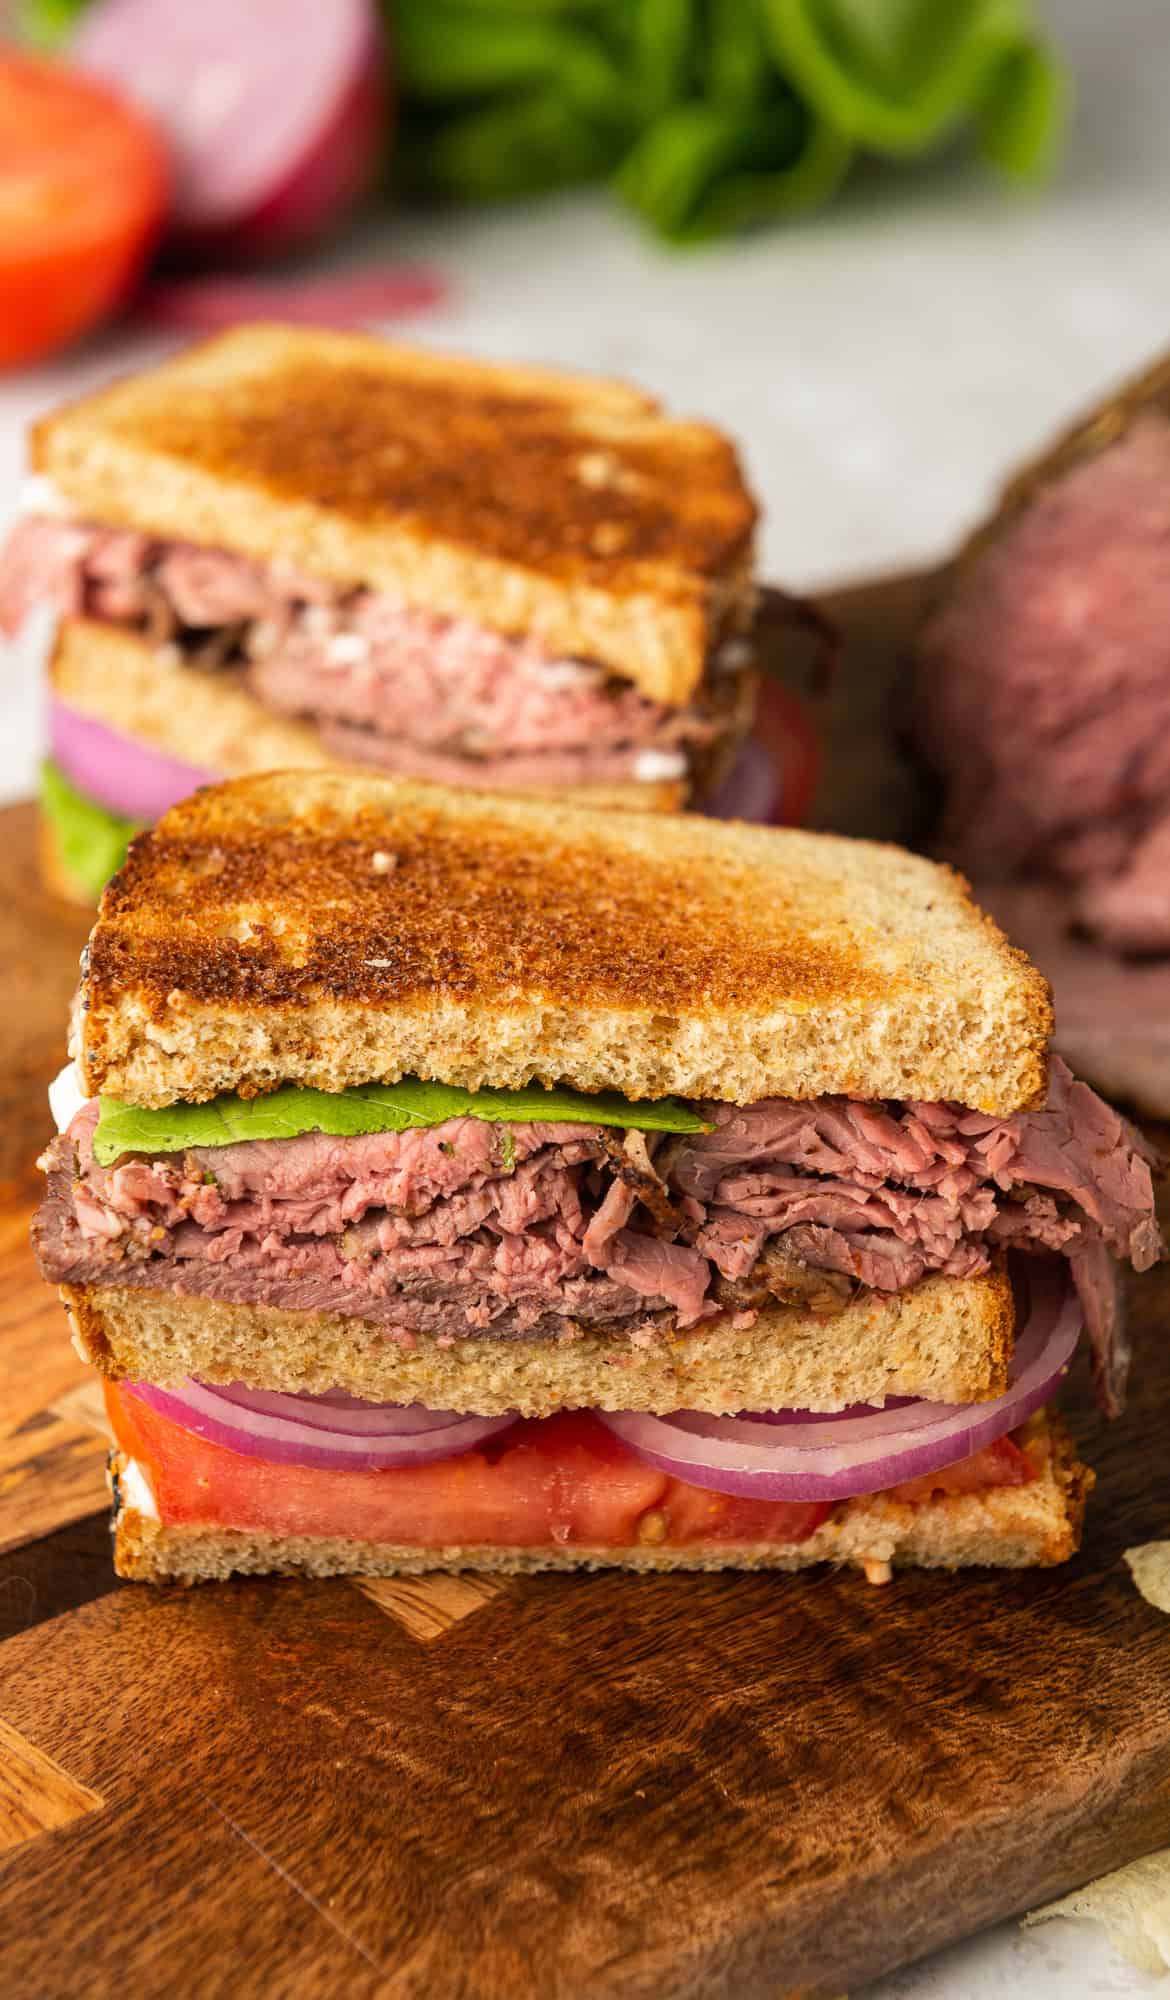
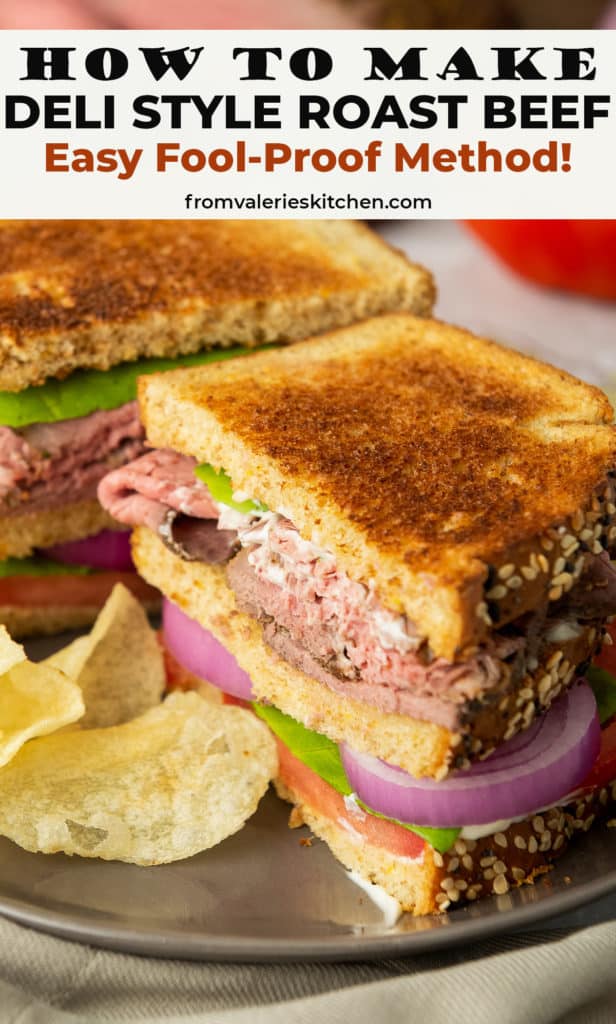
- Pile it on your favorite bread or sandwich rolls with a variety of toppings for super tasty roast beef sandwiches for lunch or an easy dinner.
- Add it to your next charcuterie tray, even if it’s just a casual Netflix and chill snacking session!
- Smear slices with a little softened cream cheese and roll it around blanched asparagus for tasty Roast Beef Rollups.
- Use it to make delicious Italian Roast Beef Sliders.
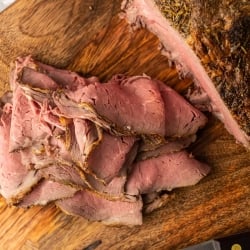
Deli Style Roast Beef
Video
Ingredients
- 2 ½ to 3 ½ pound eye of round roast, (top or bottom round or top sirloin or sirloin tip also work well)
- 2 tablespoons olive oil or enough to generously coat all sides
Roast Beef Seasoning Mix
- 1 teaspoon kosher salt
- 1 teaspoon dried crushed rosemary
- 1 teaspoon dried thyme
- ¾ teaspoon fresh ground black pepper
- ¾ teaspoon granulated garlic or garlic powder
- ¾ teaspoon onion powder
- ½ teaspoon paprika
Instructions
- Remove your roast from the refrigerator and allow it to rest on the counter for 45 minutes to 1 hour to take the chill off.
- Meanwhile, preheat your oven to 500 degrees F.
- Combine all the Roast Beef Seasoning Mix ingredients in a small bowl.
- Pat your roast with paper towels to dry the surface and then drizzle with olive oil and use your hands to rub the olive oil, coating all sides of the roast.
- Sprinkle all sides, including the ends, with the seasoning mix. Place your roast on a rack in a roasting pan with the fat cap side facing up.
- Transfer to the preheated oven and roast for 15 minutes until nicely browned. Reduce oven temperature to 300 degrees F and continue to roast for another 40 to 50 minutes or until internal temperature reads 130 and no more than 135 degrees F. (medium rare). Begin checking temperature after 35 minutes by inserting an instant read thermometer through the center of the roast from the side. Watch it closely because the temperature can rise quickly towards the end of the cooking time. I don’t recommend cooking this roast beyond 135 degrees for the most tender, delicious result.
- Remove from the oven and allow it to rest for 20 to 30 minutes before slicing. Alternately, after the resting time, wrap the roast in foil and refrigerate it for several hours or overnight before slicing. It will be easier to slice thinly when chilled.
- Use a meat slicer or a sharp knife to slice the roast against the grain as thinly as possible.
Notes
Nutrition
Nutrition information is automatically calculated using generic ingredients, and is an estimate not a guarantee. For more accurate results, please refer to the labels on your ingredients at home.


I hate deli meat and was so pleased to come across this recipe. I made it today and have been sending the recipe to allmy friends…male and female. It is perfect. The drippings are few but very tasty when added to a pkg of brown gravy mix! I see hot roast beef in my future.
This recipe came out perfect! It was delicious! Thank you so much!
I’ve never been able to make decent roast beef (possibly because I don’t like it or eat it myself). I made this for my husband tonight. It turned out perfect although I did cook it longer until it was nearly 150 degrees. It was perfectly pink.Thanks, it took me 42 years of marriage but I got there.
I’m so happy to hear this, Bunny! I’m glad it worked out so well for you. Thanks so much for taking the time to leave a comment. 🙂
I made this today and it didn’t disappoint. I used about a 900g eye of round which is a bit smaller than the recipe but followed everything else to the letter and it turned out perfectly. So moist and soooo flavourful, I can see this recipe going on high rotation in my kitchen. Thank you 🙂
Hi Annie. I’m happy to hear it turned out so well for you. Thanks so much for taking the time to leave a comment. 🙂
A great technique to use on any lean meat.
I loved this review recipe! Super flavor, very moist and tender! Will definitely make again.
So glad you loved it, Lori!
Would it work well to prepare as directed, and chill in fridge for a day or two, then put in crock pot with broth/au jus to serve as hot beef sandwiches?
Hi Suzie. You can definitely allow the roast to rest in the fridge after cooking for a day or two before slicing and serving. It would be delicious served with an au jus, but if you add the cooked, sliced beef to a slow cooker it will continue to cook and I’m not sure how that would turn out. If you decide to try it, be sure to let me know how it works out for you.
Did exactly as stated. Mine came out dry. Guess I go back to the her crock pot for all roasts except prime rib
Did you cover the roast after roasting?
This was so easy and my roast came out just like the picture ! I had a 5# roast, so I doubled the seasonings. I went light on the rosemary and thyme because of personal preference. It was flavorful and had a good crisp outside and a tender inside!
I actually used a venison roast and let it go to 140° for a perfect medium. Used a meat slicer to get thin slices. Added to toasted hoagie rolls with mozzarella and au jus. Absolutely delicious!!
Sounds so good! Thanks, Cheri. 🙂
Came out great, my family loved it! Thx!
Wow, this recipe is great! I had to adjust the cooking time for our meat because it was bigger and thicker, but it still came out delicious! Thank you for such an easy marinade!