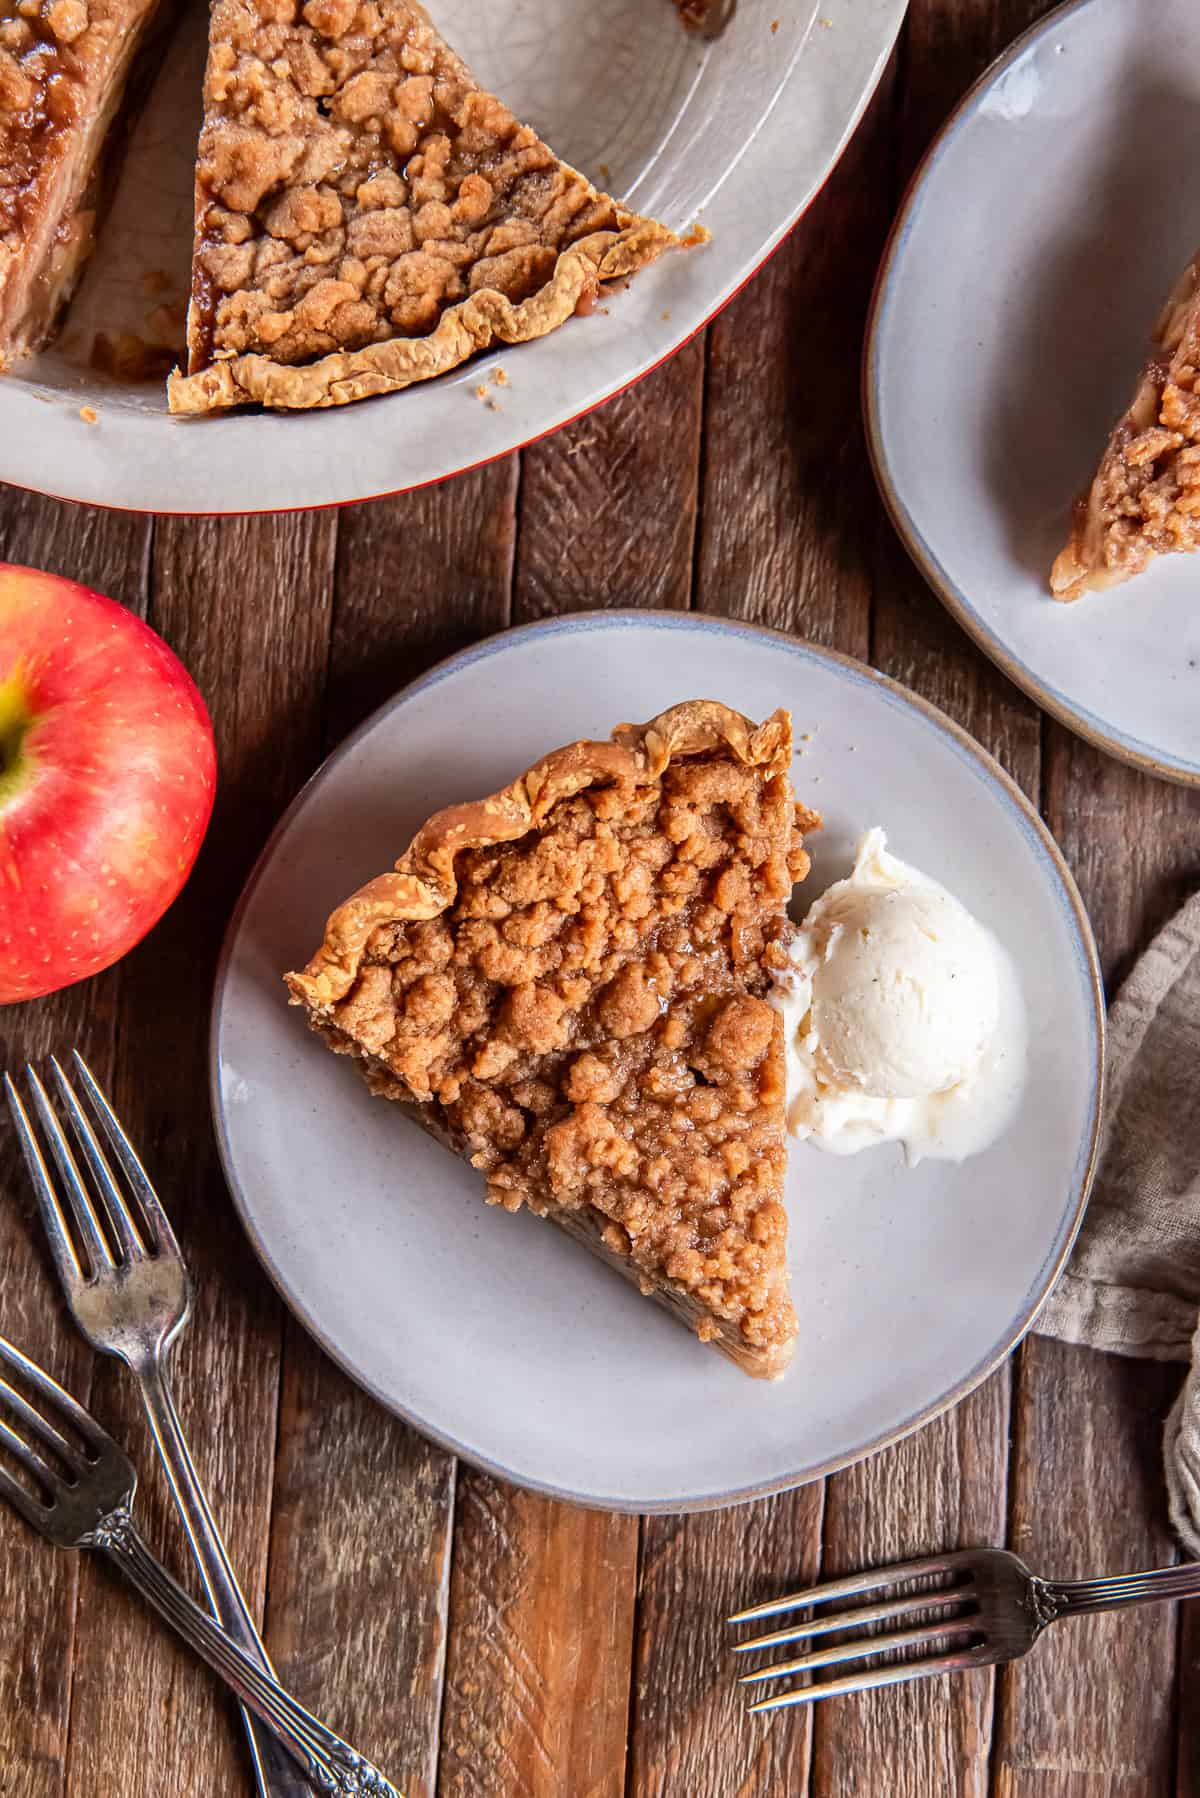
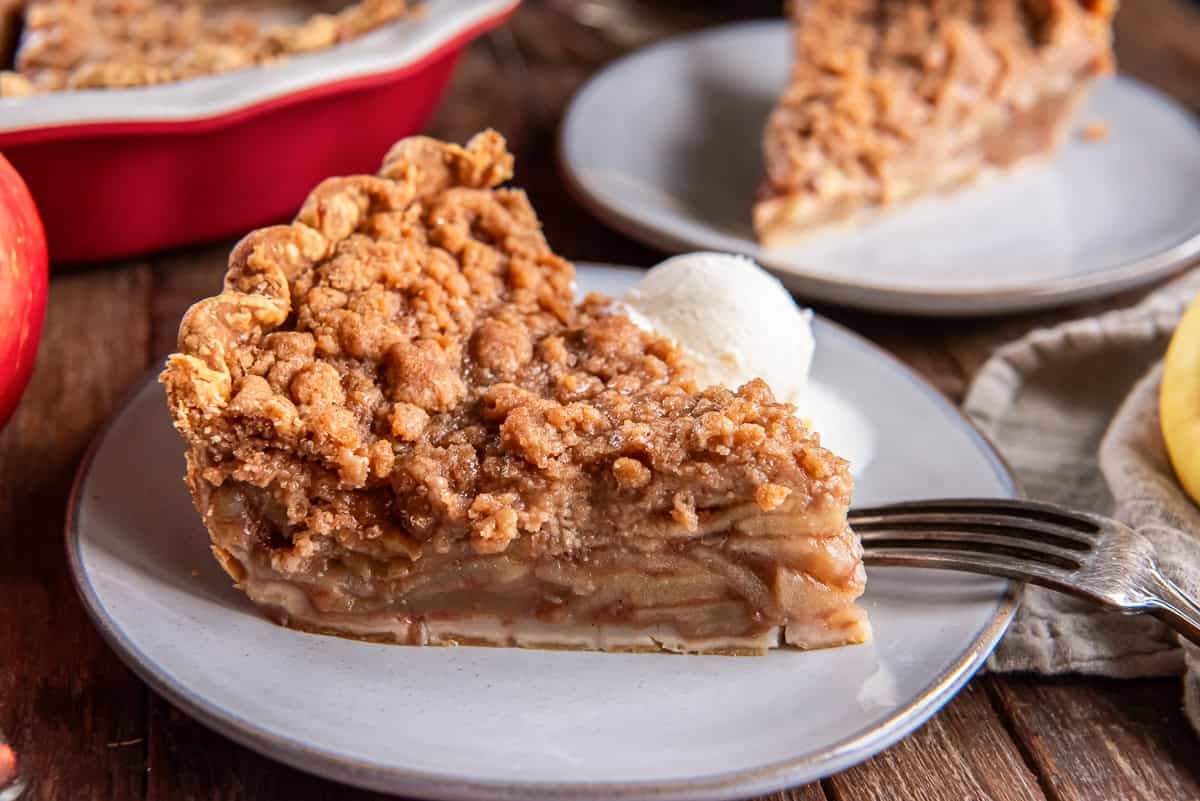
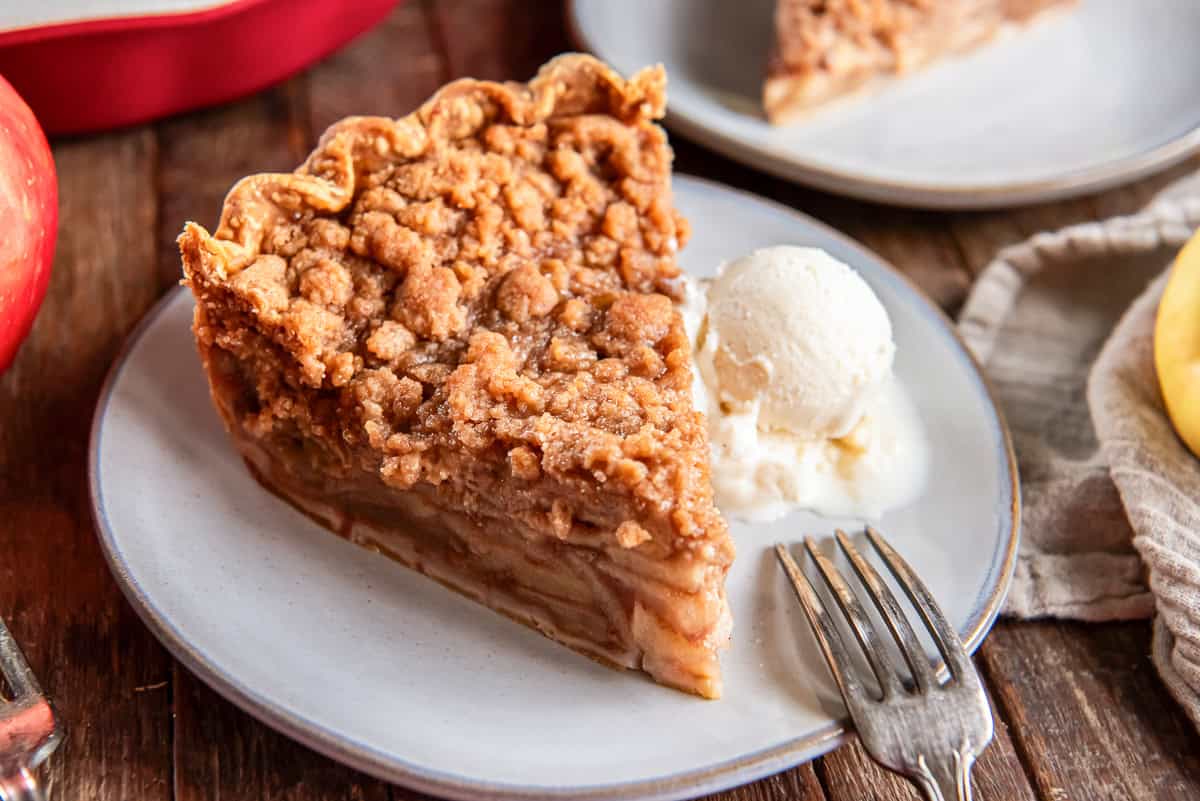
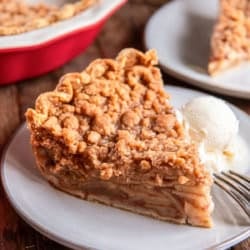
This Dutch Apple Pie with a crumb topping combines tender cinnamon-spiced apples with a buttery streusel that bakes up crisp, sweet, and golden. It’s warm, cozy, and simple to make. The perfect pie for fall baking or any holiday table.
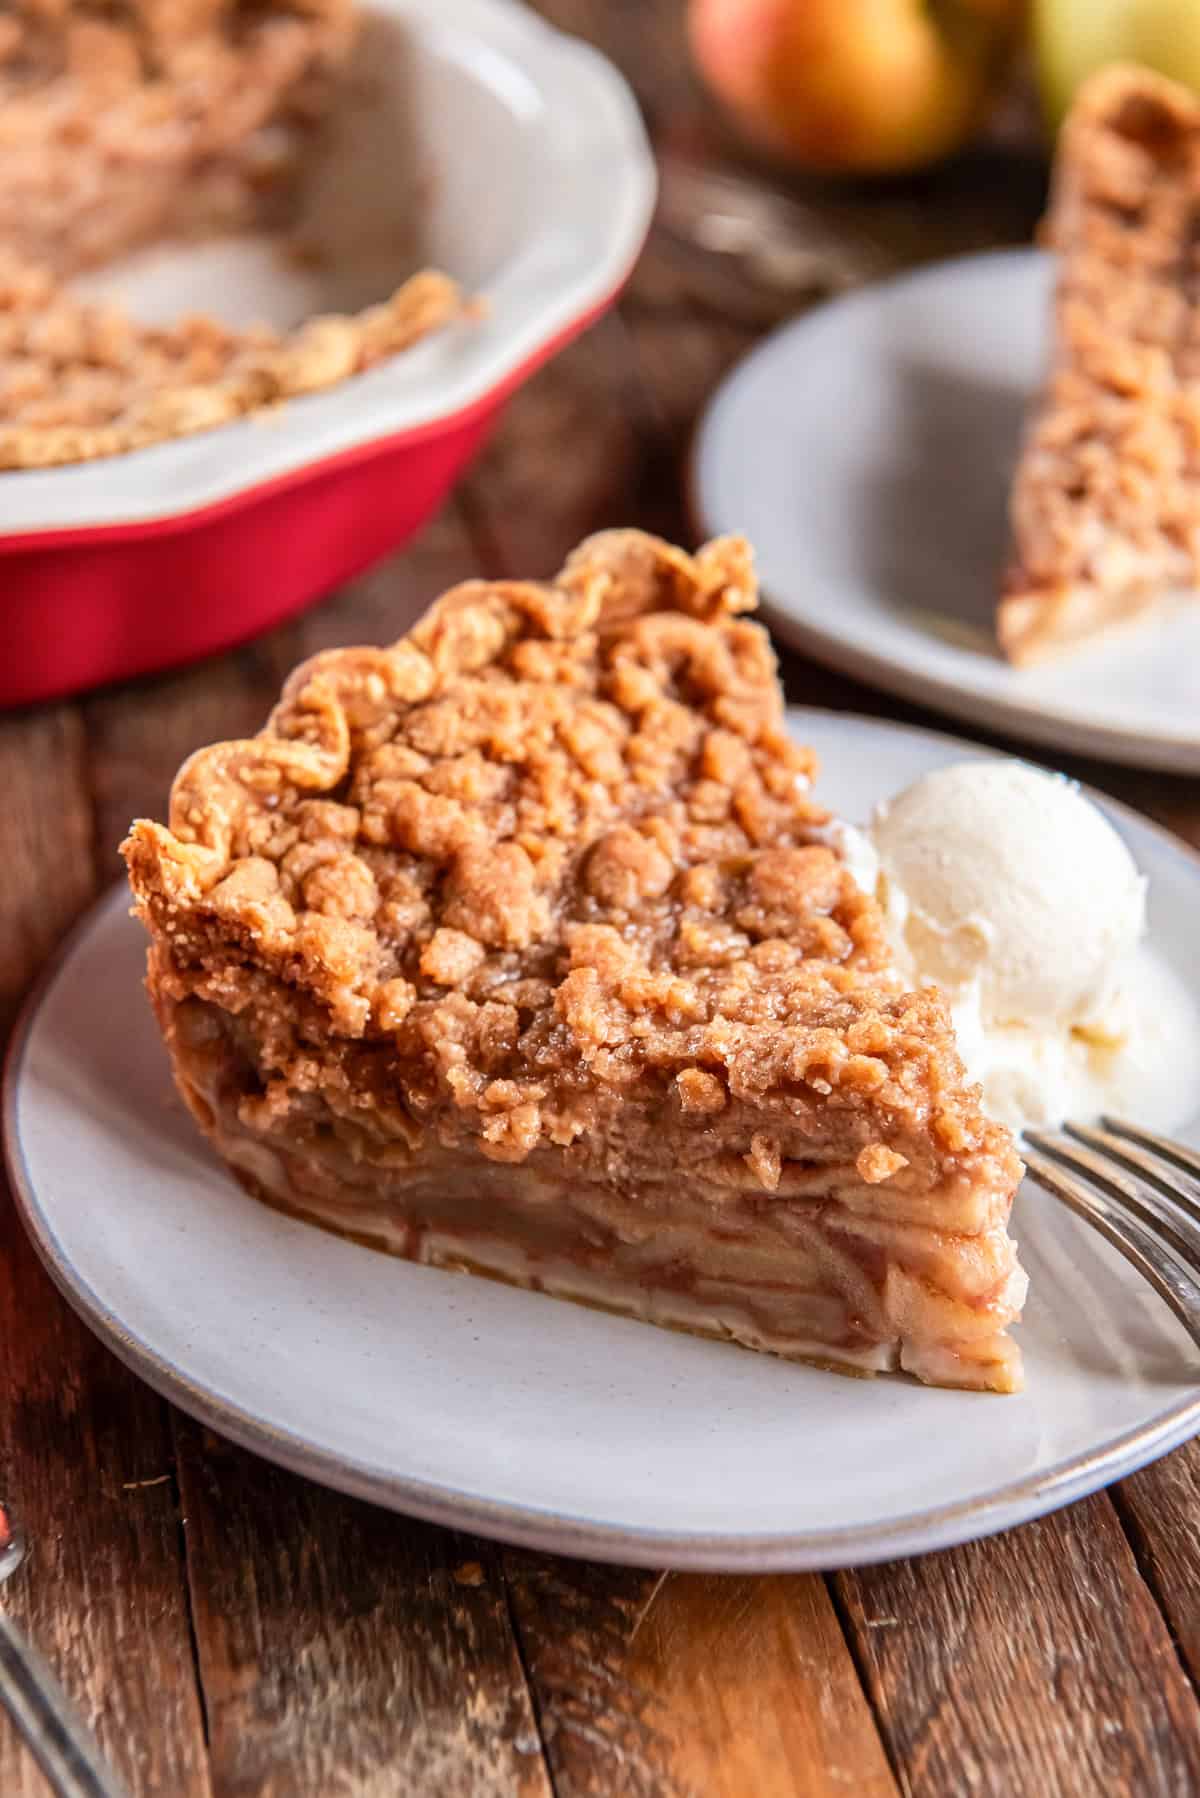
There’s just something so special about a homemade apple pie served with a scoop of vanilla ice cream, and this crumb-topped version hits that sweet spot between classic and easy.
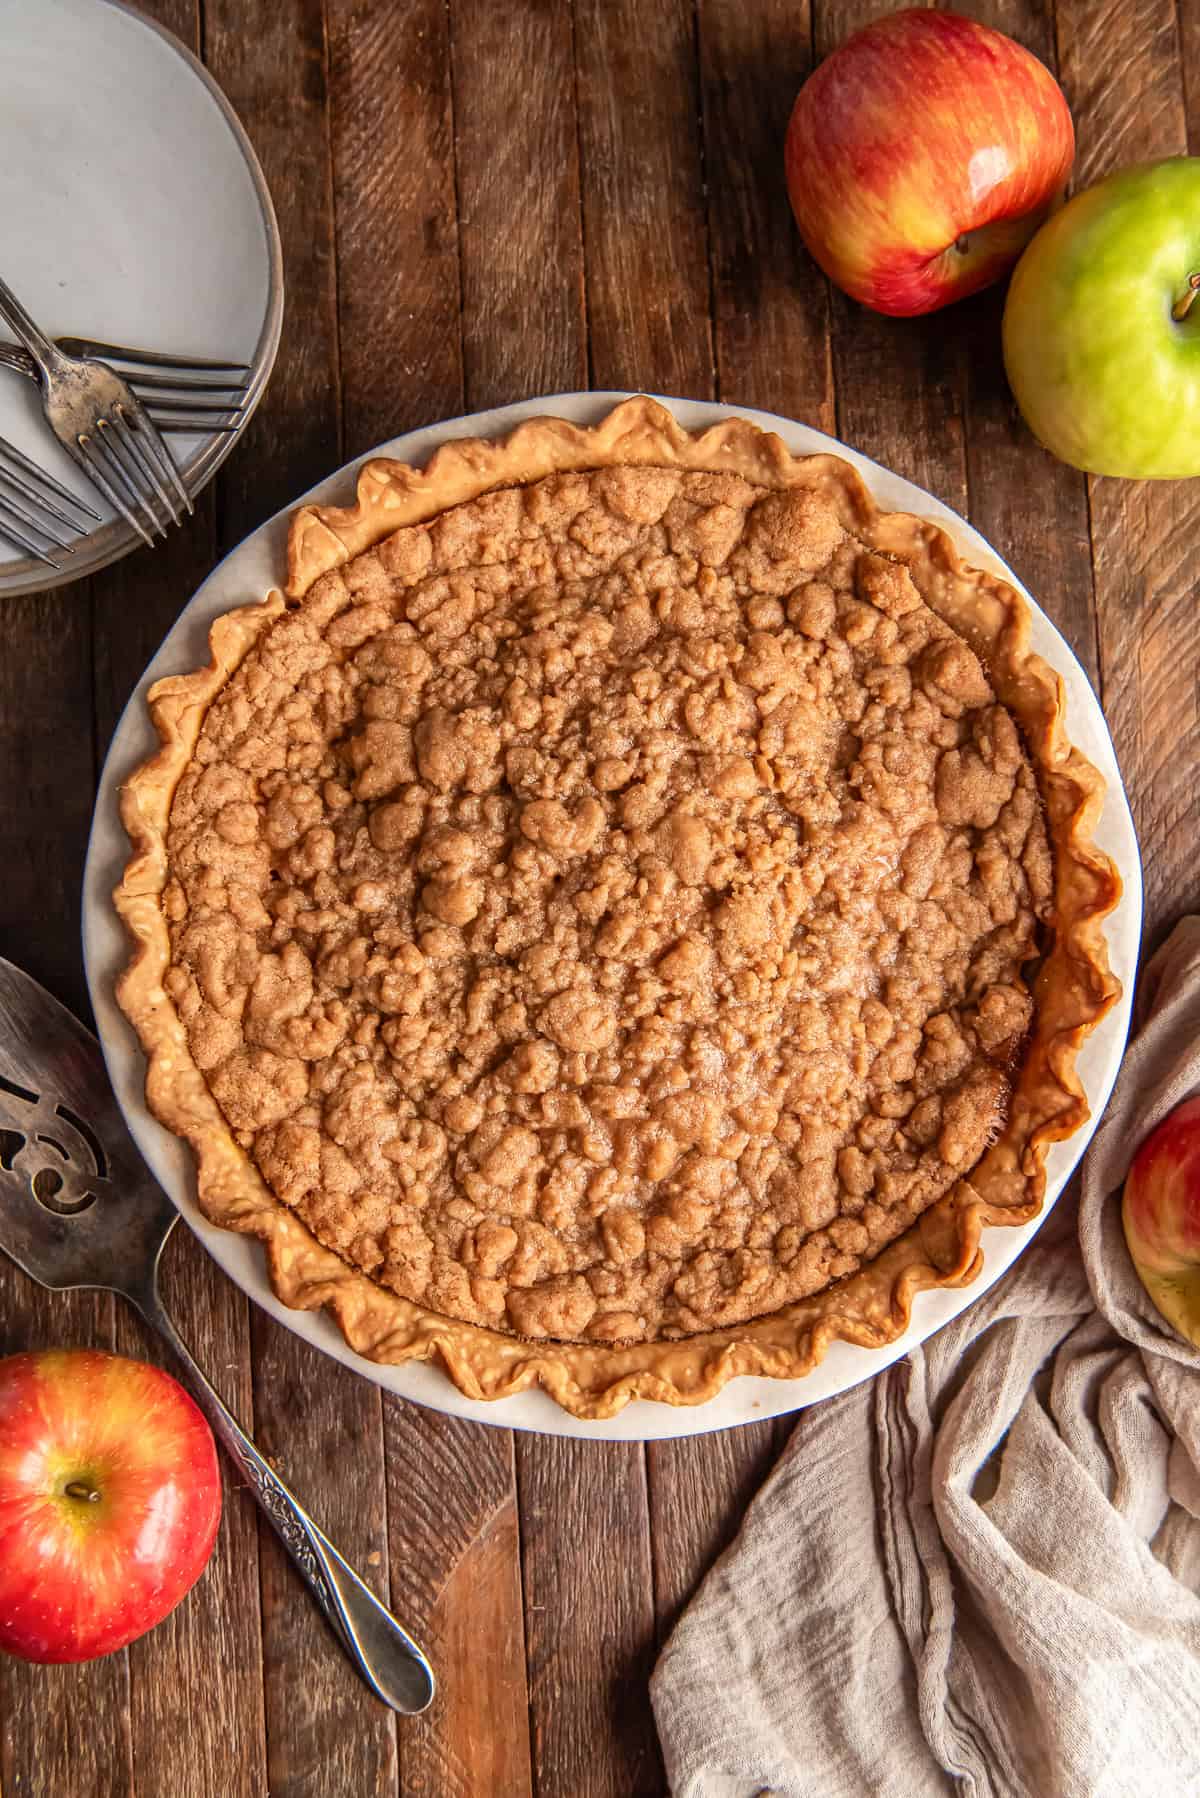
A Dutch apple pie skips the traditional top crust and instead, it’s finished with a sweet, buttery crumble topping that bakes up crisp and golden. With tender spiced apples, a flaky crust on the bottom and golden streusel on top, it is bakery-level delicious with less effort.
If you love the tradition of a Classic Double Crust Apple Pie, but want something a little more relaxed (one less crust to roll out!), this apple crumb pie is the perfect pick. And if you’re looking for something even easier, my Skillet Apple Cobbler fits the bill.
Table of contents
Ingredient Notes
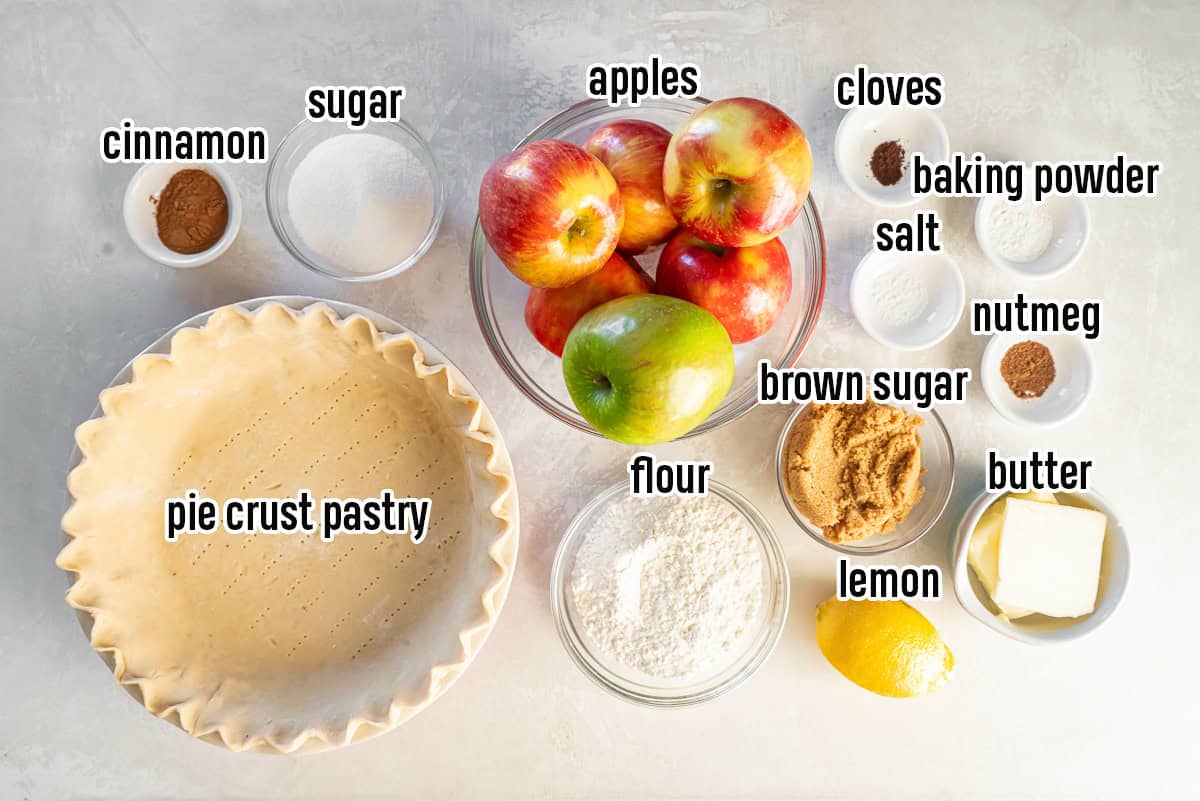
- Best Apples: A mix of sweet and tart apples creates the best flavor and texture. I like to use a mix of sweet Gala, Honeycrisp, or Fuji apples with one tart Granny Smith apple in the mix for balance. Slice them thinly so they cook down evenly and create that classic soft apple filling.
- Pie Crust Pastry: Use a deep-dish 9-inch crust. My Food Processor Pie Crust is so easy to make and works perfectly here, but a good-quality store-bought crust is just fine if you want to save time.
- Fresh Lemon Juice: Helps prevent the apples from browning and brightens the flavor of the filling.
- Warm Spices: Cinnamon, nutmeg and cloves give this pie its cozy fall flavor. Don’t skip the cloves — just a little makes a big difference in the aroma and depth.
- Brown Sugar + Granulated Sugar: The combination adds caramel-like richness (from the brown sugar) while keeping the filling sweet but not overpowering.
- Butter: Used for the crumb topping to create a rich, golden, bakery-style streusel that crisps beautifully in the oven.
- Baking Powder: A small amount in the crumb topping adds lightness, helping the crumbs stay tender.
How to Make Dutch Apple Pie
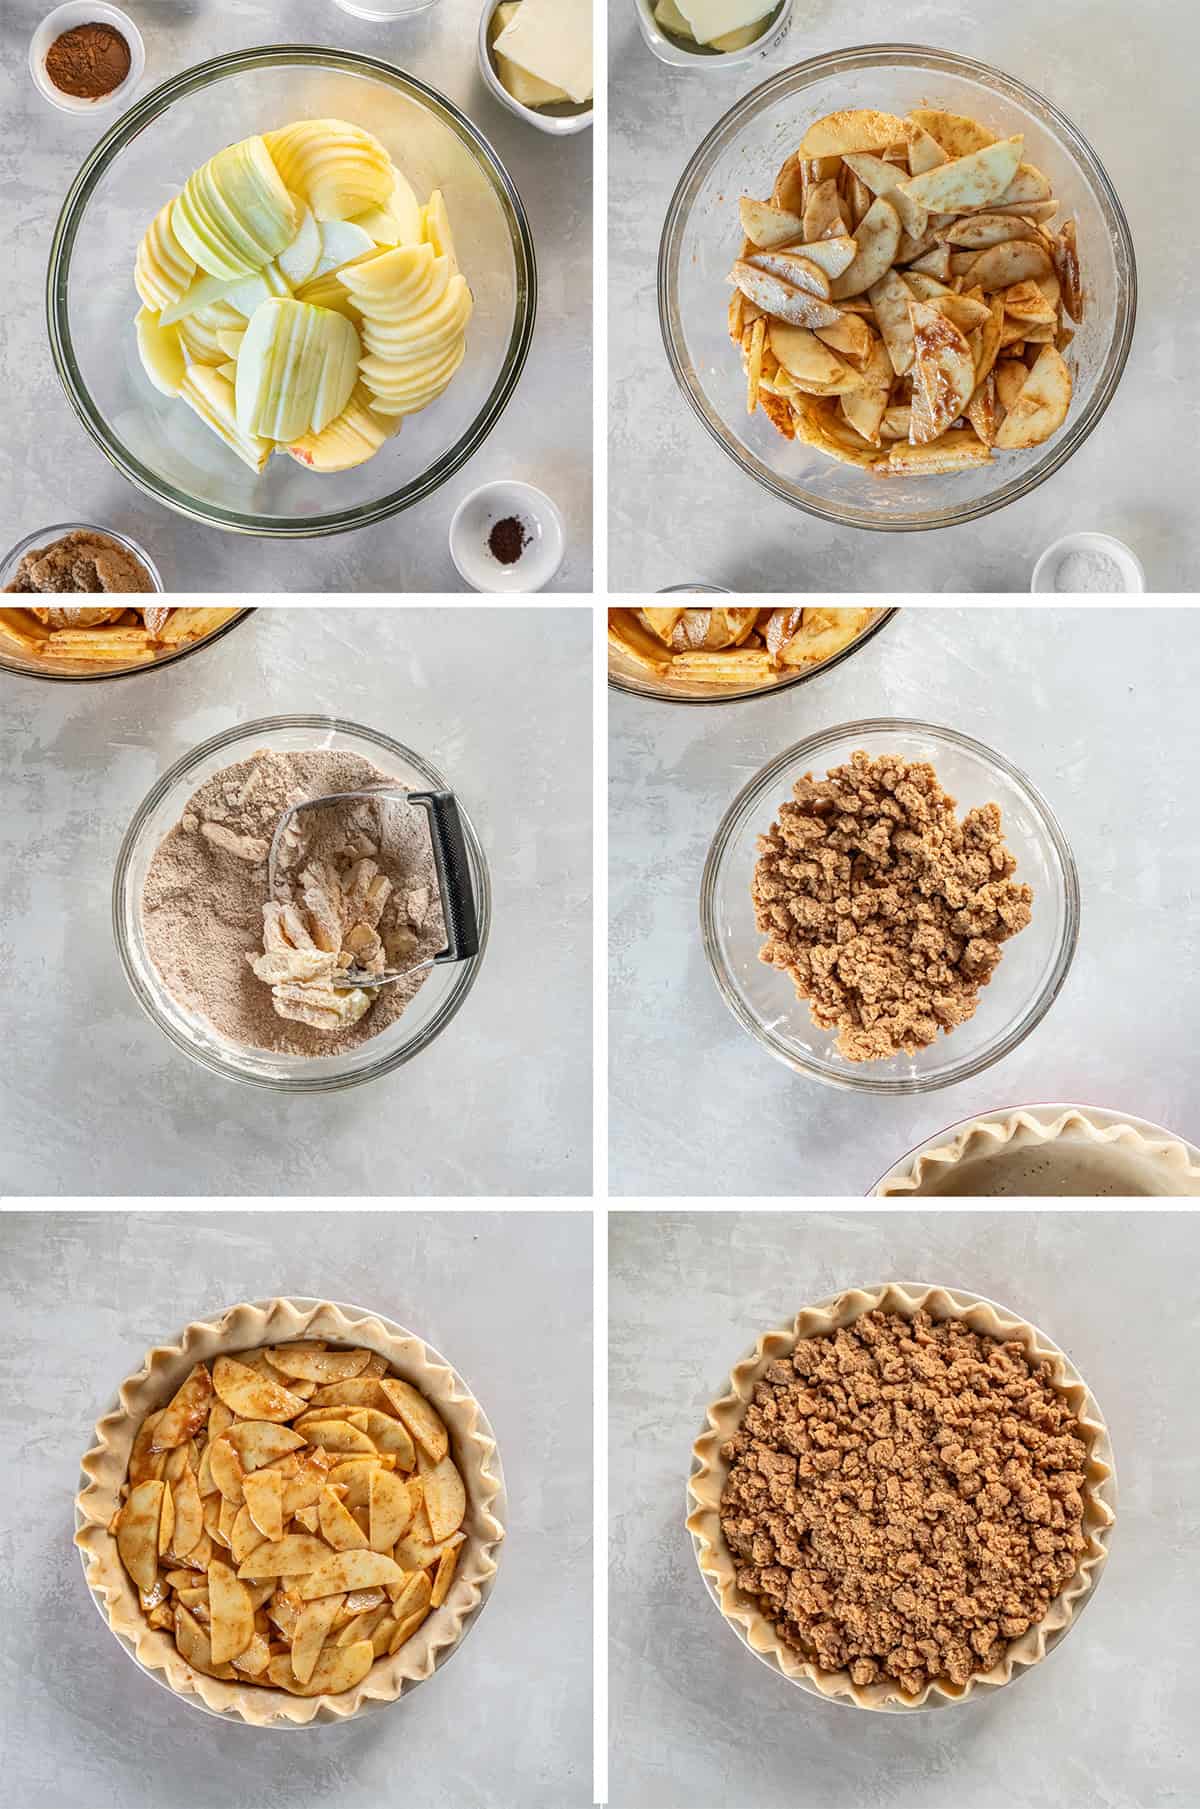
- Prep the Apples: Peel, core, and slice the apples thinly, then place them in a large mixing bowl.
- Season the Filling: Toss the sliced apples with lemon juice, sugar, flour, cinnamon, cloves, and nutmeg until all slices are well coated.
- Start the Crumb Topping: In a separate bowl, mix the flour, brown sugar, cinnamon, baking powder, and salt. Add the softened butter and begin cutting it into the mixture with a pastry blender.
- Finish the Crumbs: Continue blending, then use your hands to bring the mixture together until it forms large, coarse crumbs. Set aside while you assemble the pie.
- Fill the Crust: Transfer the apple mixture to the prepared pie crust and spread it out evenly, lightly pressing the apples down so they’re compact and level.
- Add the Topping and Bake: Sprinkle the crumb topping evenly over the apples. Place the pie on a foil-lined baking sheet and bake at 375 degrees F for 25 minutes. Loosely tent with foil, then continue baking for 30 to 35 minutes, or until the topping is golden and the filling is bubbling.
Tips for the Best Dutch Apple Pie
Dock the crust. Lightly prick the bottom of the pie crust with a fork before filling. This helps prevent air pockets and keeps the crust from puffing up as it bakes.
Slice the apples thin. Thin, even slices bake more quickly and soften uniformly, which protects the crumb topping from over-browning during the longer bake time apple pies require.
Don’t underwork the crumb topping. A common mistake is stopping too soon. After cutting the butter into the dry mixture, use your hands to press and work it until it the mixture forms one big clump. Then break it apart into coarse crumbs. If it still looks floury or dusty, it needs more working.
Use a lower oven rack. Bake the pie in the lower third of the oven (I use the 2nd position from the bottom). This helps the bottom crust bake through and prevents it from getting soggy.
Protect your oven (and your topping). Place the pie on a foil-lined baking sheet—apple pies love to bubble over. Bake uncovered for the first 25 to 30 minutes, then loosely tent with foil to prevent the crumb topping from burning. Even under foil, it will deepen in color, but uncovered it will likely over-brown.
Cool before serving. If you don’t mind softer slices, you can serve it after 1 to 2 hours. For clean slices that hold their shape, let the pie cool for 3 hours or longer. Once cooled, you can always rewarm individual slices in the microwave for 10 to 15 seconds to bring back that just-baked warmth.
Make-Ahead and Freezing Tips
This pie is an excellent make-ahead option for holidays and gatherings.
- Bake ahead: Bake the pie, cool completely, cover tightly, and store at room temperature for up to 1 day before serving.
- Pie pastry: Make the crust dough in advance and refrigerate for up to 5 days or freeze for up to 3 months.
- Freeze the baked pie: Wrap well and freeze for up to 3 months. Thaw overnight in the refrigerator, then let it come to room temperature before serving.
Storage Tips
Cover leftover pie and store at room temperature for up to 1 day, or refrigerate for up to 4 days. For the best texture, let chilled slices sit at room temp for about 20 minutes. To rewarm individual slices, microwave for 10 to 15 seconds or bake on a sheet at 325 degrees F for 6 to 8 minutes to re-crisp the crumble.
Sign up for my free newsletter for all the latest recipes and join me on Facebook, Instagram and Pinterest for more cooking inspiration!
Dutch Apple Pie
Ingredients
- 5 to 6 (2½ to 2¾ pounds) apples, peeled, cored, and sliced thinly (*see notes below)
- 1 lemon, juiced
- ¼ cup all-purpose flour
- ½ cup granulated sugar
- 2 teaspoons cinnamon
- ¼ teaspoon ground cloves
- ¼ teaspoon ground nutmeg
- 1 9-inch pie crust pastry, chilled (homemade or store-bought)
Crumb Topping
- ½ cup butter, softened
- 1 cup all-purpose flour
- ⅔ cup packed brown sugar
- 1 teaspoon cinnamon
- ½ teaspoon baking powder
- Pinch of salt
Instructions
Make the Pie Filling
- In a large bowl toss the apples with the lemon juice. Set aside.
- In a small bowl combine ¼ cup flour, granulated sugar, 2 teaspoons cinnamon, cloves, and nutmeg. Add the mixture to the apples and toss well to combine. Set the filling aside while you preheat the oven and roll out your pie crust. The apples will let off some liquid and soften slightly as they rest.
- Preheat oven to 375 degrees F. Roll out the chilled pie crust and transfer to a 9-inch deep dish pie plate. Flute or crimp edges, as desired and set aside.
Make the Crumb Topping
- In a medium bowl, use a pastry blender to combine the butter, 1 cup flour, brown sugar, 1 teaspoon cinnamon, and salt, until the butter is well incorporated. Go in with your hands and work the mixture until it begins to hold together in one big clump. Then, loosen it up into a crumb mixture.
Assemble and Bake the Pie
- Use a fork to lightly prick (dock) the bottom of the crust all over. Pour the apple filling into the crust and use your hands to press the apples down lightly into the crust, compacting them a bit. Sprinkle the crumb topping evenly over top of the apples.
- Place the pie onto a large baking sheet or sheet of foil (see note below about baking on a foil covered pizza stone) and transfer it to a lower rack in the oven (I use the 2nd position from the bottom). This is an important step to protect your oven from the sticky filling that will likely seep out a bit. Bake for 25 minutes, then lightly drape a sheet of foil over the pie to prevent the crumble from burning (even covered it will continue to brown – but less). Bake for an additional 30 to 35 minutes, or until the apples are tender when pierced with a wooden skewer, the crust and crumb topping are deep golden brown, and the filling is bubbling. Transfer to a wire cooking rack.
- Allow the pie to cool for 2 to 3 hours at room temperature before serving. This time allows the filling to thicken and set up.
Notes
Nutrition
Nutrition information is automatically calculated using generic ingredients, and is an estimate not a guarantee. For more accurate results, please refer to the labels on your ingredients at home.
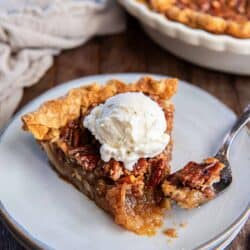
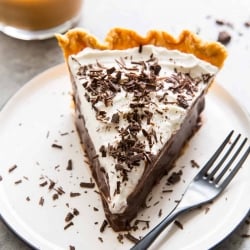
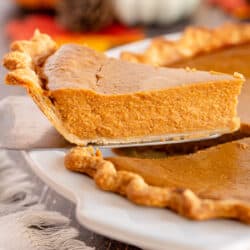
More Pie Recipes