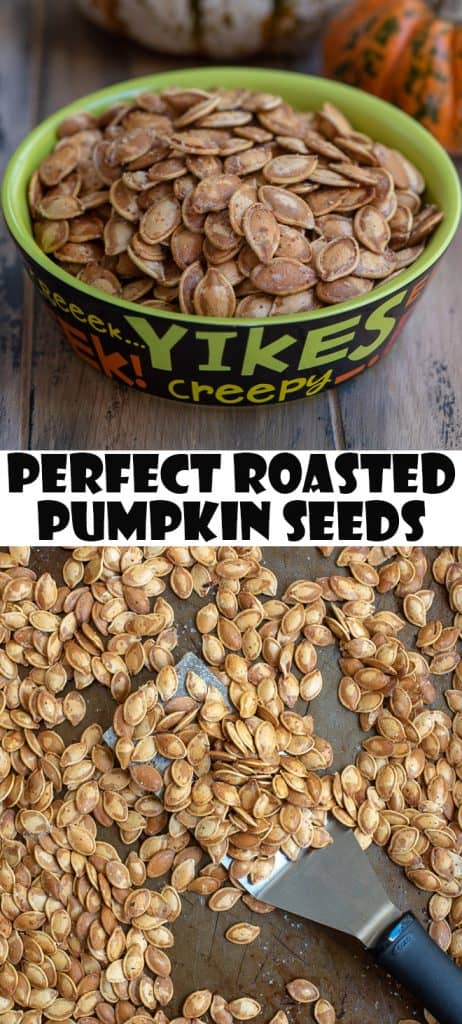
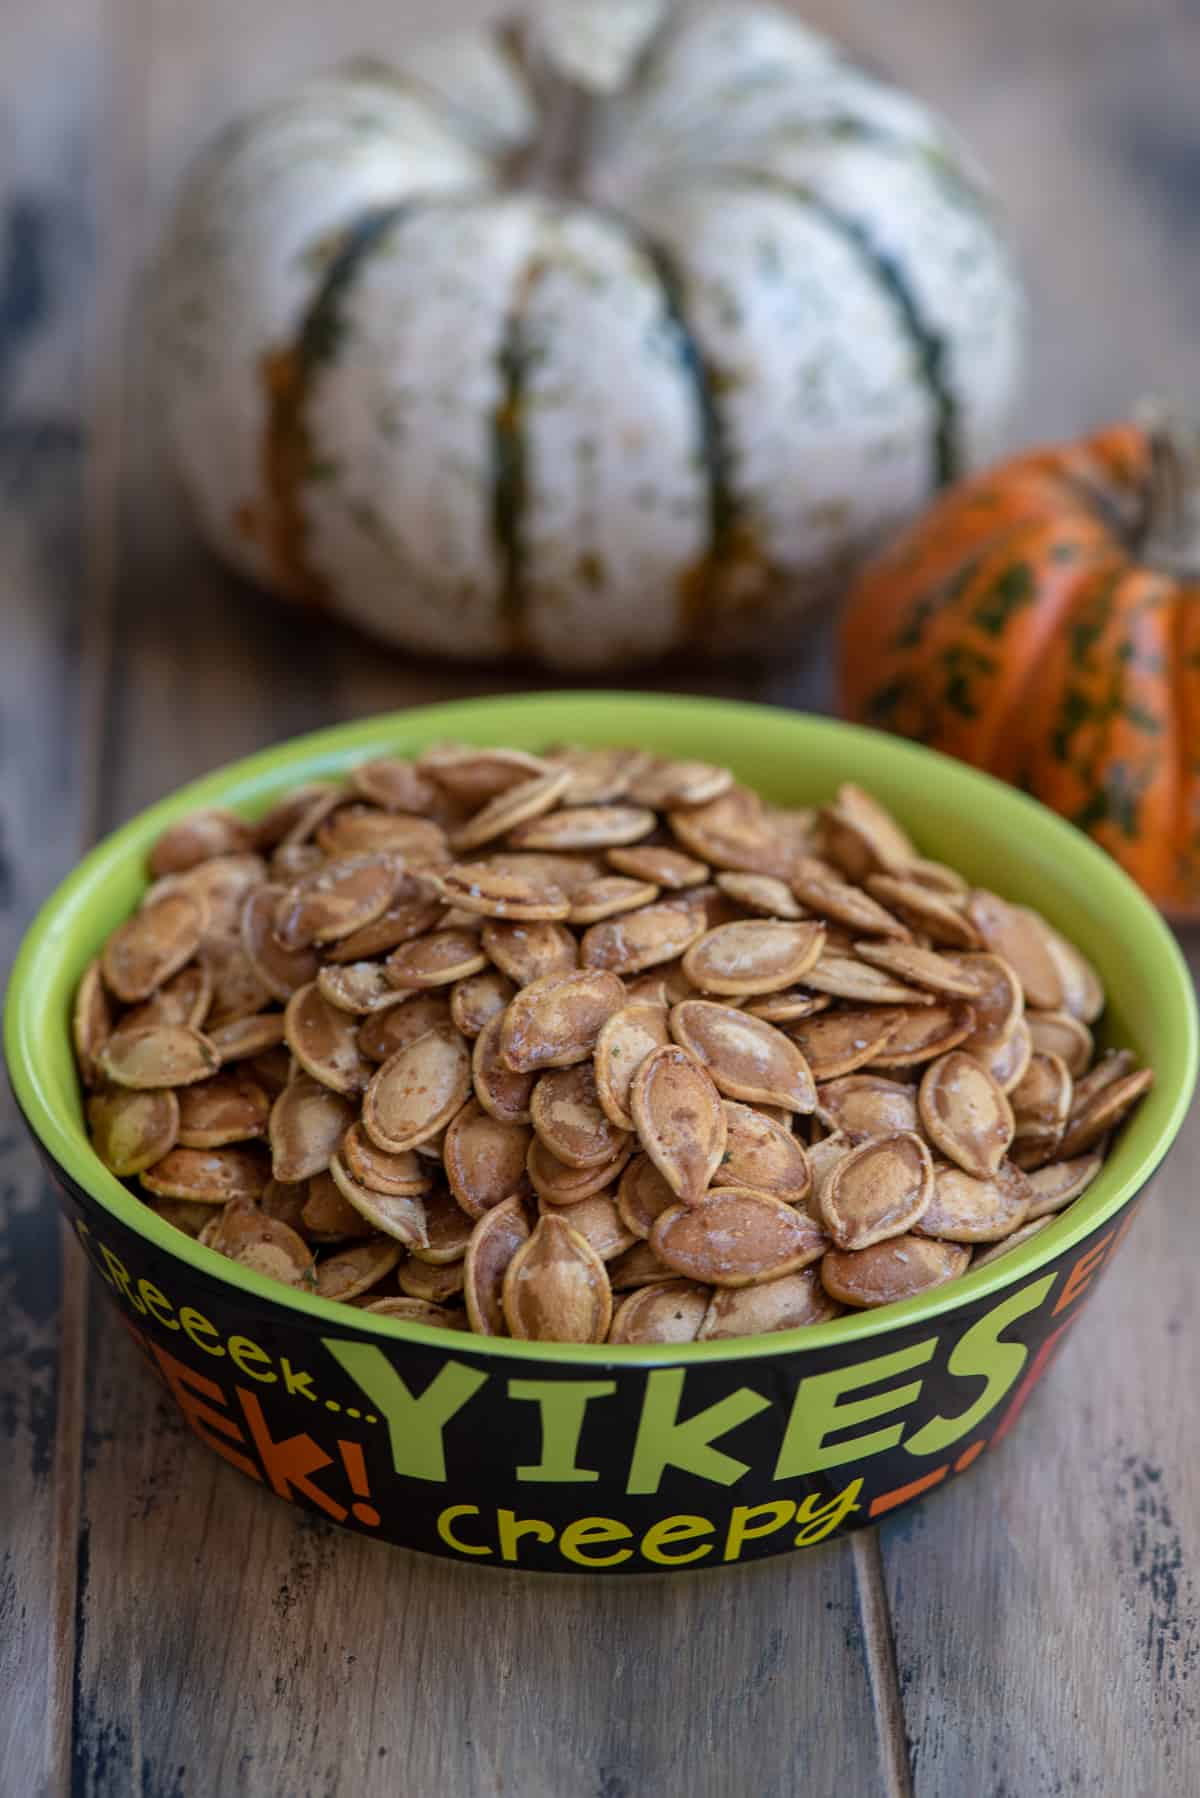
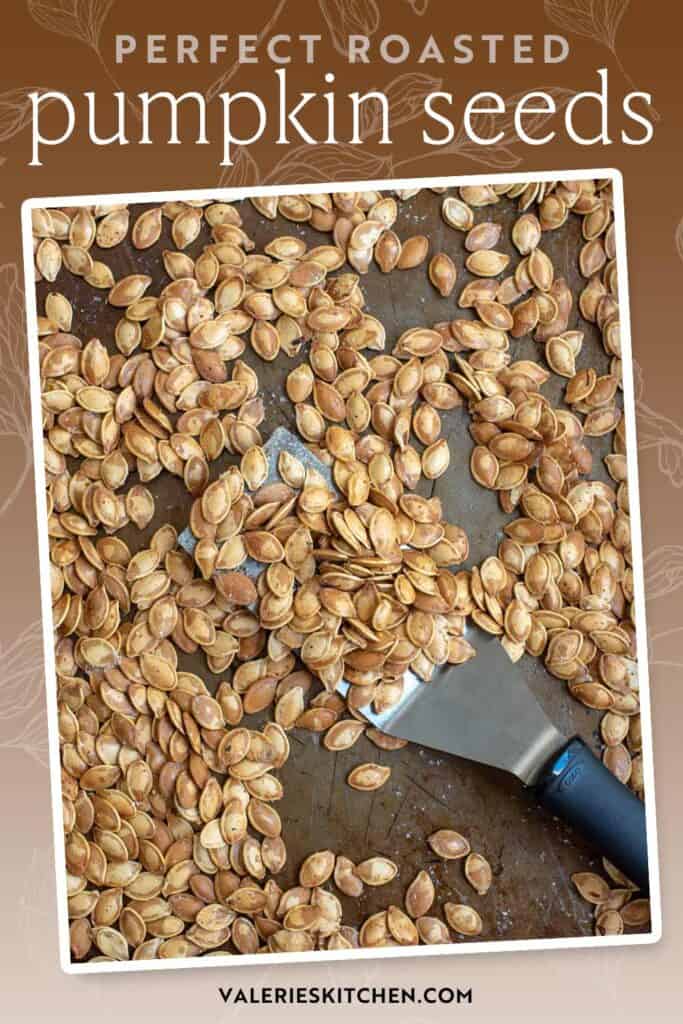
This tried and true method results in crunchy, salty, irresistibly Perfect Roasted Pumpkin Seeds! This is a must make recipe for the Halloween season.
This post will help you choose the best pumpkin, collect and prep the seeds, and create the best Roasted Pumpkin Seeds you’ve ever had!

This post may contain affiliate links. Please read our disclosure policy.
It’s not Halloween without crunchy, salty, roasted pumpkin seeds. They are packed full of fiber, vitamins, and minerals and they taste incredible. Maybe this will help offset the effect of the little chocolate candy bars I keep stealing from the Halloween stash in our pantry.
Here is my method, tried and true.
Table of contents
Which Pumpkins Have the Best Seeds?
In my experience, the larger the pumpkin the more seeds it will yield. So go big but not too heavy. According to The Kitchn, large is good but sometimes the heavier ones tend to have less seeds.
Choose a pumpkin that appears fresh, has a sturdy stem and a flat bottom so it will stay put while you’re carving. Small surface scratches are okay but avoid pumpkins with any deep cuts or bruises.

He has no idea what he’s in for.
If you are as crazy about pumpkin seeds as we are and want to be sure you’ll have enough, grab an extra pumpkin just to be sure.
Pumpkin Carving Tips

Here is the big man wielding a big knife.
Once you’ve used your artistic skills to draw the perfect face for your Jack O’Lantern, use a large, sharp knife to cut around the stem at a slight angle to create the lid. Cutting on an angle will ensure the lid will not drop straight down inside the pumpkin when placed on top.
Use a scooping tool, like a large metal spoon, to scrape and thin the wall of the pumpkin where you will be carving the face a bit so that it will be easier to cut through from the front.
How to Clean Pumpkin Seeds Before Roasting
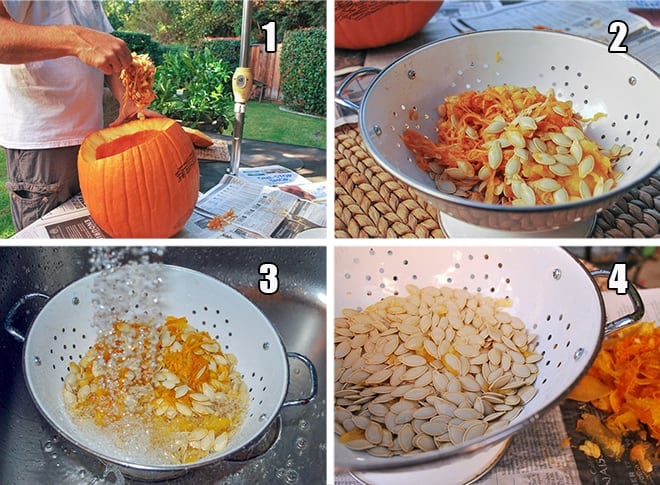
- Use a large metal spoon to scrape out the seeds and strings.
- Transfer the seeds and strings to a colander.
- Place the colander in your sink and rinse the seeds with cool water. While rinsing, sort through them with your hands and pull out the stringy pumpkin guts.
- Place some newspaper on the counter next to the sink for the stringy guts. This allows you to just roll it up and toss the mess when you’re done. There will be some bits of pumpkin still mixed in with the seeds. Just get out as much as you can.
How to Roast Pumpkin Seeds
I’ve found that allowing the seeds to dry overnight results in crispy Roasted Pumpkin Seeds. Full disclosure, I discovered this technique after a long, exhausting day when I was too tired to deal with finishing the seeds. The next day, I roasted up the best batch of seeds I’d ever tasted and knew I was on to something!
Dry the Pumpkin Seeds
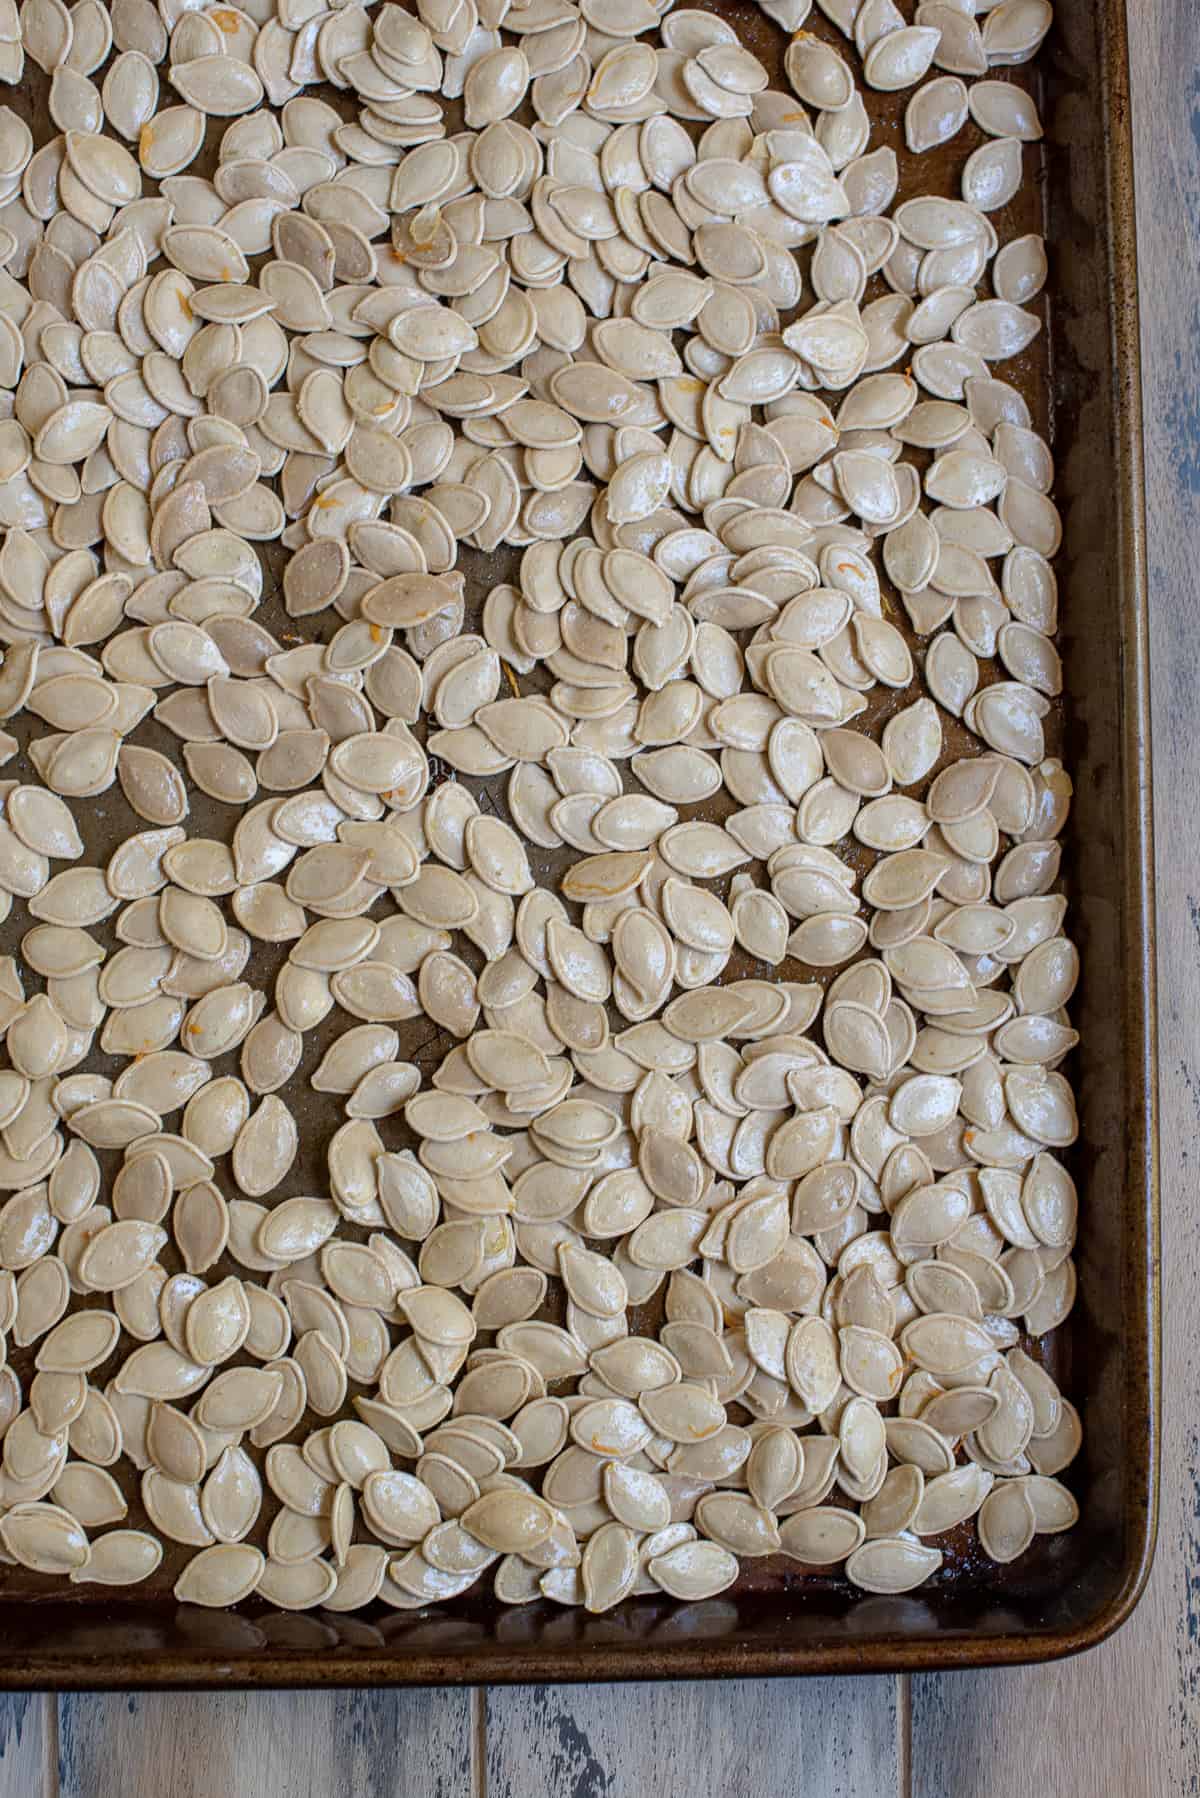
- Spread the rinsed seeds on a rimmed baking sheet. Unless you are an excellent pumpkin string picker, there will most likely still be some small bits of pumpkin innards left behind. Don’t worry, we’ll get those later.
- Leave the baking sheet on your kitchen counter overnight so the seeds can dry. They will not roast as well if you put them in the oven when they are wet. It will be easy to pick out any remaining bits of pumpkin the next day.
Prep and Roast the Seeds
- Prep – The next day pick out any remaining stringy bits and coat a clean baking sheet with nonstick cooking spray. Place the dry seeds in a large bowl, toss them with olive oil and garlic salt, and spread them out over the baking sheet.
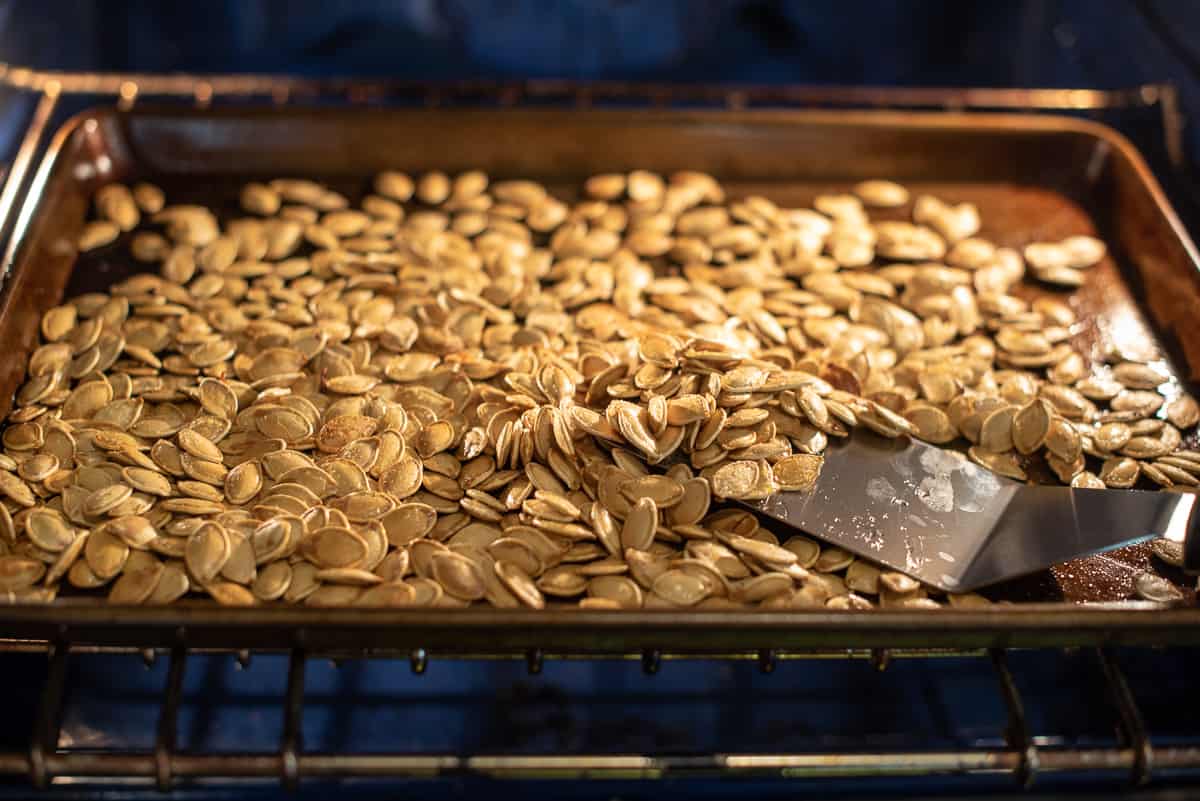
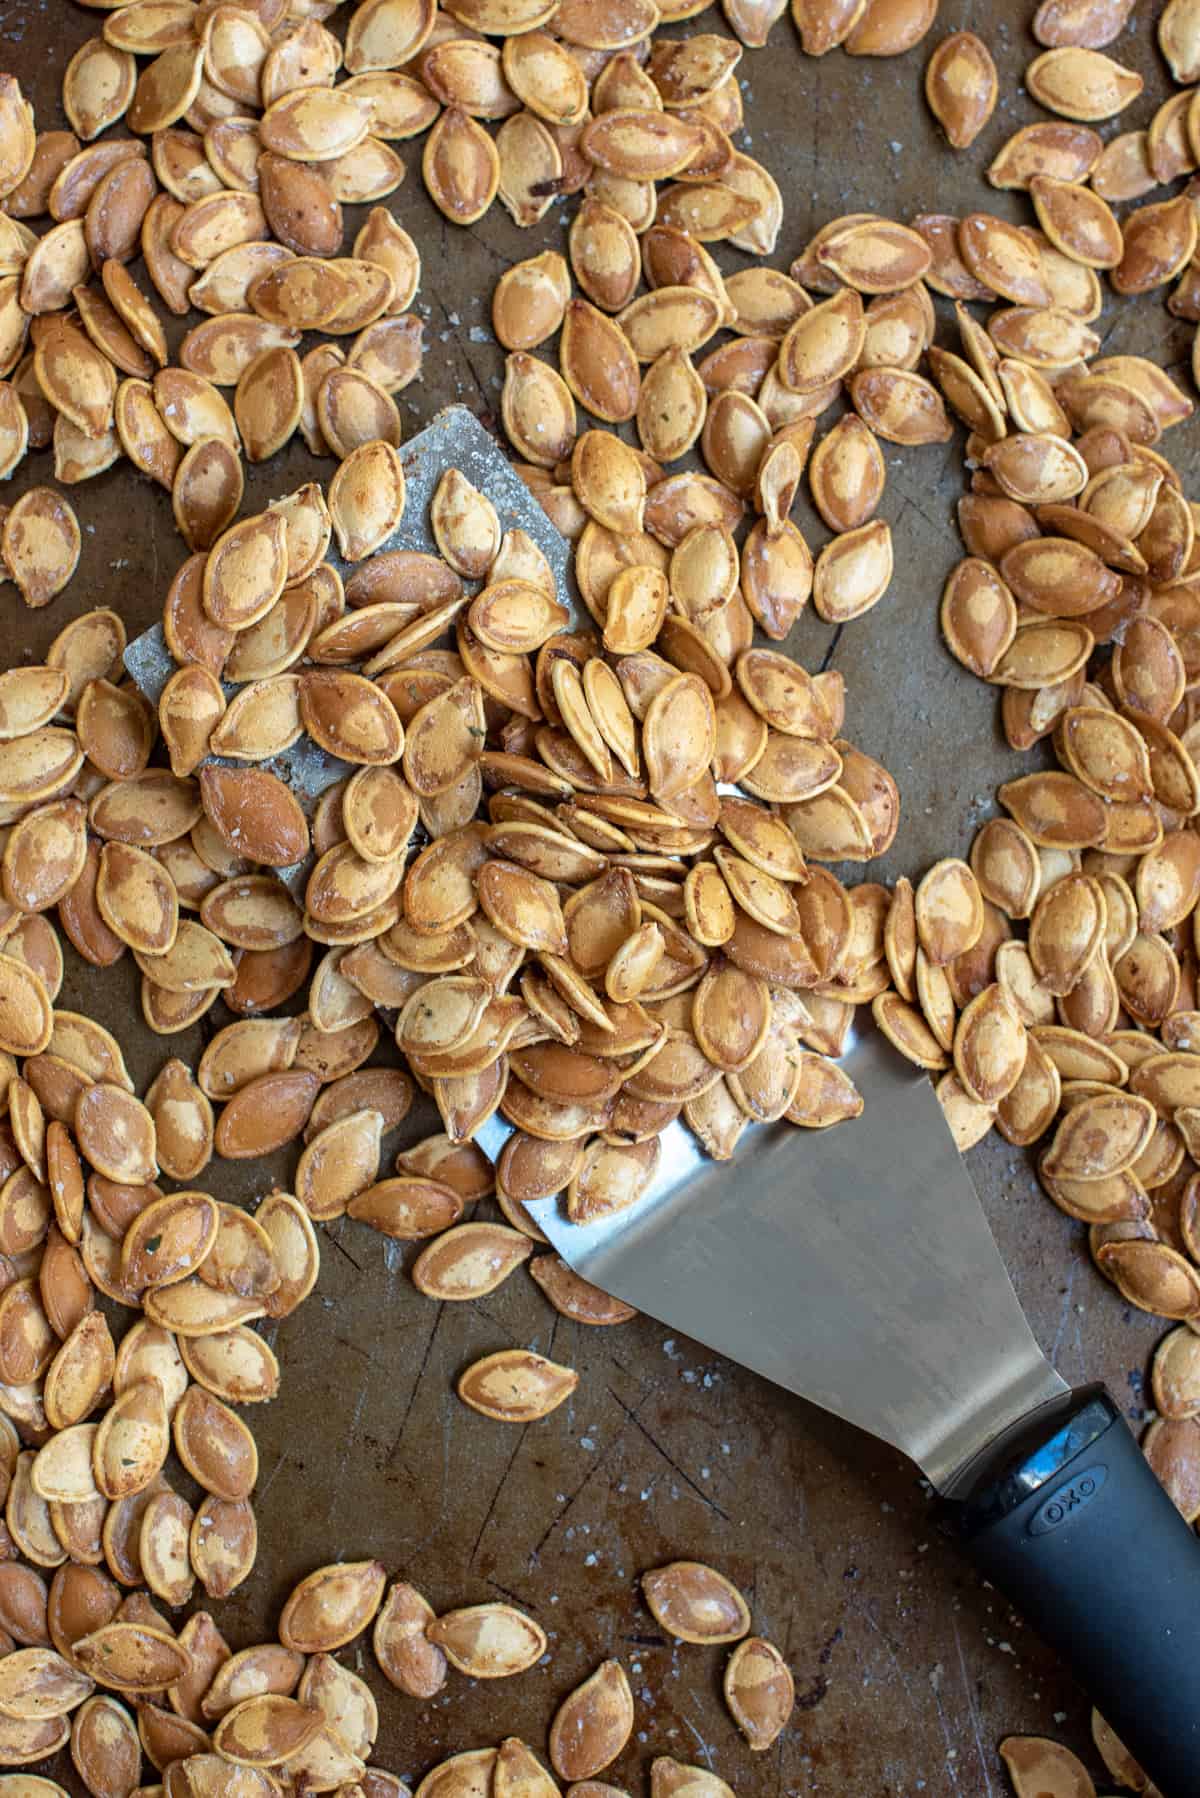
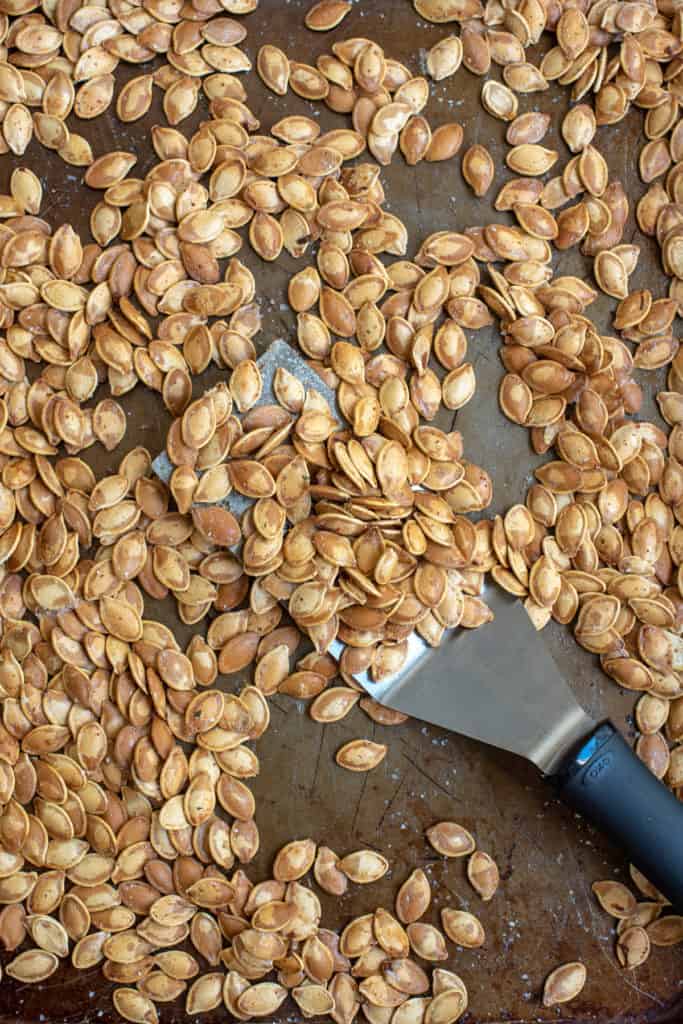
- Roast – Roast them in a preheated 325 degree F oven until toasted and golden brown. Use a spatula to stir them occasionally for even roasting.
- Season – Remove them from the oven, taste, and sprinkle with a little additional garlic salt if needed.
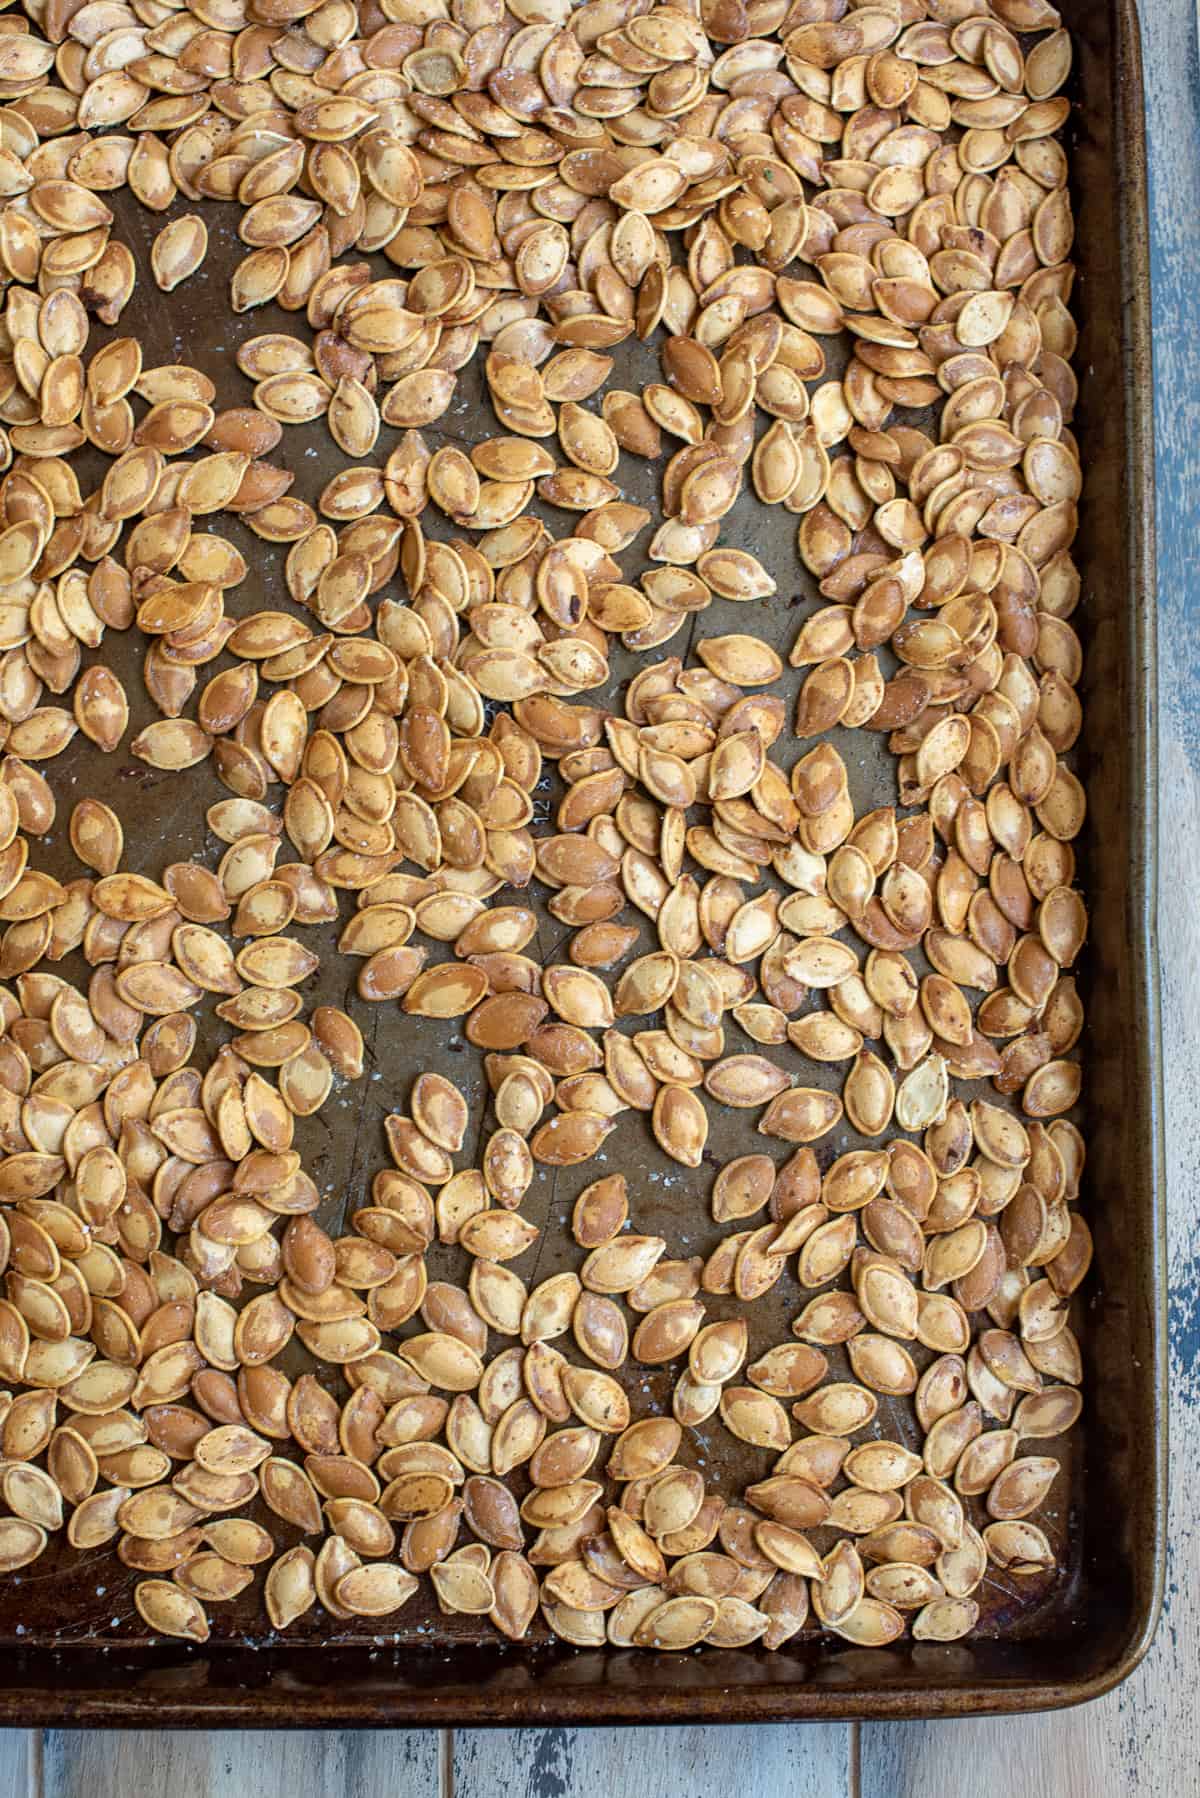
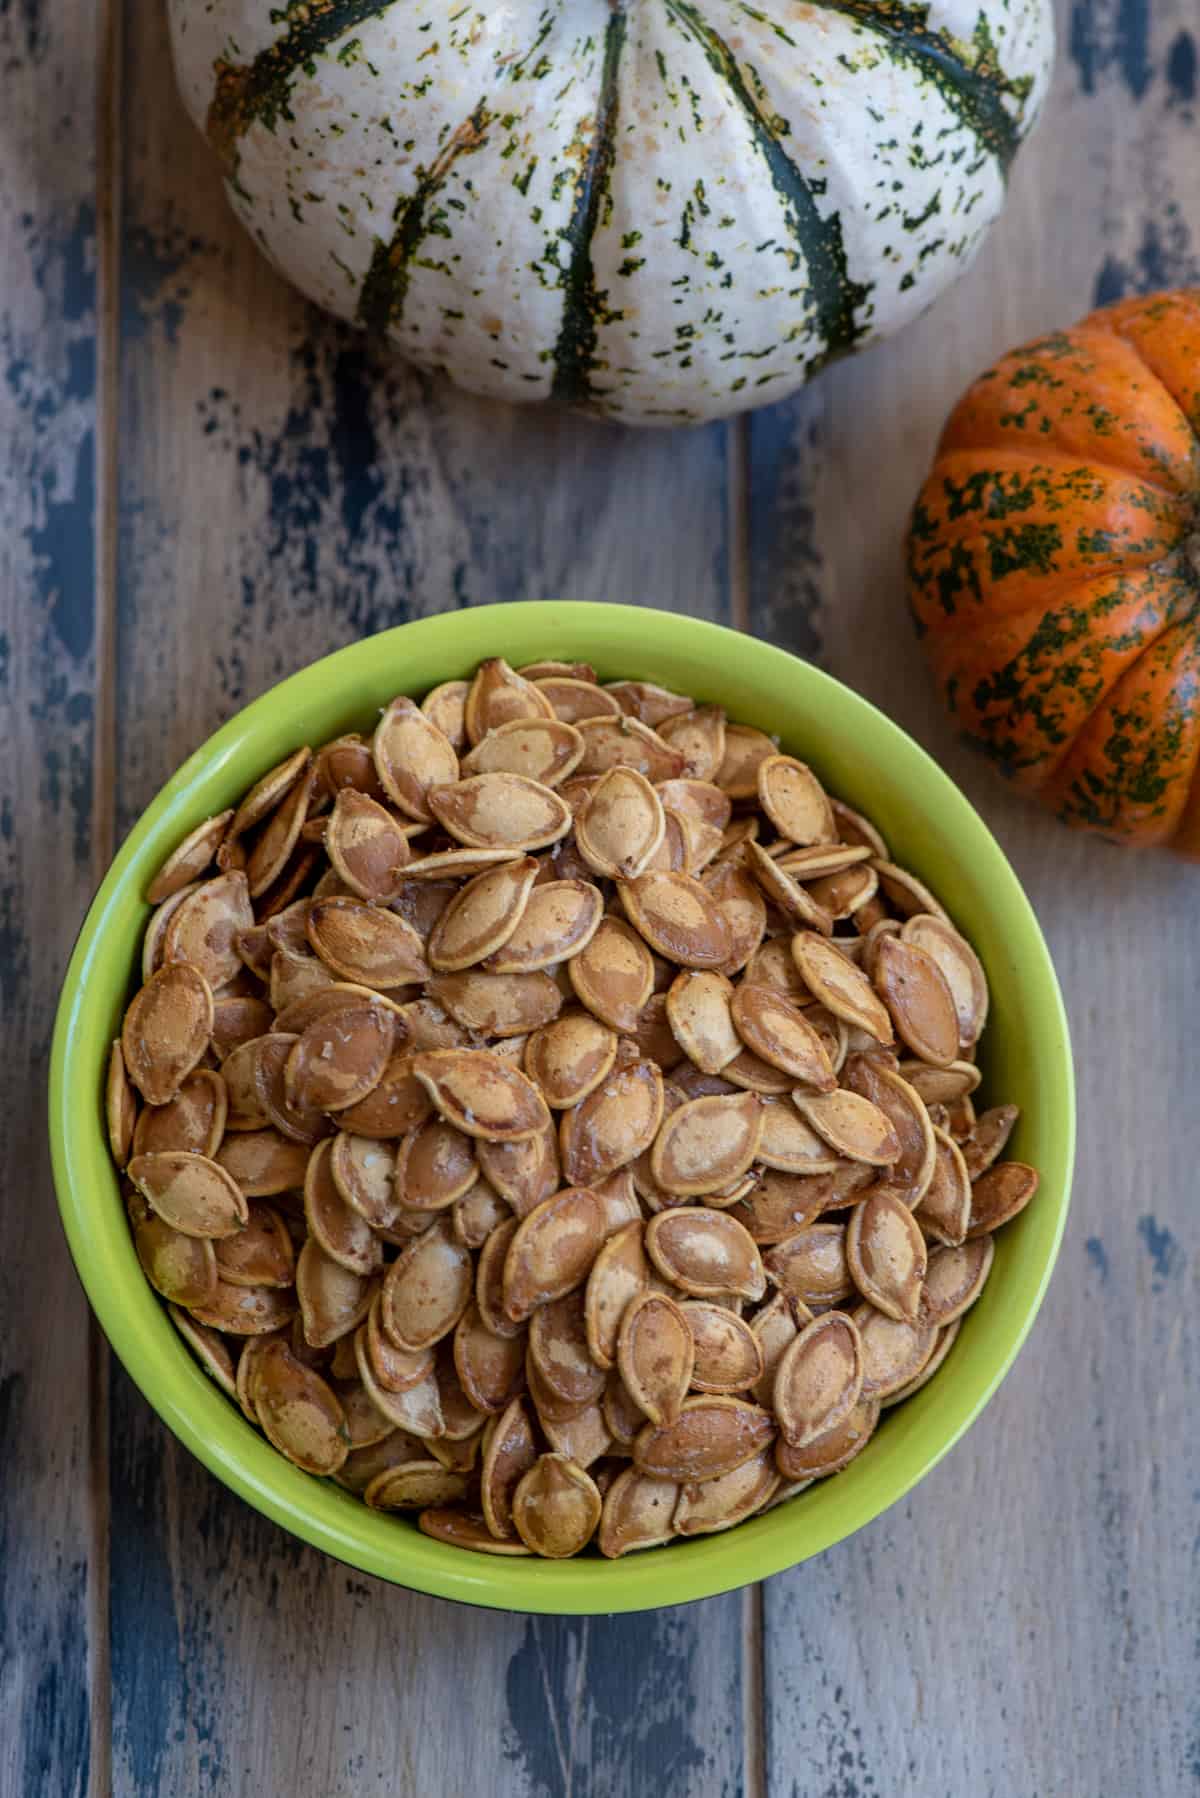
Roasted Pumpkin Seeds are delicious served warm from the oven. I dare you to try and eat just one!
Storing Pumpkin Seeds
After they cool, transfer the seeds to an airtight container and they will stay fresh and tasty for at least a week or more.
More Fun Halloween Recipes
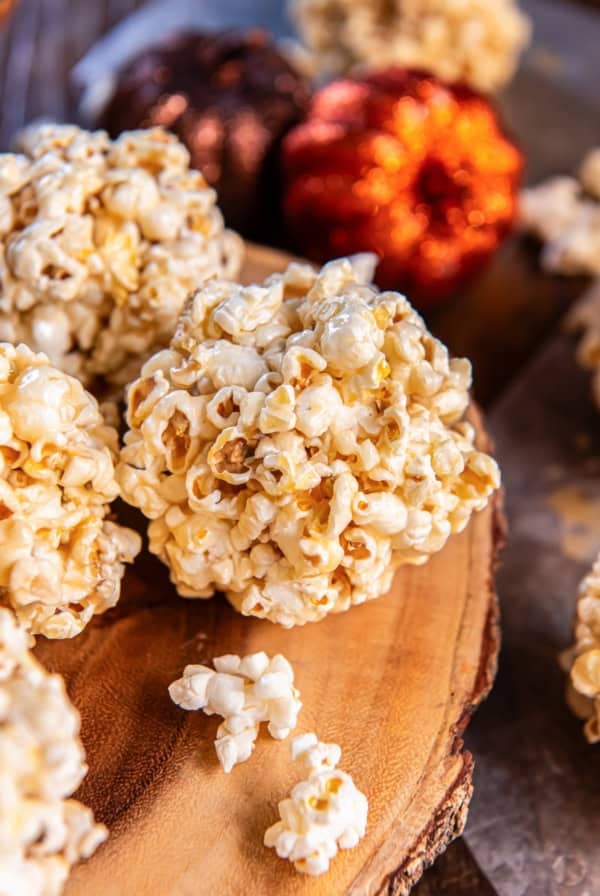
- Caramel Popcorn
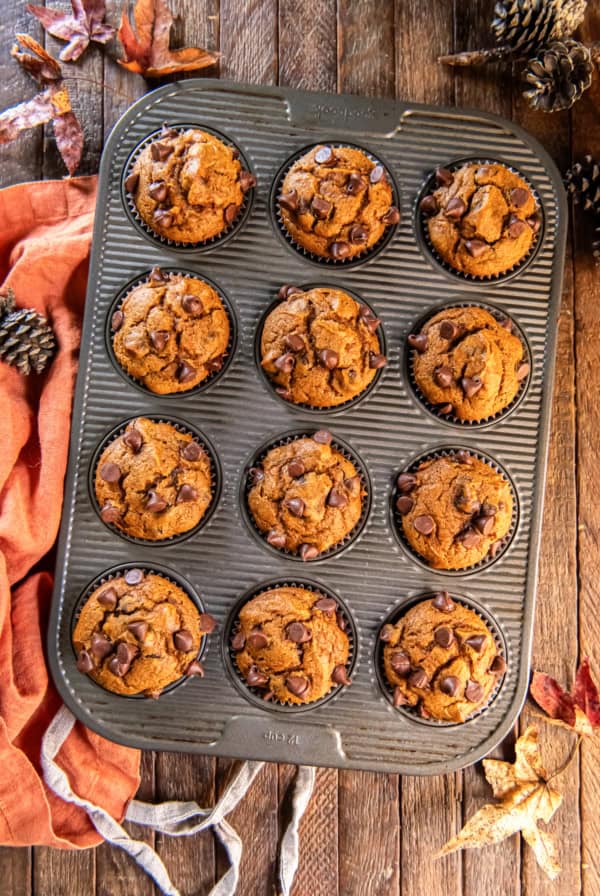
- Pumpkin Chocolate Chip Cake
- Halloween Oreo Brookie Bars
- Pumpkin Spice Snickerdoodles
Did you know that other seeds are also delicious roasted? Check out my recipes for Roasted Acorn Squash Seeds!
Be sure to watch the video in the recipe card below to see this process in action.

These seeds are excellent and it turned out okay for the pumpkin too. Happy Halloween!
Sign up for my free newsletter for all the latest recipes and join me on Facebook, Instagram and Pinterest for more cooking inspiration!
Perfect Roasted Pumpkin Seeds
Video
Ingredients
- 1 ½ cups raw pumpkin seeds
- 2 teaspoons olive oil
- ½ teaspoon garlic salt, plus additional if desired
- nonstick cooking spray
Instructions
- Use a large metal spoon to scoop the seeds from your pumpkin and place them in a colander. Place the colander in your sink and rinse the seeds with cool water, removing as much of the stringy pumpkin guts as you can.
- Place some newspaper next to your sink for the stringy guts. This allows you to just roll it up and toss the mess when you're done. There will be some bits of pumpkin still mixed in with the seeds and this is okay. Just remove as much as you can. Drain the seeds well, pour them out on to a rimmed baking sheet, and allow them to dry overnight.
- The next day, pick out any remaining pieces of dried pumpkin. Preheat oven to 325 F degrees. Spray a clean rimmed baking sheet with nonstick cooking spray.
- Toss the seeds in a large bowl with the olive oil and garlic salt. Spread the seeds on the prepared baking sheet and bake for 20 to 30 minutes or until golden brown, stirring about halfway through.
- Taste and season with additional garlic salt if desired.
Notes
Nutrition
Nutrition information is automatically calculated using generic ingredients, and is an estimate not a guarantee. For more accurate results, please refer to the labels on your ingredients at home.
Like this? Please rate & comment below!


Hi Tammy! I have my pumpkin gutted & the seeds are drying on parchment paper. My cousin told me to try them a new way with honey & teriyaki. He also said sometimes he roasts them with a little hot pepper for spice. I want to tell your readers that I ALWAYS ROAST my Acorn Squash Seeds as well! They are delicious with garlic salt!
What did I do wrong? All of the garlic salt fell right off the pumpkin seeds. Not a bit stayed a test as I baked them. They were dry as I bought them at Sprouts
You need fresh, raw (uncooked) pumpkin seeds for this recipe, Kitty. It sounds like you may have purchased seeds that had already been cooked.
Maybe it was because I was using a different pumpkin variety, but I had a problem no one else has mentioned: halfway through roasting, the seeds starting popping like popcorn all over the oven! o,O
did the popco-… pumpk-… PUMPCORN taste good?
These were soo good i couldnt stop eating them. I have cats so lettinng the sit out wasnt an option lol. I dried them in my oven at 200 degrees for several hours. Then followed the directions. Soo yummy.. I want to go buy more pumpkins just for the seeds
These are so good. I added some sea salt also. Delicious.
Fantastic!! I put a little extra garlic salt, turned out great. Reason I used your instructions is because my moms name is Valerie. ?
Thanks so much!
I ALWAYS add more garlic salt 🙂 Thanks, Andrea!
I left mine out for two days and they still felt a little damp.. I’m cooking them now and they taste good though
Hi Rhiannon. I wouldn’t recommend letting them sit out for longer than 24 hours. It’s fine if they are a still a bit damp when going in the oven. I’m glad they worked out for you in the end 🙂
Thank you for this recipe and I loved reading the other comments giving different ideas. I have never dried my seeds overnight before, but since I found your post yesterday I dried them and they are now in the oven…soo excited to try them! I love the personal aspect of your blog…keep up the good work…and thank you!
Thanks so much, Danielle. Hope they turn out perfect for you!
trying this recipe right now and my seeds took 2 days to dry even though they were spread out on a baking sheet in open air. already been in the oven 40 minutes and didnt change! another 40 minutes and still not there yet. I had so many though, maybe I should have split it into multiple batches ??
Hi Seb. Sorry to hear you had some issues. I wouldn’t recommend allowing the seeds to sit out for more than 24 hours. Just transfer them to a clean baking sheet and pop them in the oven. It may be that you had too many on the baking sheet for them to brown well so yes, I’d spread them between two sheets in this case.
It would be SUPER if you could post the recipe at the top and leave the life story at the bottom for those that are interested.
Hi Ash. I think the “life story” aspect is what makes a food blog different than the big food sites like Food Network or Epicurious. I think that a lot of my regular readers appreciate the personal voice behind my posts and appreciate the fact that we are working hard over here to produce content at no cost to them. Happy Halloween. 🙂
i am about to try these so how are they stored when cooled
Store them in an airtight container and they will a last well for at least a week or more.
I am trying this recipe as we speak! I’ll let you know how it works out! ?