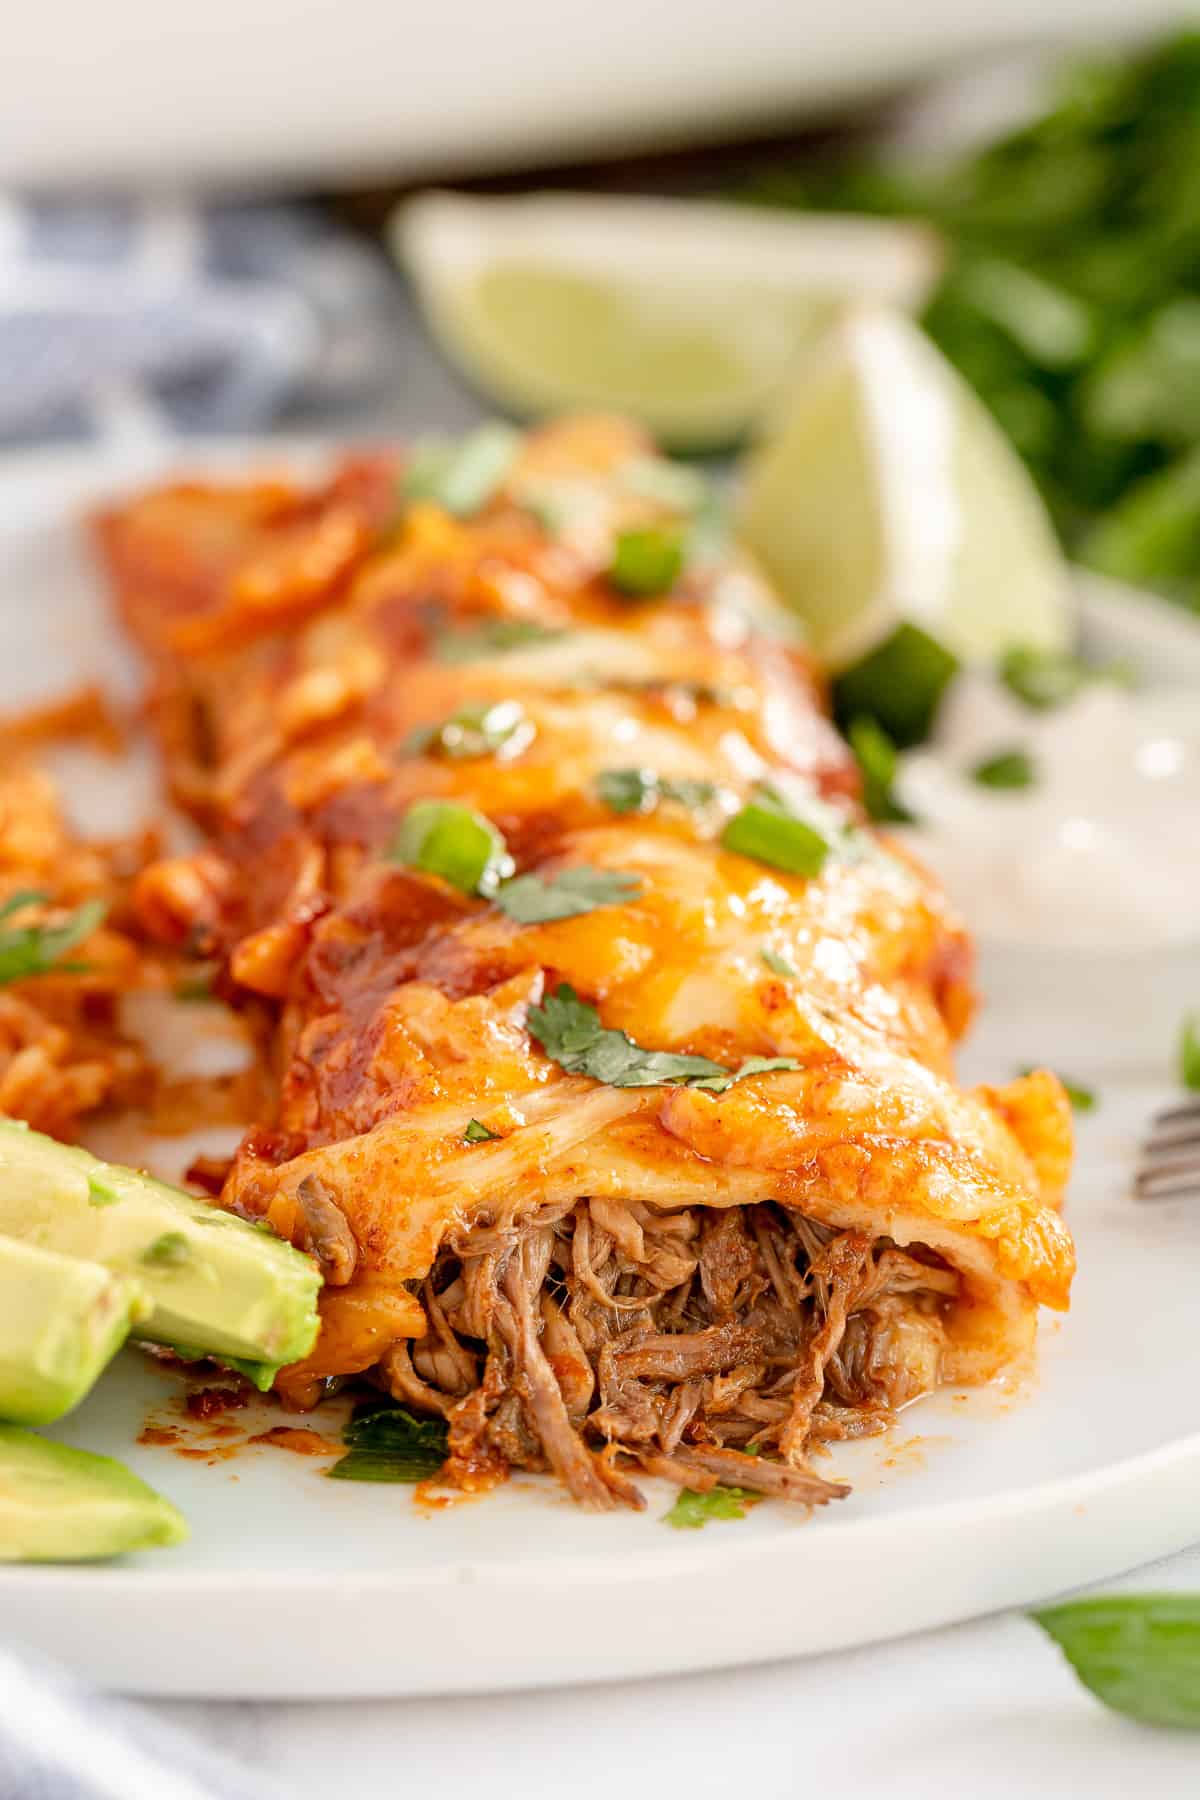
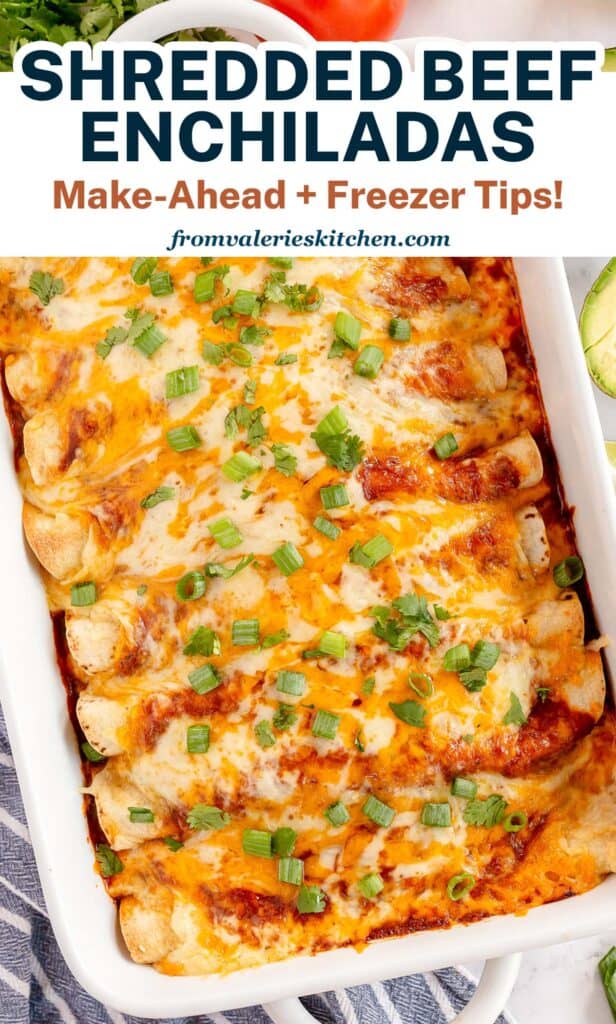
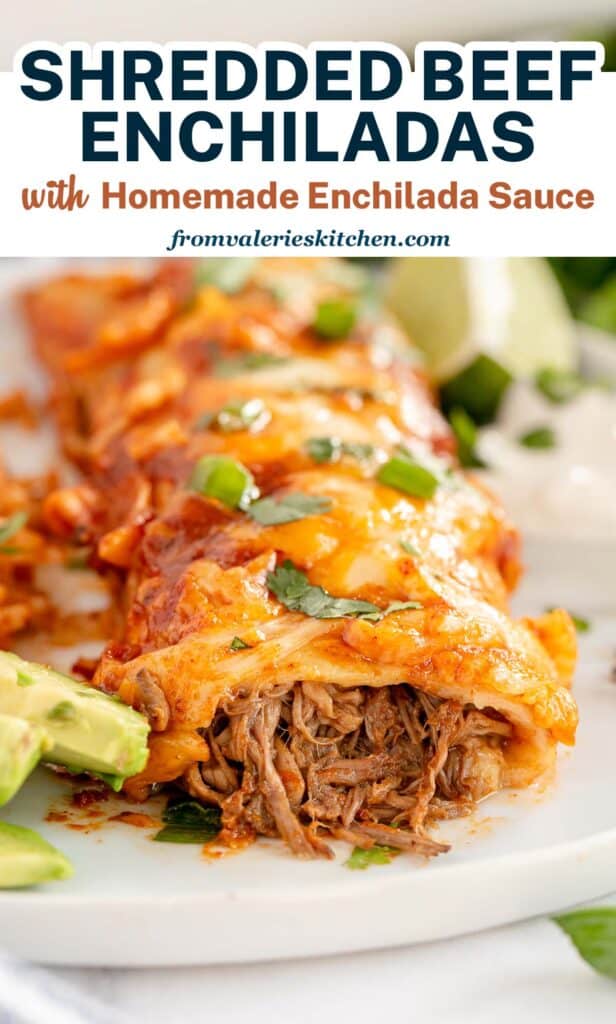
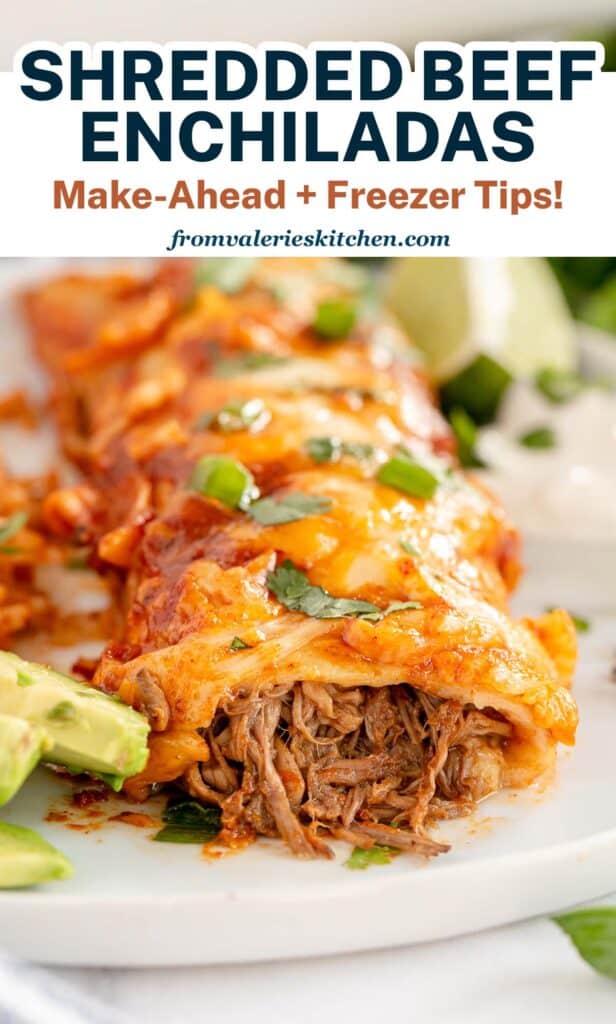
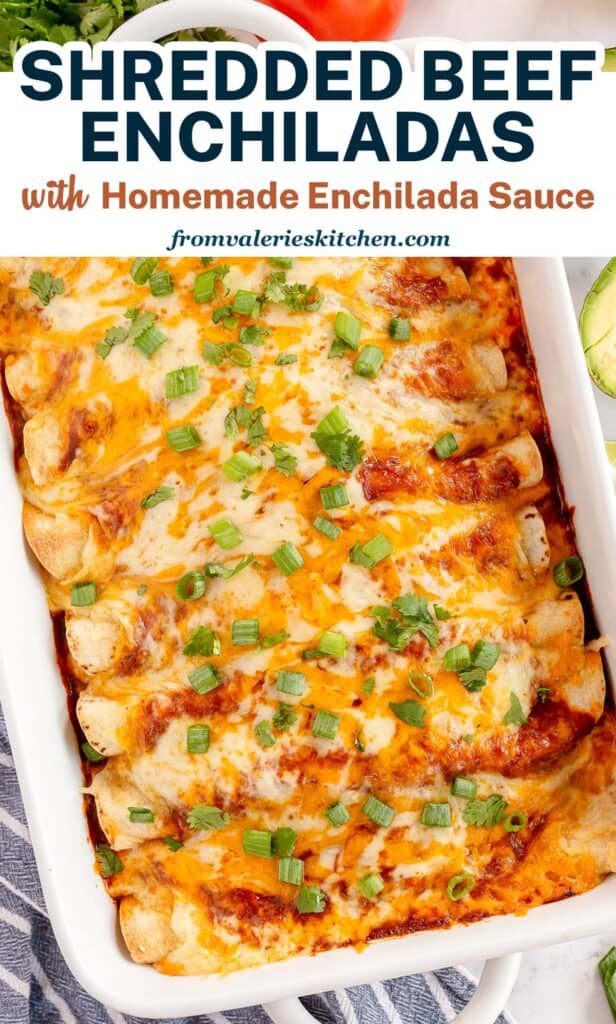
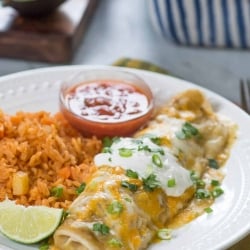
These Shredded Beef Enchiladas are stuffed with incredibly tender, flavorful shredded beef and smothered with a rich, homemade enchilada sauce and melted cheese.
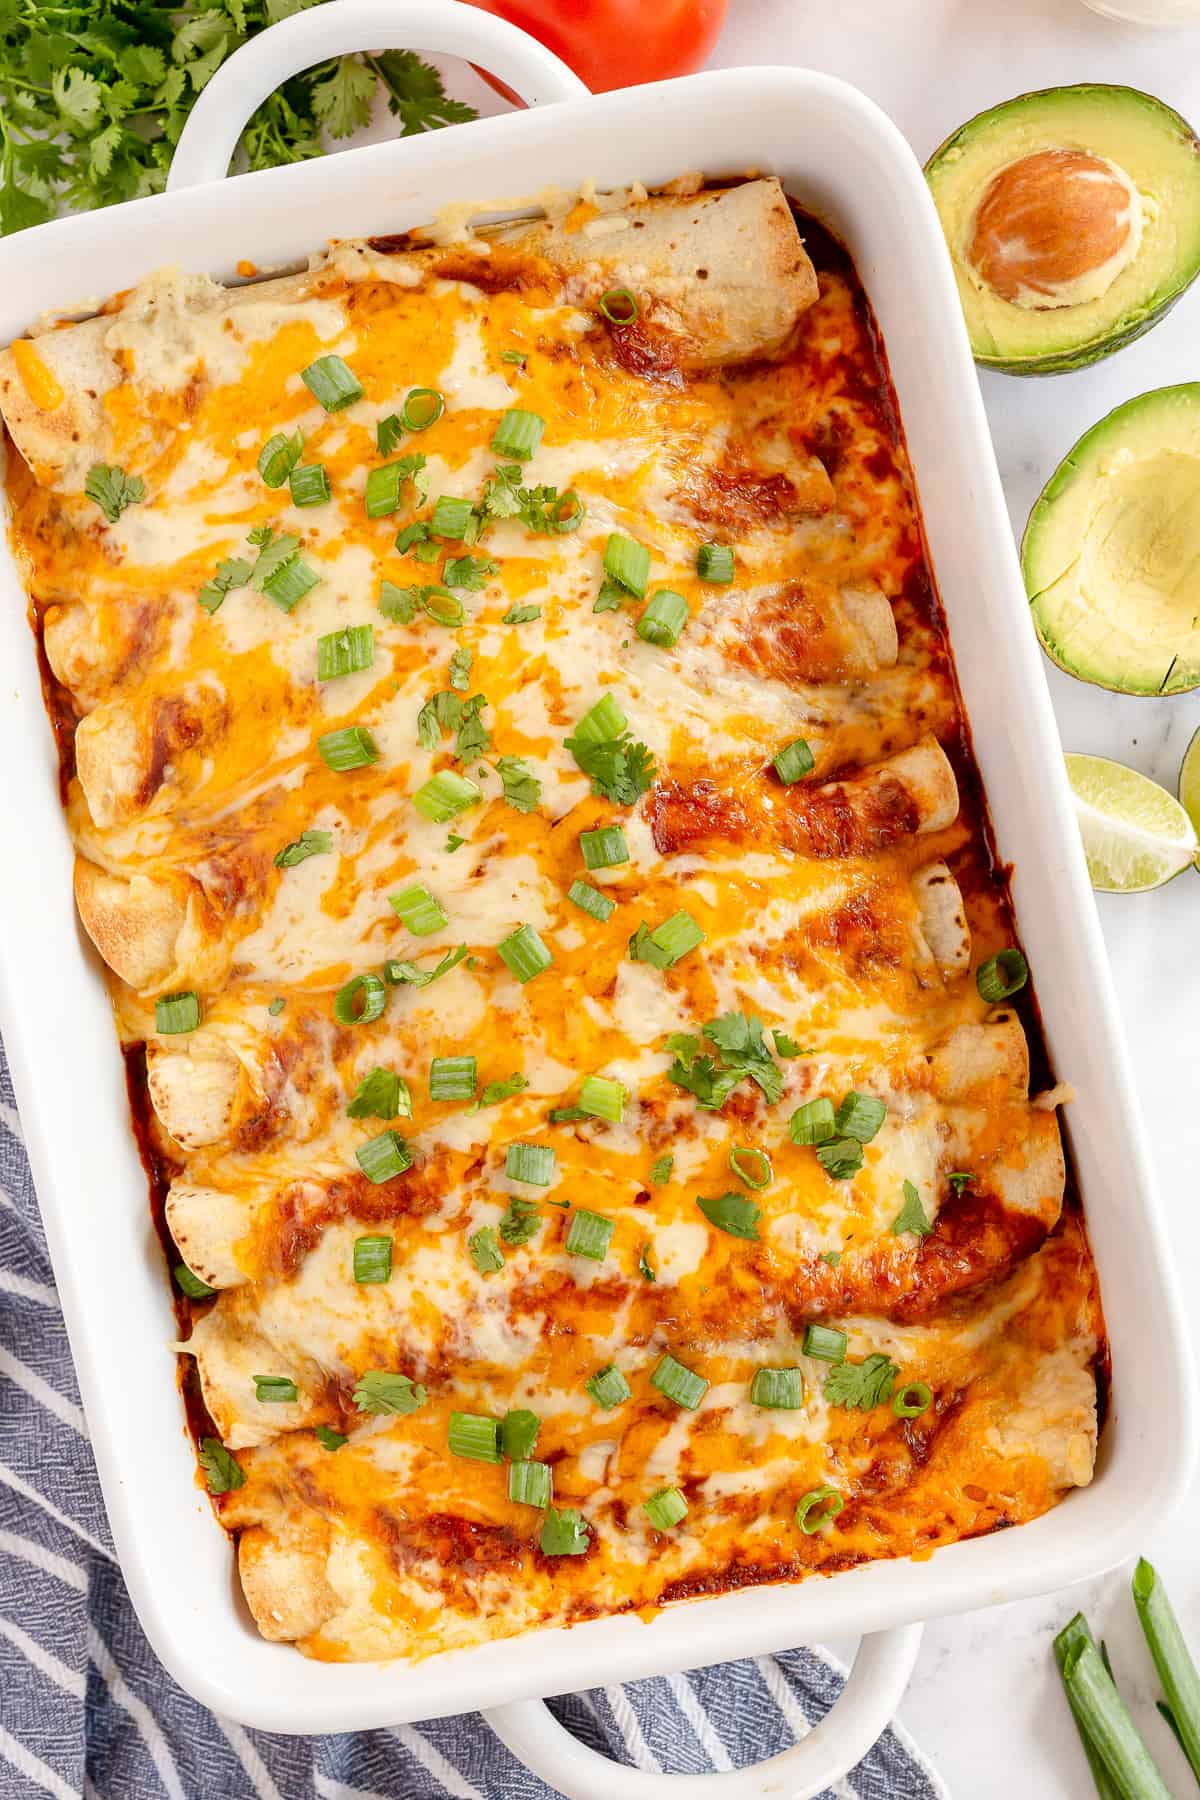
Oh, enchiladas…. how we love you. These Shredded Beef Enchiladas have been a regular in my recipe rotation for a couple of decades. It’s just one of many delicious ways I use my Mexican Shredded Beef which has been one of the most popular recipes on Valerie’s Kitchen for a very long time.
Recipe Highlights
- Make-Ahead: The shredded beef filling and red enchilada sauce can be made in advance to save time.
- Freezer-Friendly: These enchiladas are freezer-friendly both before and after baking.
- Meal Prep: The shredded beef recipe makes plenty for the enchiladas with enough to spare for a second meal. Cook once, eat twice!
- Big Batch: The recipe can be doubled for a big group or for a freezer meal.
Ingredient Notes
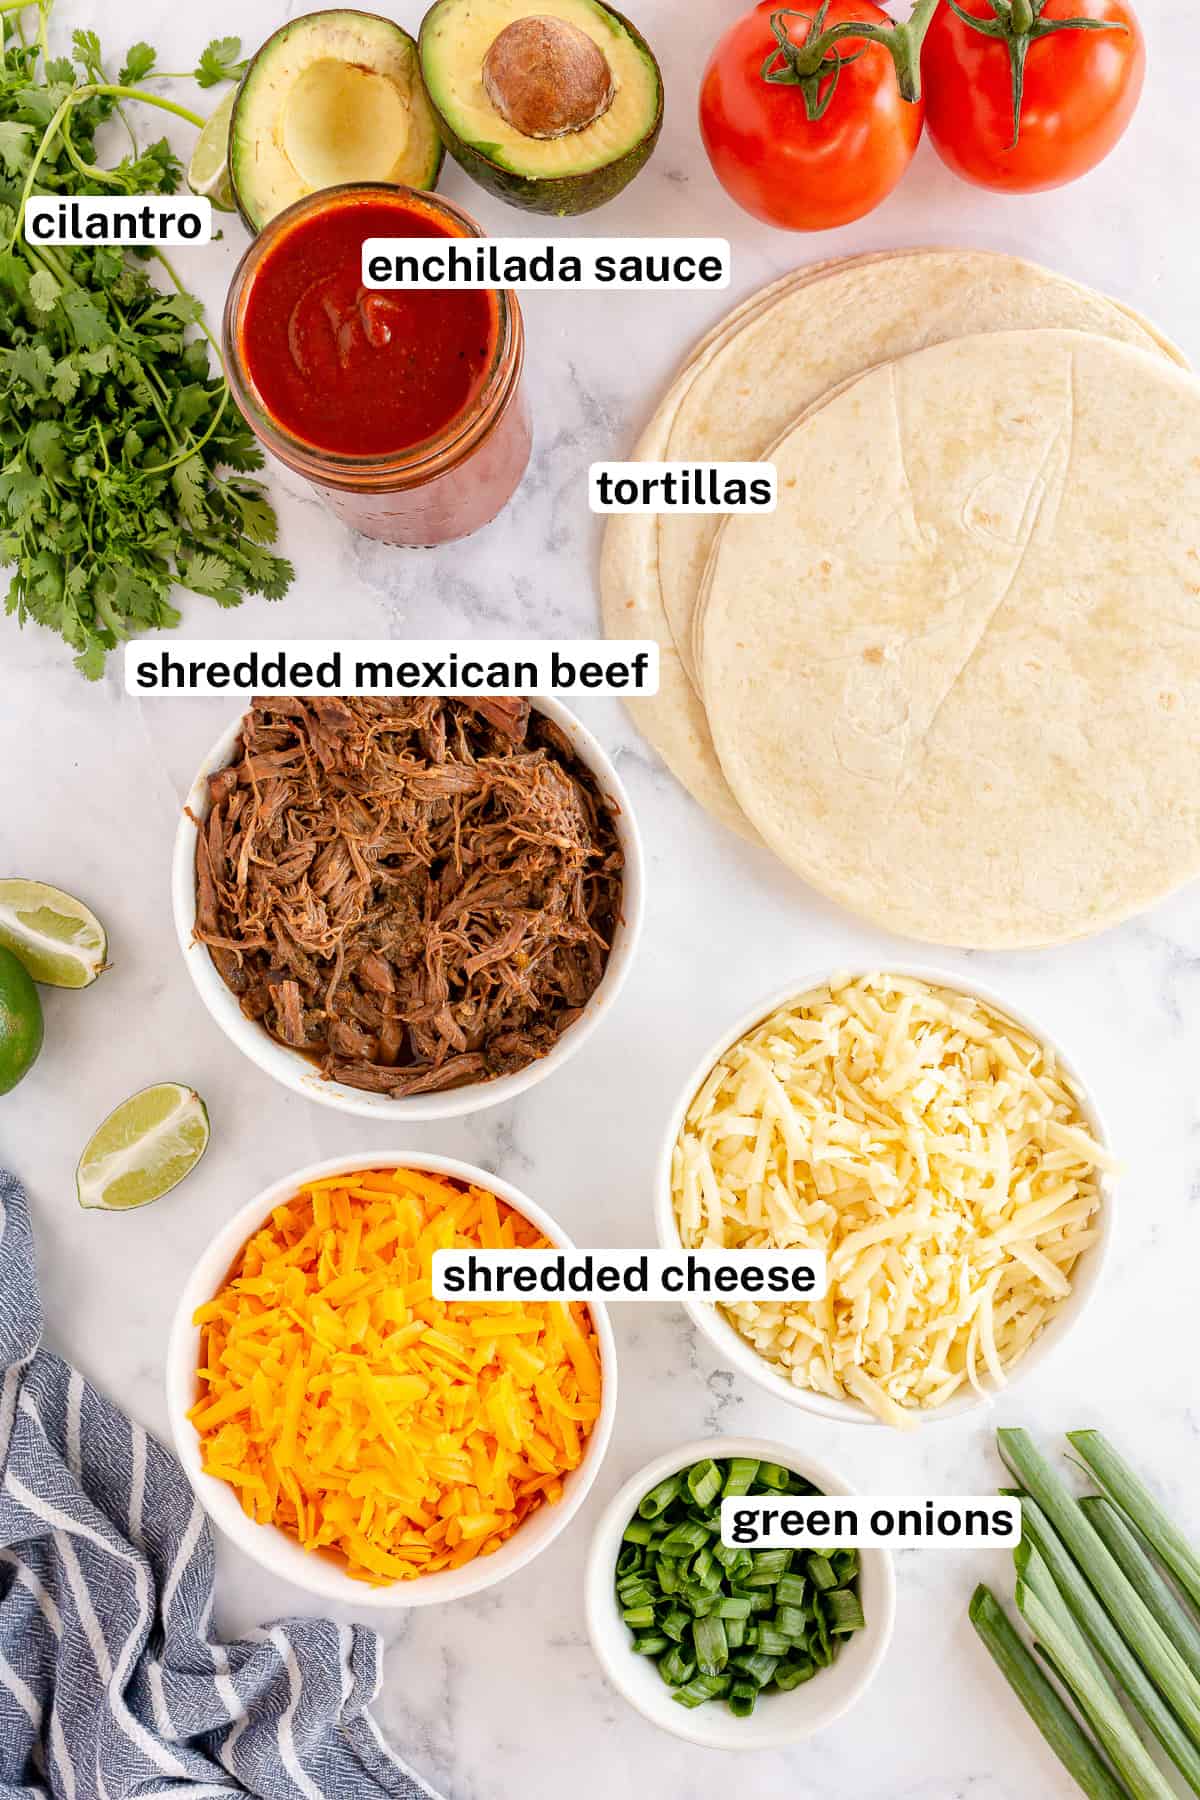
- Enchilada sauce – I love these enchiladas with my easy homemade Red Enchilada Sauce. It’s rich, deliciously seasoned and takes just 10 minutes to make. You can use your favorite canned enchilada sauce, if you’d like.
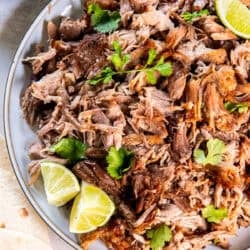
- Shredded beef – A full recipe of my Shredded Mexican Beef makes at least 4 cups which gives you plenty for the enchiladas with some leftover for another meal. Or, double the recipe and freeze one.
- Tortillas – Flour tortillas are more pliable than corn and work better for rolling enchiladas without the need to coat them in oil. Another fabulous option that I use frequently are the corn/flour or corn/wheat blend tortillas from brands like La Tortilla Factory and Don Pancho. You get a little bit of corn flavor while they remain very pliable. The best of both worlds! See more tortilla tips in the FAQ section below.
- Shredded cheese – The enchiladas are stuffed with Monterey Jack cheese and topped with a combination of Jack and sharp cheddar cheese.
- Garnish – Thinly sliced green onions and chopped cilantro.
- Optional for serving – Sour cream, tomatoes, avocado, hot sauce or salsa.
FAQ and Valerie’s Tips
Chuck roast becomes very tender, flavorful and easy to shred after a long cooking time. It is my favorite cut of beef for Shredded Beef Enchiladas
Using flour tortillas or sturdier corn/flour or corn/wheat blend tortillas allows you to skip the step of cooking the tortillas in oil before assembling the enchiladas. After briefly warming the tortillas in the microwave, they become soft and pliable enough to roll without cracking the way corn tortillas can.
If you are using corn tortillas, I recommend briefly frying them in oil before rolling to prevent them from cracking. If you use flour or corn/flour or corn/wheat blend tortillas, you can skip this step altogether!
How to Make Shredded Beef Enchiladas
Before beginning, you’ll need to make a batch of Mexican Shredded Beef and Red Enchilada Sauce. To save time, I recommend making both a day or two in advance. Get the full make-ahead directions below.
Fill the Tortillas
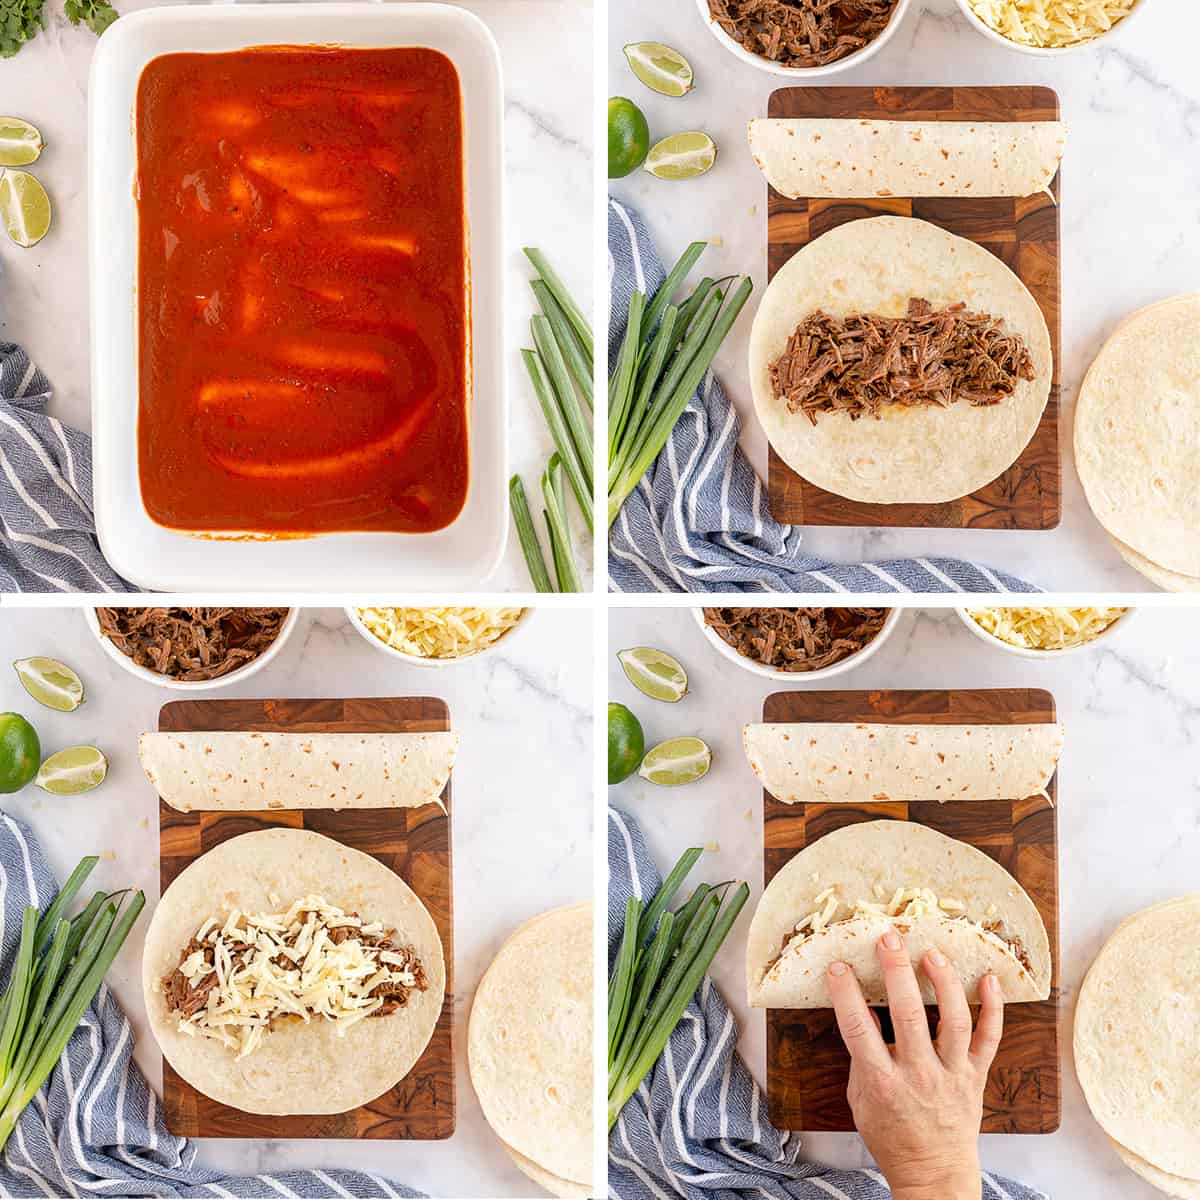
- Pour a thin layer of enchilada sauce into a 13- x 9-inch casserole dish and spread it out evenly over the bottom.
- Slightly warm the stack of tortillas for about 15 to 20 seconds in the microwave, just until softened. Place about ⅓ cup of the shredded beef down the center of one of the tortillas.
- Top the beef with about ¼ cup shredded Jack cheese.
- Roll the tortilla up tightly. Repeat with remaining tortillas, beef, and cheese.
Assemble and Bake the Enchiladas
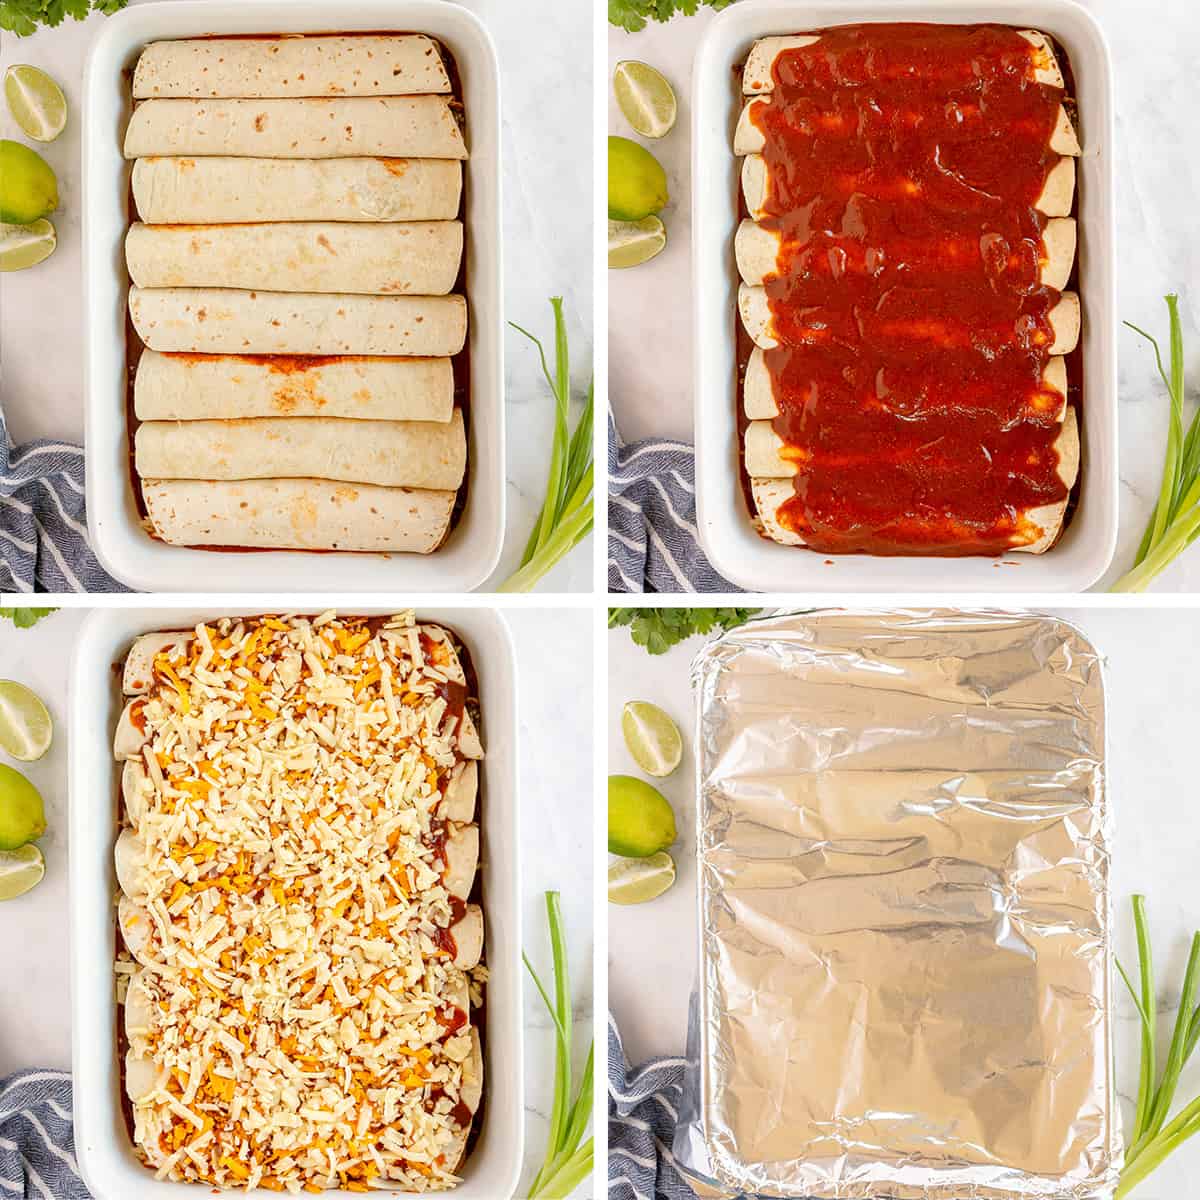
- Place the enchiladas seam side down on top of the enchilada sauce in the baking dish.
- Spoon about 1 cup sauce (or more) over the top of the enchiladas.
- Top with the remaining Monterey Jack and all of the cheddar cheese.
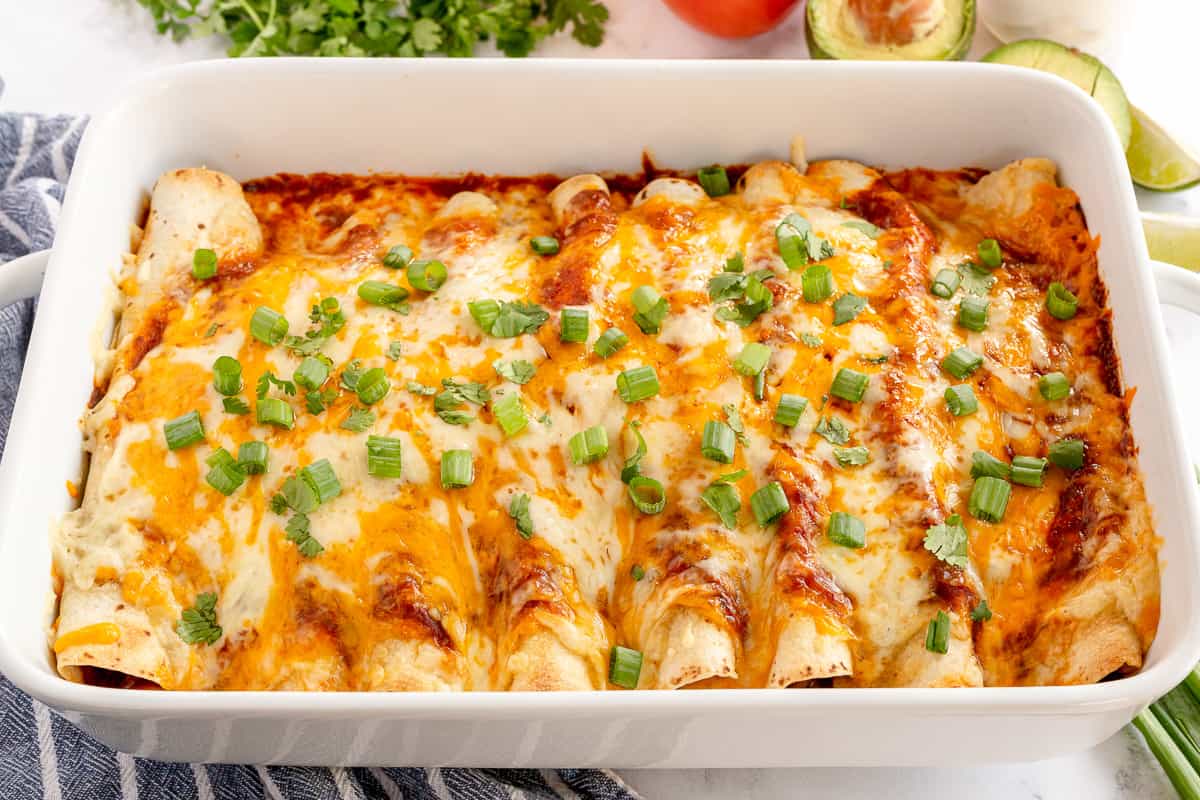
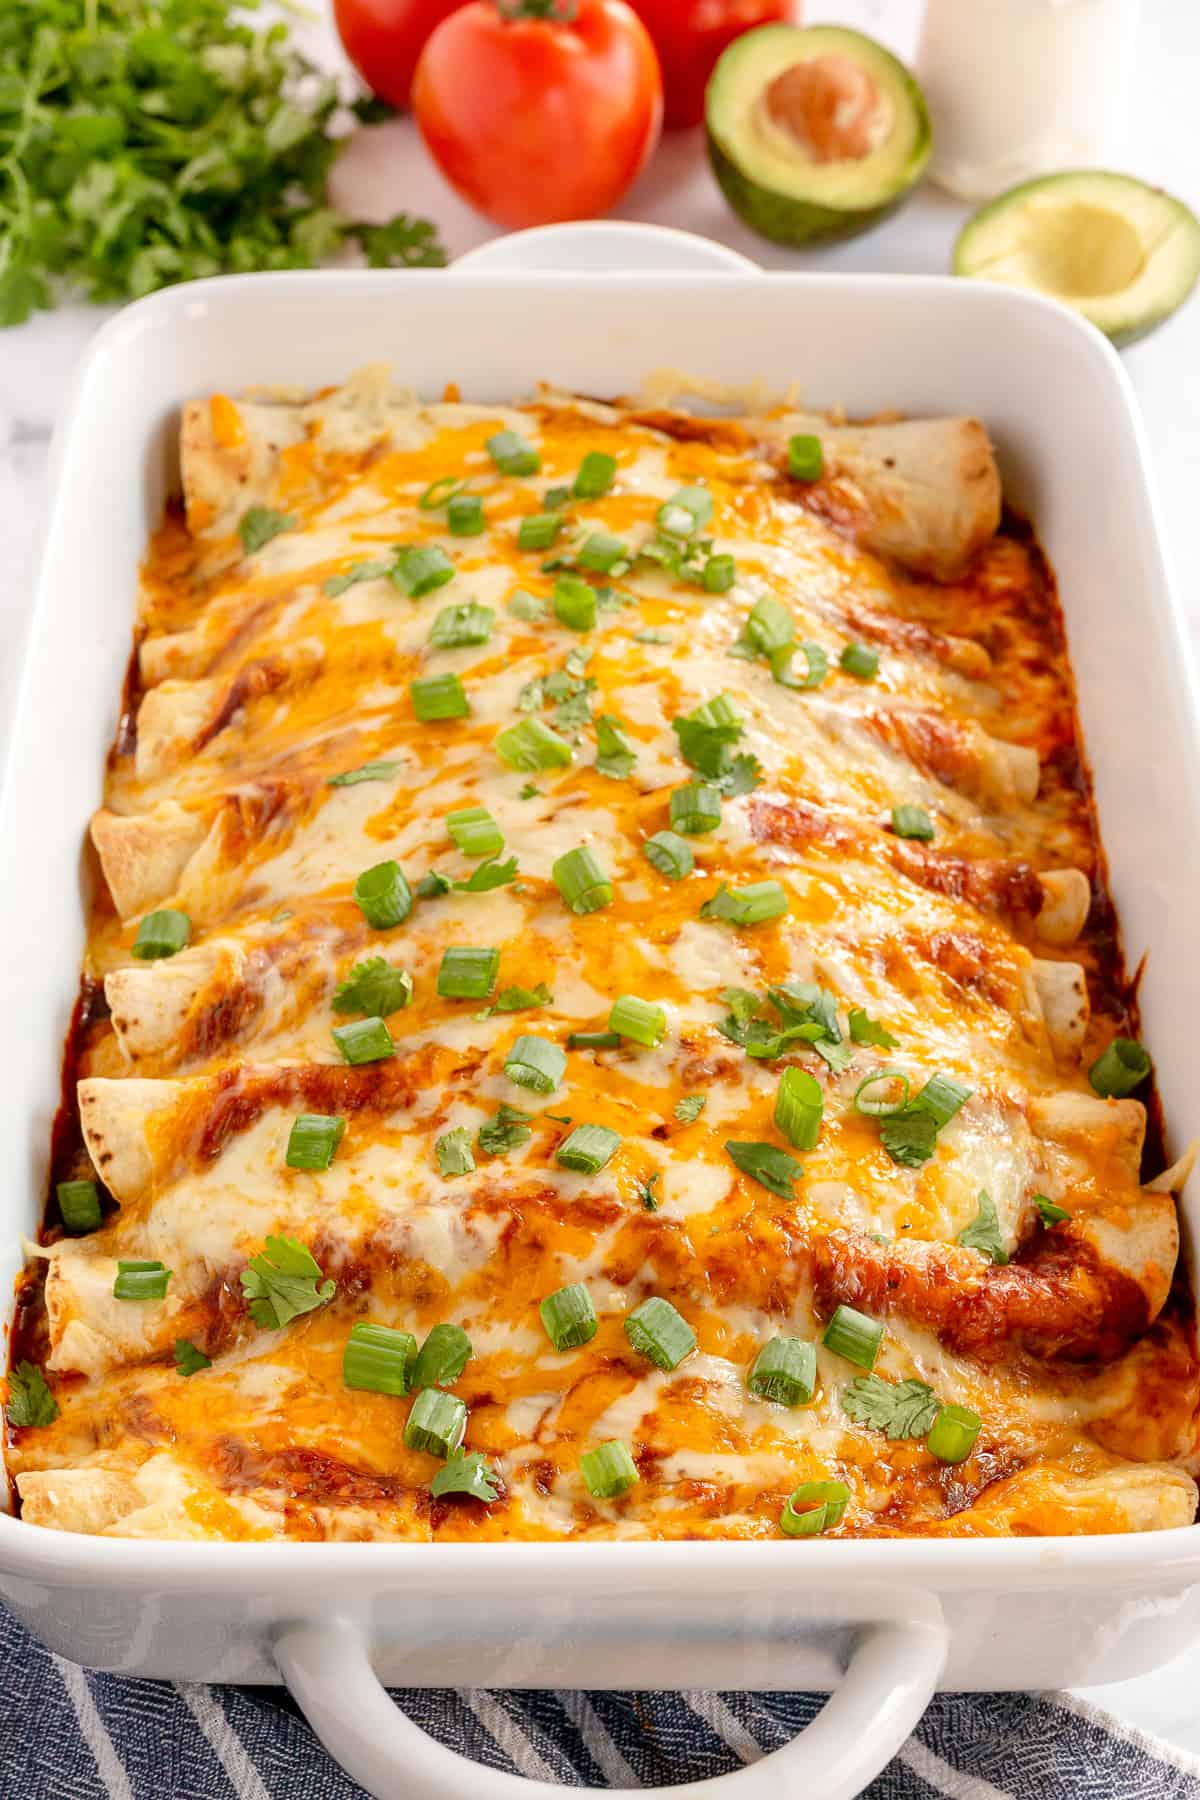
- Cover the dish with foil and bake for 25 minutes. Remove the foil and bake another 3 to 5 minutes, or until cheese is melted and sauce is bubbly. Garnish with green onions and a little cilantro and serve with toppings of your choice.
What to Serve with Beef Enchiladas
- Restaurant Style Mexican Rice
- Instant Pot Mexican Pinto Beans
- Cilantro Lime Rice
- Shredded lettuce topped with slices of tomato and Avocado Ranch Dressing or Creamy Tomatillo Avocado Salsa.
Storage Tips
Cover and refrigerate leftovers within two hours of serving. Leftovers should be consumed within 3 to 4 days.
Can Beef Enchiladas be Made Ahead?
You can make the shredded beef and enchilada sauce a day or two in advance to save time. Just shred the cooked beef and refrigerate it in an airtight container until you’re ready to assemble the enchiladas. The Red Enchilada Sauce stores well for up to 4 days in the refrigerator and up to 3 months in the freezer.
If you’d like, you can assemble the enchiladas, cover the dish tightly with plastic wrap or foil, and refrigerate for up to 24 hours before baking. I recommend using sturdier corn/flour or corn/wheat blend tortillas which will hold up better if the enchiladas are assembled in advance.
How to Freeze Enchiladas
Assemble the enchiladas in a freezer-safe baking dish, disposable aluminum pans are a great choice. I recommend waiting to add the cheese on top until just before baking. Wrap the baking dish in a layer of plastic wrap and then completely enclose it in a layer of foil. Label it with the date and freeze the enchiladas for up to three months.
Allow frozen enchiladas to thaw in the refrigerator overnight. When ready to serve, add the cheese and bake as directed in the recipe. You might find they need a little additional time in the oven if they are very chilled.
Sign up for my free newsletter for all the latest recipes and join me on Facebook, Instagram and Pinterest for tons of cooking and baking inspiration!
Shredded Beef Enchiladas
Ingredients
- 1 ½ to 2 cups Red Enchilada Sauce, homemade or store-bought
- 8 tortillas, 8-inch flour or corn/flour or corn/wheat blend
- 2 ½ to 3 cups Mexican Shredded Beef
- 3 cups shredded Monterey Jack, divided
- 1 cup shredded sharp cheddar, for topping
- thinly sliced green onion, for garnish
- cilantro, optional for garnish
Optional for Serving
- sour cream, tomatoes, avocado, hot sauce or salsa
Instructions
- Preheat oven to 350 degrees F.
- Pour a thin layer of enchilada sauce into a 13- x 9-inch baking dish (about ½ to ¾ cup) and spread it out evenly over the bottom.
- Warm the stack of tortillas for about 15 to 20 seconds in the microwave, just until very slightly warmed.
- Place about ⅓ cup of the shredded beef down the center of one of the tortillas and top with about ¼ cup shredded Jack cheese. Roll up tightly and place seam side down on top of the enchilada sauce in the baking dish (they shouldn't be too tightly packed in). Spoon about 1 cup sauce (or more) over the top of the enchiladas and top with the remaining 1 cup Monterey Jack and the cheddar cheese.
- Cover the dish with foil and bake for 25 minutes. Remove the foil and bake another 3 to 5 minutes, or until cheese is melted and sauce is bubbly.
- Garnish with green onions and a little cilantro and serve with toppings of your choice.
Notes
Nutrition
Nutrition information is automatically calculated using generic ingredients, and is an estimate not a guarantee. For more accurate results, please refer to the labels on your ingredients at home.





A friend at work made this and shared the recipe. My whole family and work family that I shared with enjoyed it so much. It is one that I will definitely be making again. Thanks for sharing.
Enchiladas are never made with flour tortillas. Only ever corn.
This is addressed a couple of times in the post. “Using flour tortillas or sturdier corn/flour or corn/wheat blend tortillas allows you to skip the step of cooking the tortillas in oil before assembling the enchiladas. After briefly warming the tortillas in the microwave, they become soft and pliable enough to roll without cracking the way corn tortillas can.” Of course, if you like them better with corn tortillas you should use them. I’ve had far better luck with flour or the 50/50 blend tortillas.
Mine stuck to the pan, as I did not coat with spray, and followed the recipe.
Sorry you had this issue, Kathy. The light coating of enchilada sauce on the bottom should help prevent them from sticking since it has a little oil in it. You can lightly coat the bottom of the pan with cooking spray before beginning, if you’d like.
These were absolutely delicious! My family labeled this a “super keeper”, not just a keeper. Will definitely be making this many many more times.