
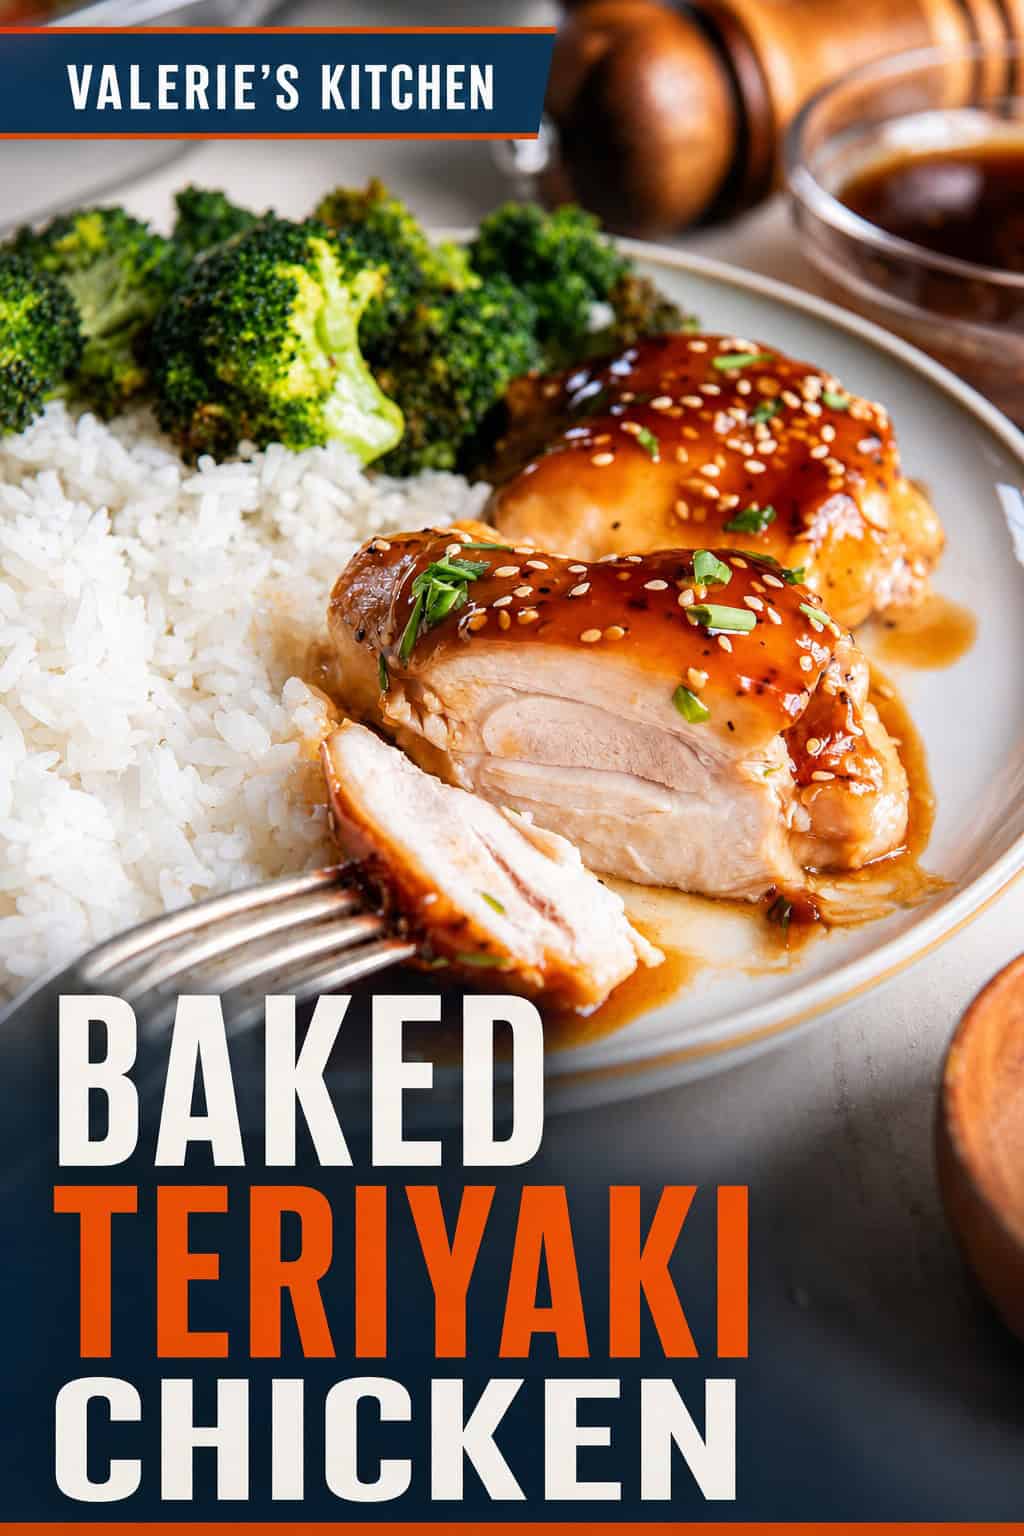
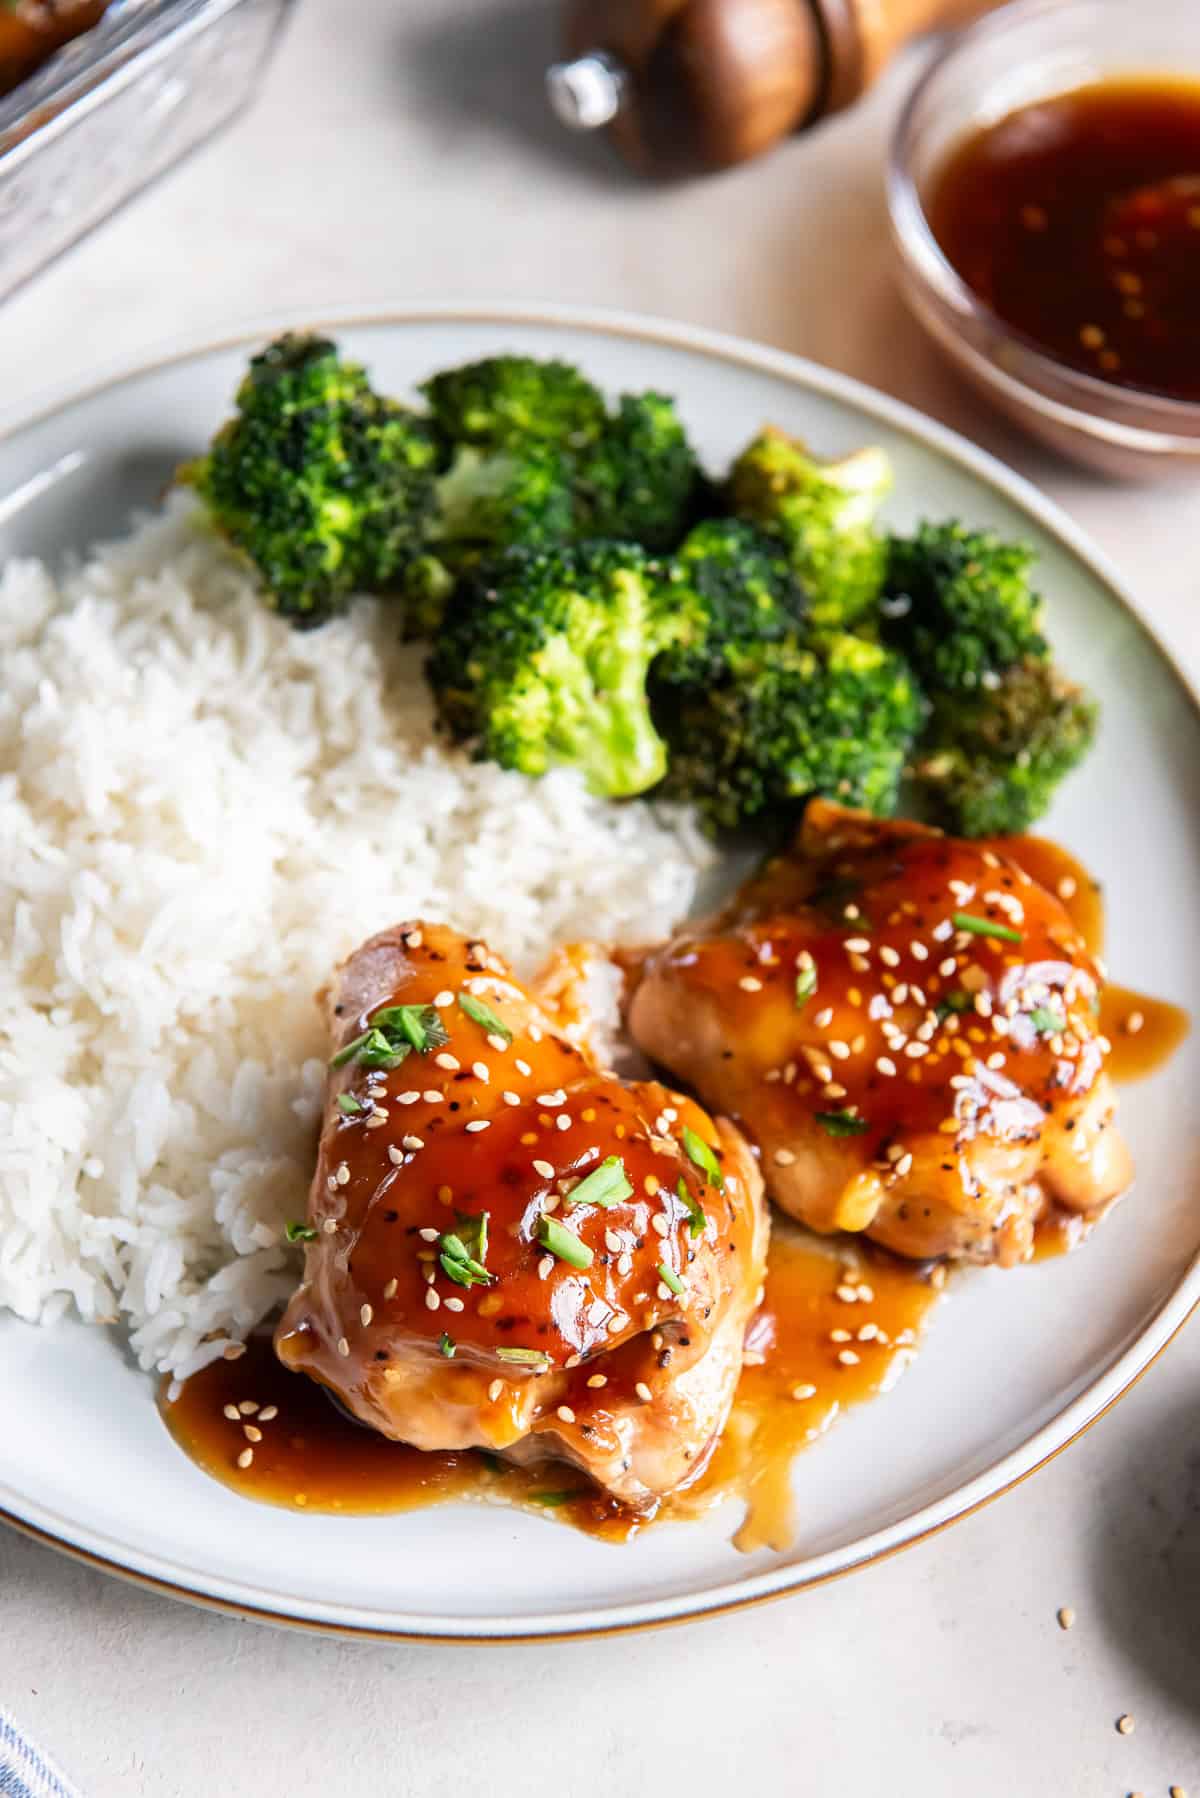
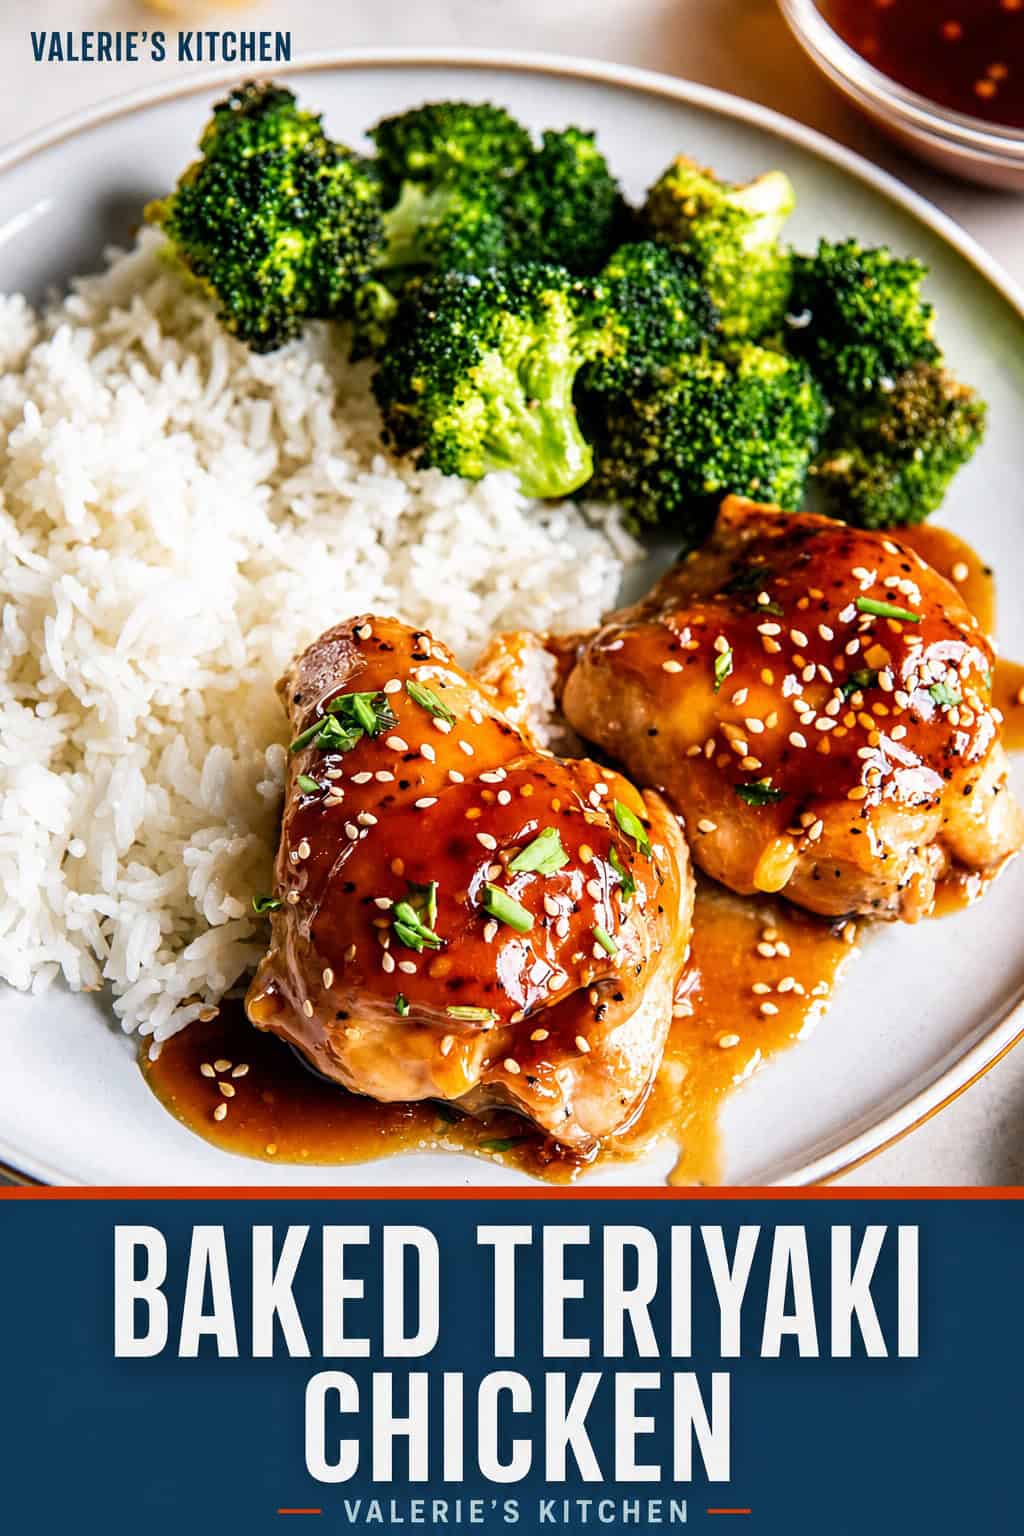
Tender chicken thighs bake in a sweet and savory homemade teriyaki sauce to create this irresistible Baked Teriyaki Chicken. Serve it with rice and vegetables for an easy dinner that delivers big flavor with minimal effort.
This post may contain affiliate links. Please read our disclosure policy.
Pin this now to find it later
Pin ItThis teriyaki chicken recipe is an old favorite that made a frequent appearance on our dinner menus back when we had a full house. Kids love teriyaki and so do we, so it was always a dependable choice that I knew everyone would be happy to see on the dinner table.
What makes this recipe work so well is that you can bake a generous amount of chicken all at once instead of cooking it in batches on the stovetop. My simple two-step baking method keeps the chicken tender and juicy and gives that flavorful homemade teriyaki sauce a rich, glossy finish.
Table of Contents
“This was absolutely delicious! My kids loved that chicken teriyaki could be homemade and was actually better than takeout.”
Why You’ll Love This Recipe
- Great for families: Baking the chicken in a 13- x 9-inch pan makes it easy to cook a generous amount all at once with very little hands-on effort.
- Homemade teriyaki sauce: The homemade teriyaki sauce is what makes this recipe shine. It’s easy to make, incredibly flavorful, and so much better than bottled sauce.
- Everyone loves it: The sweet and savory teriyaki flavor is appealing to kids and adults alike.
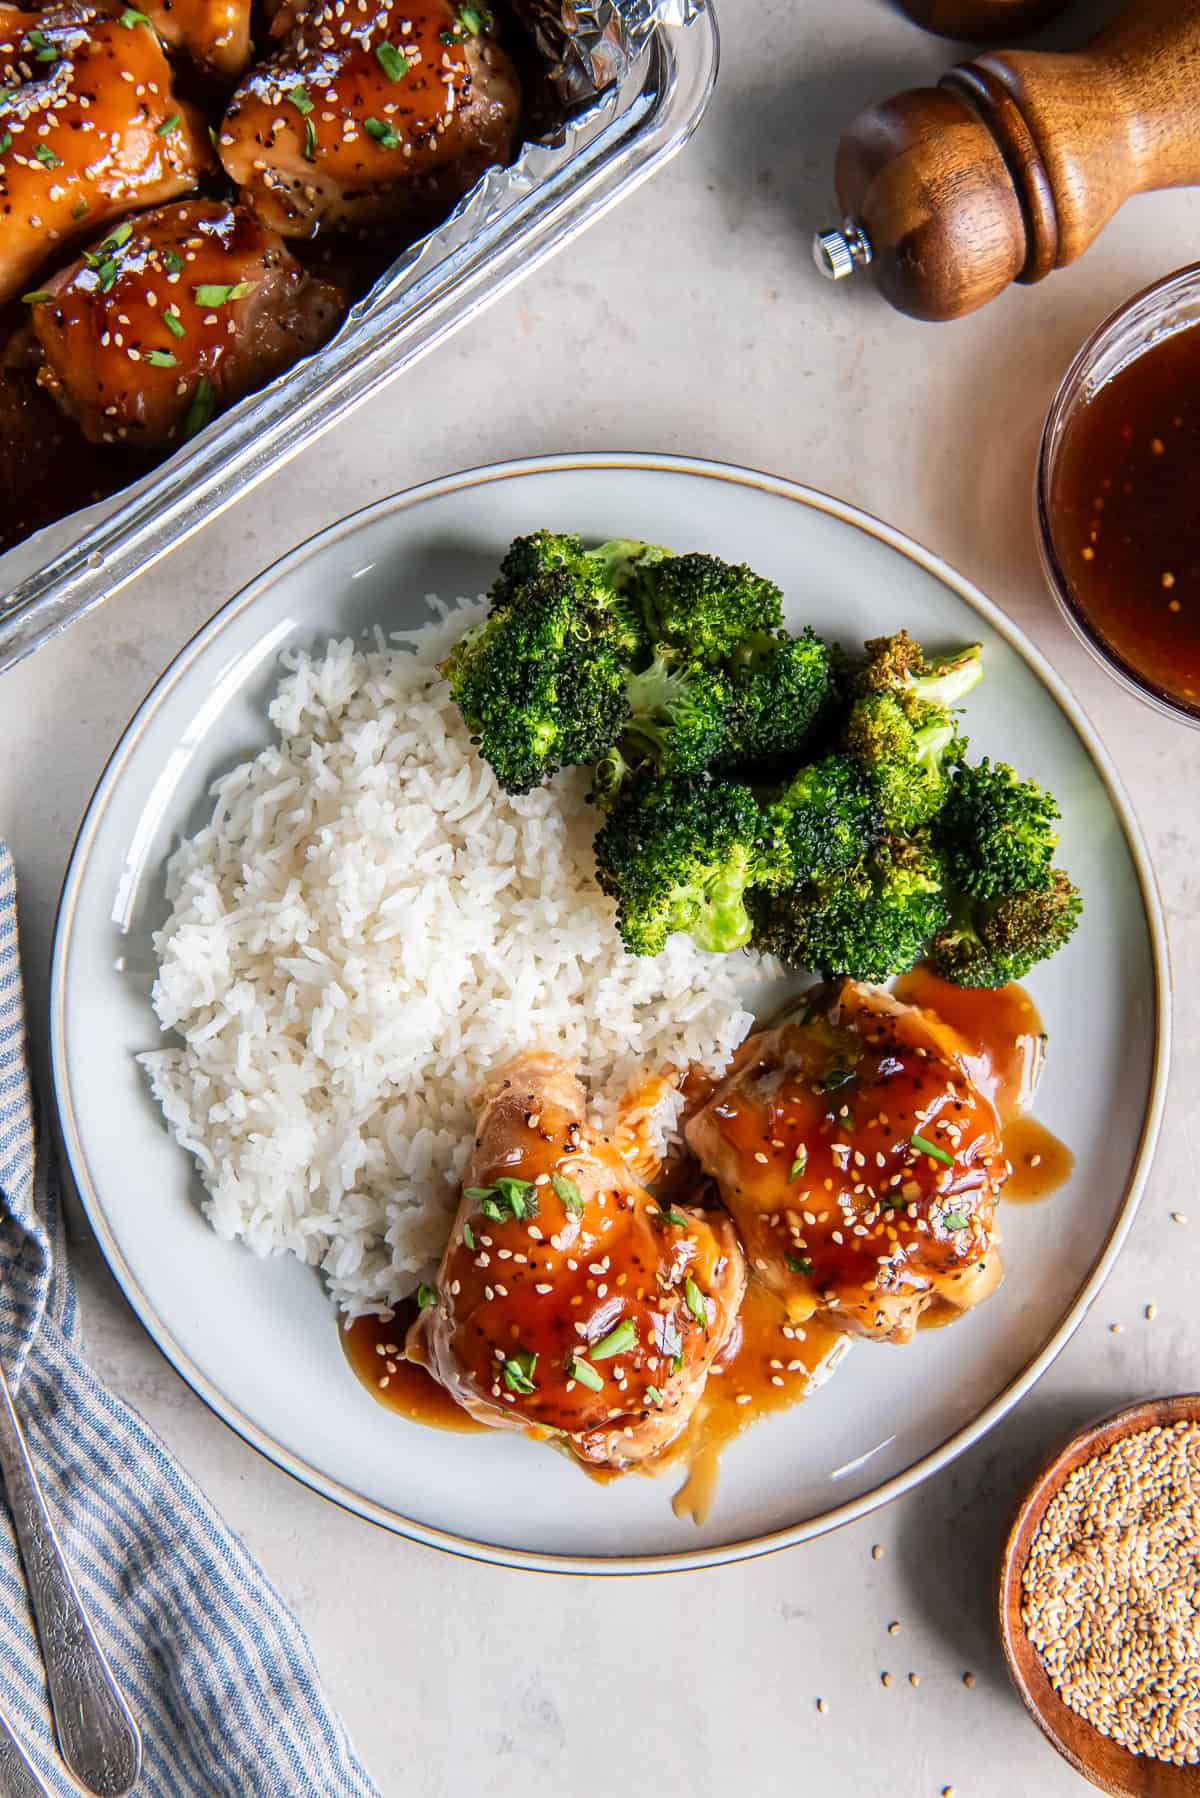
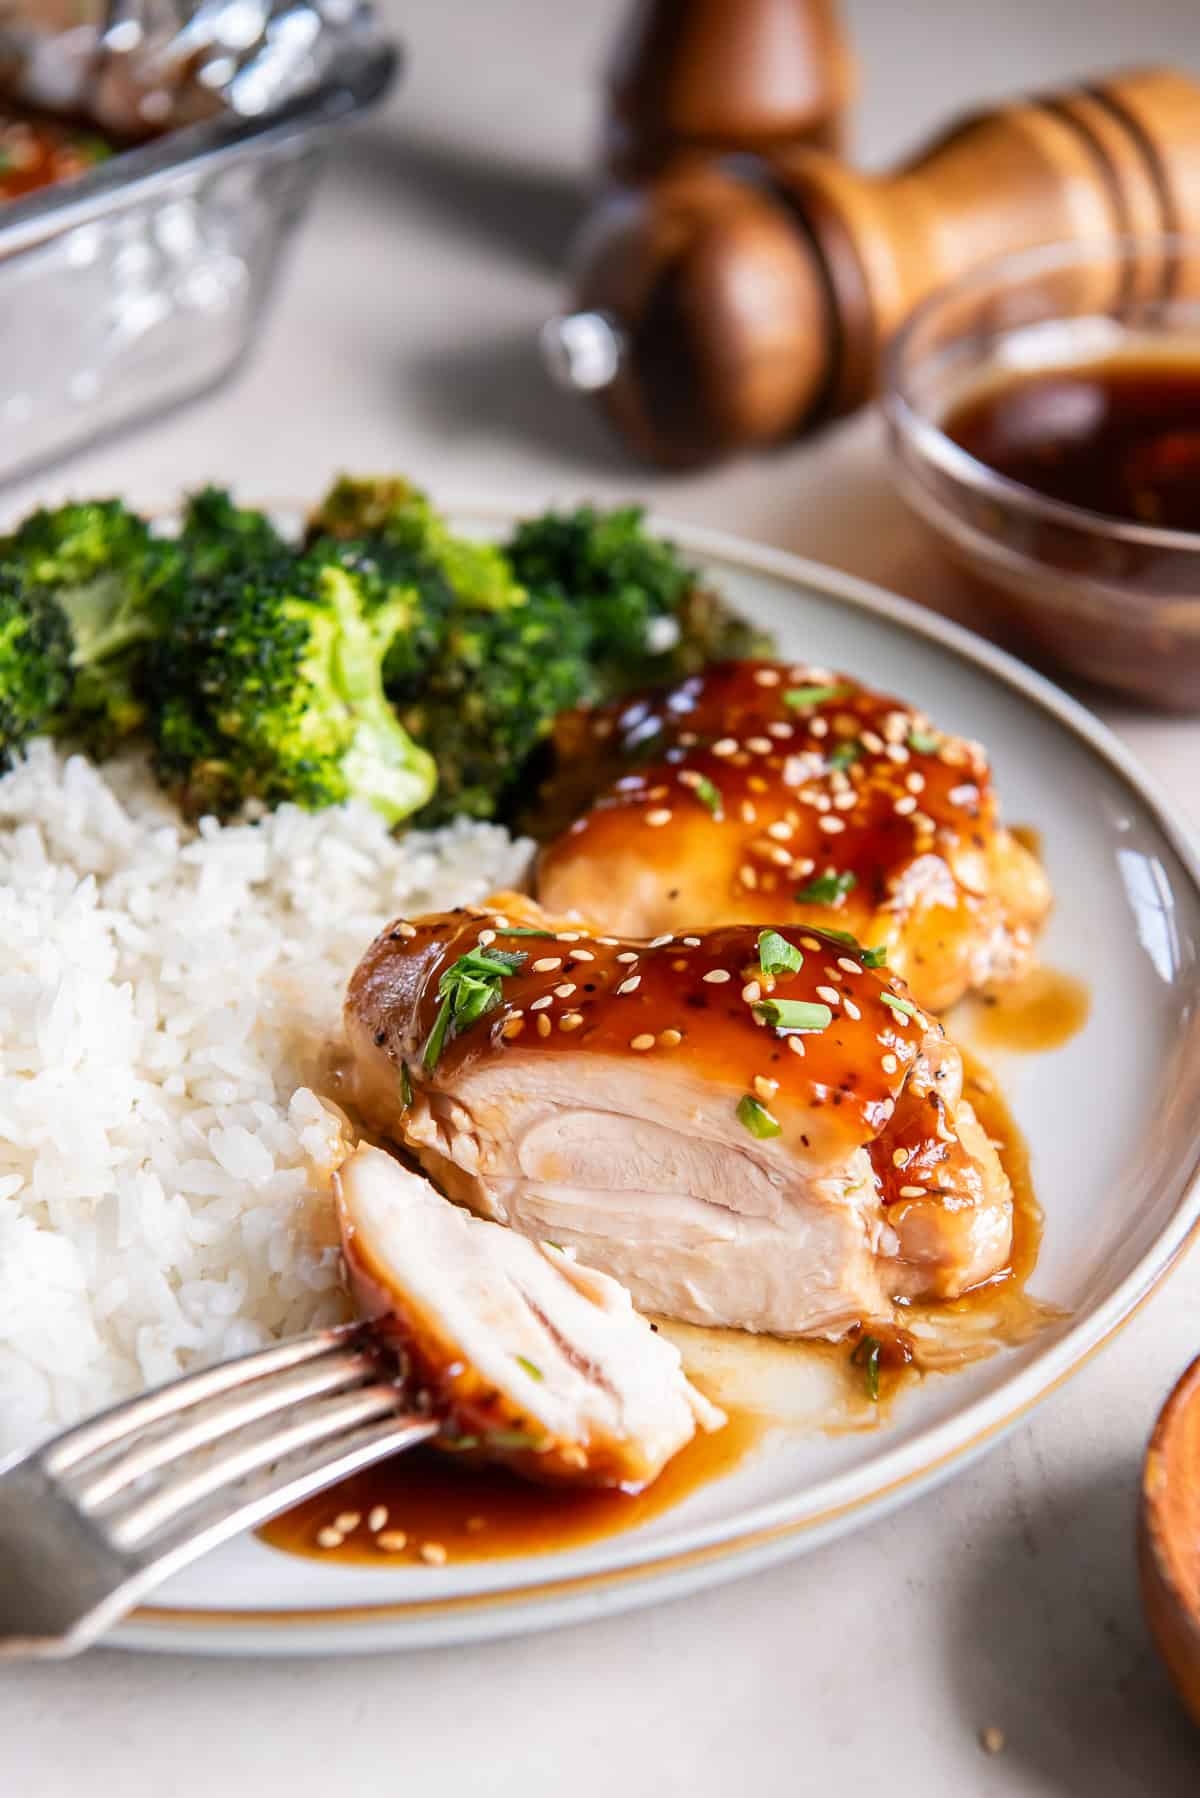
- Easy complete meal: Add white rice and a simple vegetable like broccoli and dinner is done.
Ingredient Notes
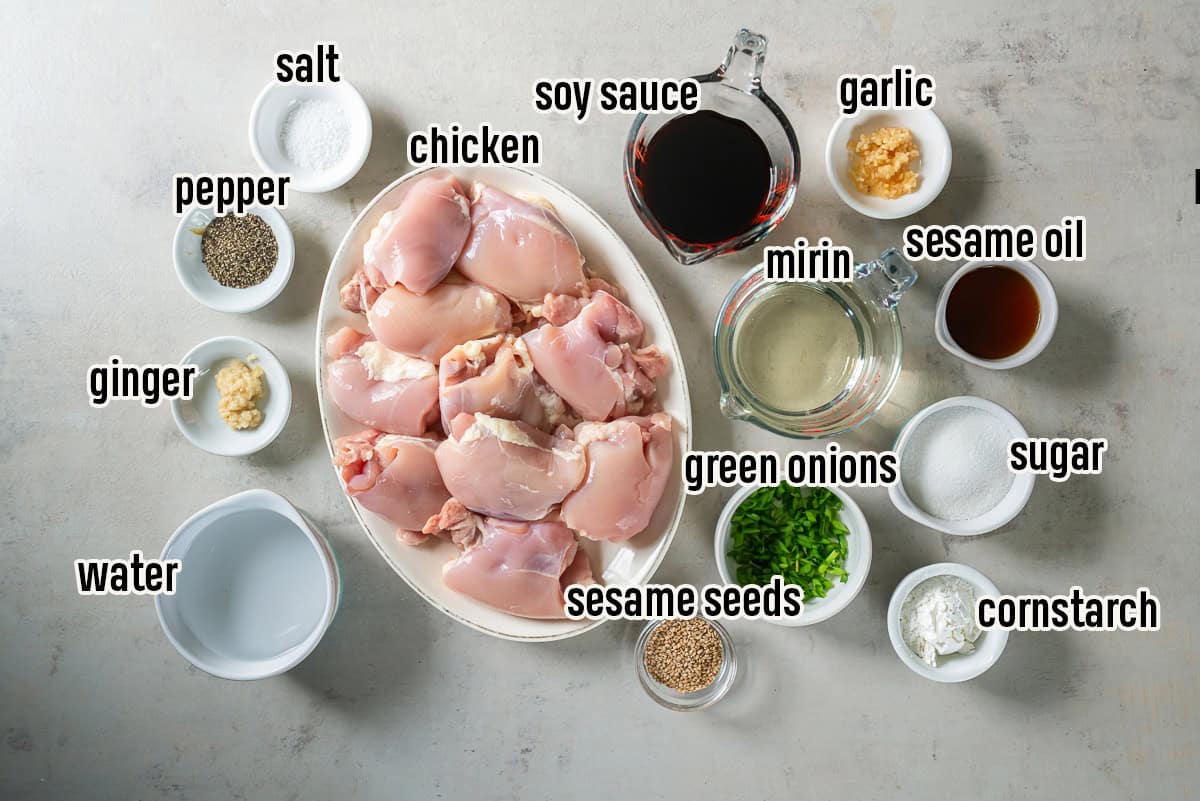
- Chicken: I prefer boneless, skinless chicken thighs for this recipe because they bake up especially tender and juicy. Boneless chicken breasts or bone-in thighs will also work. See the recipe card notes for cooking times and temperatures.
- Soy sauce: Use less-sodium soy sauce to keep the sauce from becoming overly salty. For a gluten-free option, substitute tamari.
- Mirin: This sweet Japanese rice wine adds sweetness and depth to the teriyaki sauce. Aji-mirin is a sweeter, more widely available mirin-style seasoning commonly found in U.S. grocery stores. Either traditional mirin or aji-mirin will work in this recipe.
- Sesame oil: Adds rich, toasted sesame flavor to the sauce.
- Ginger and garlic: Ginger and garlic: Use fresh minced ginger and garlic or save time with ginger paste and jarred minced garlic. I use both depending on what I have on hand.
- Sugar: Balances the salty soy sauce and helps create the classic sweet-savory teriyaki flavor.
- Cornstarch: Combined with water to create a slurry that thickens the teriyaki sauce so it coats the chicken beautifully.
- Green onions and sesame seeds: An optional but highly recommended garnish for color, texture, and extra flavor.
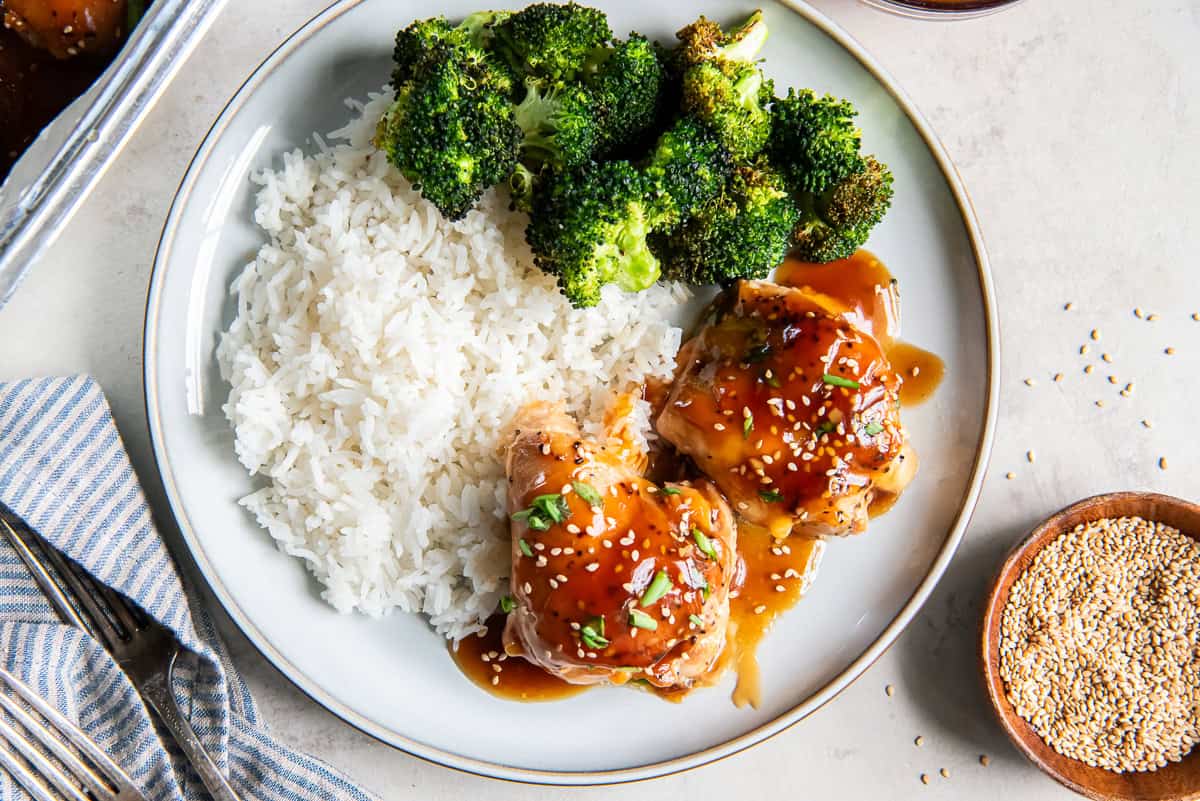
How to Make Baked Teriyaki Chicken
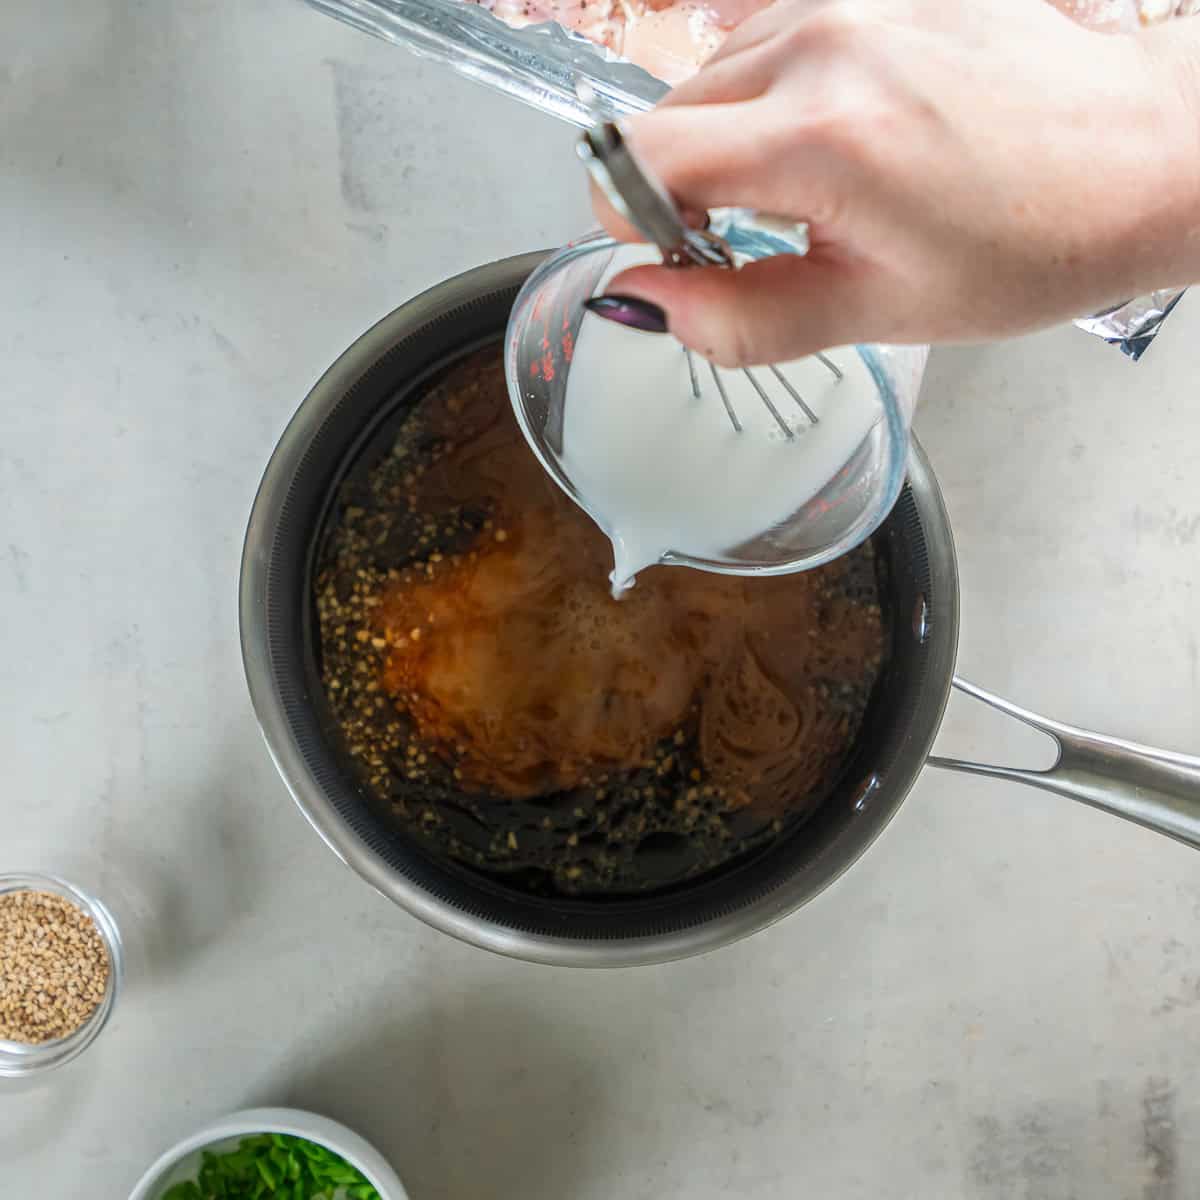
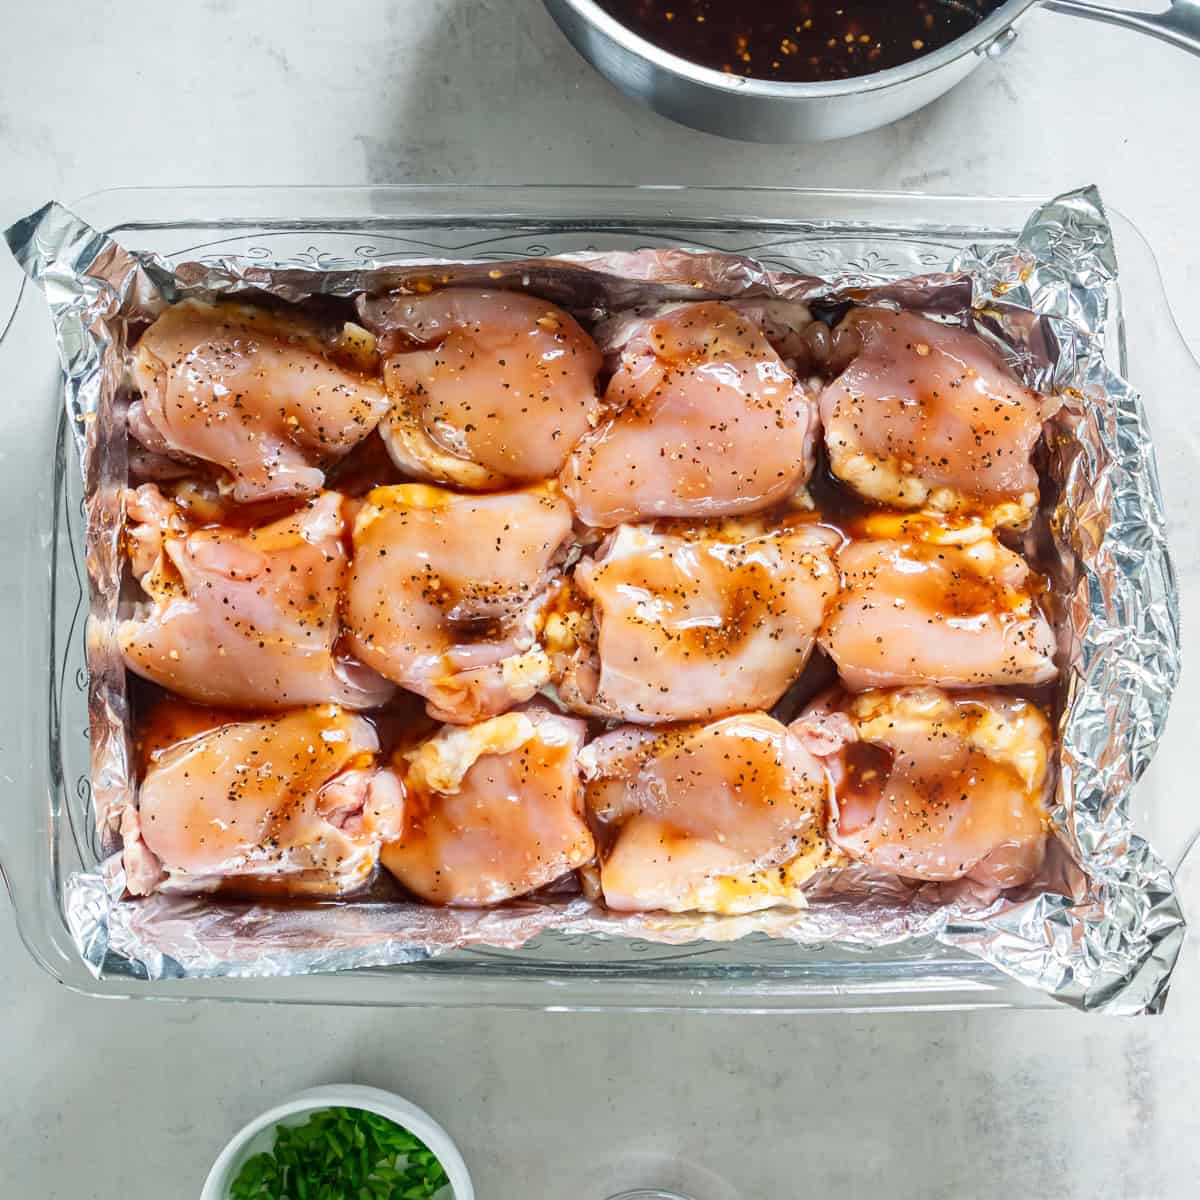
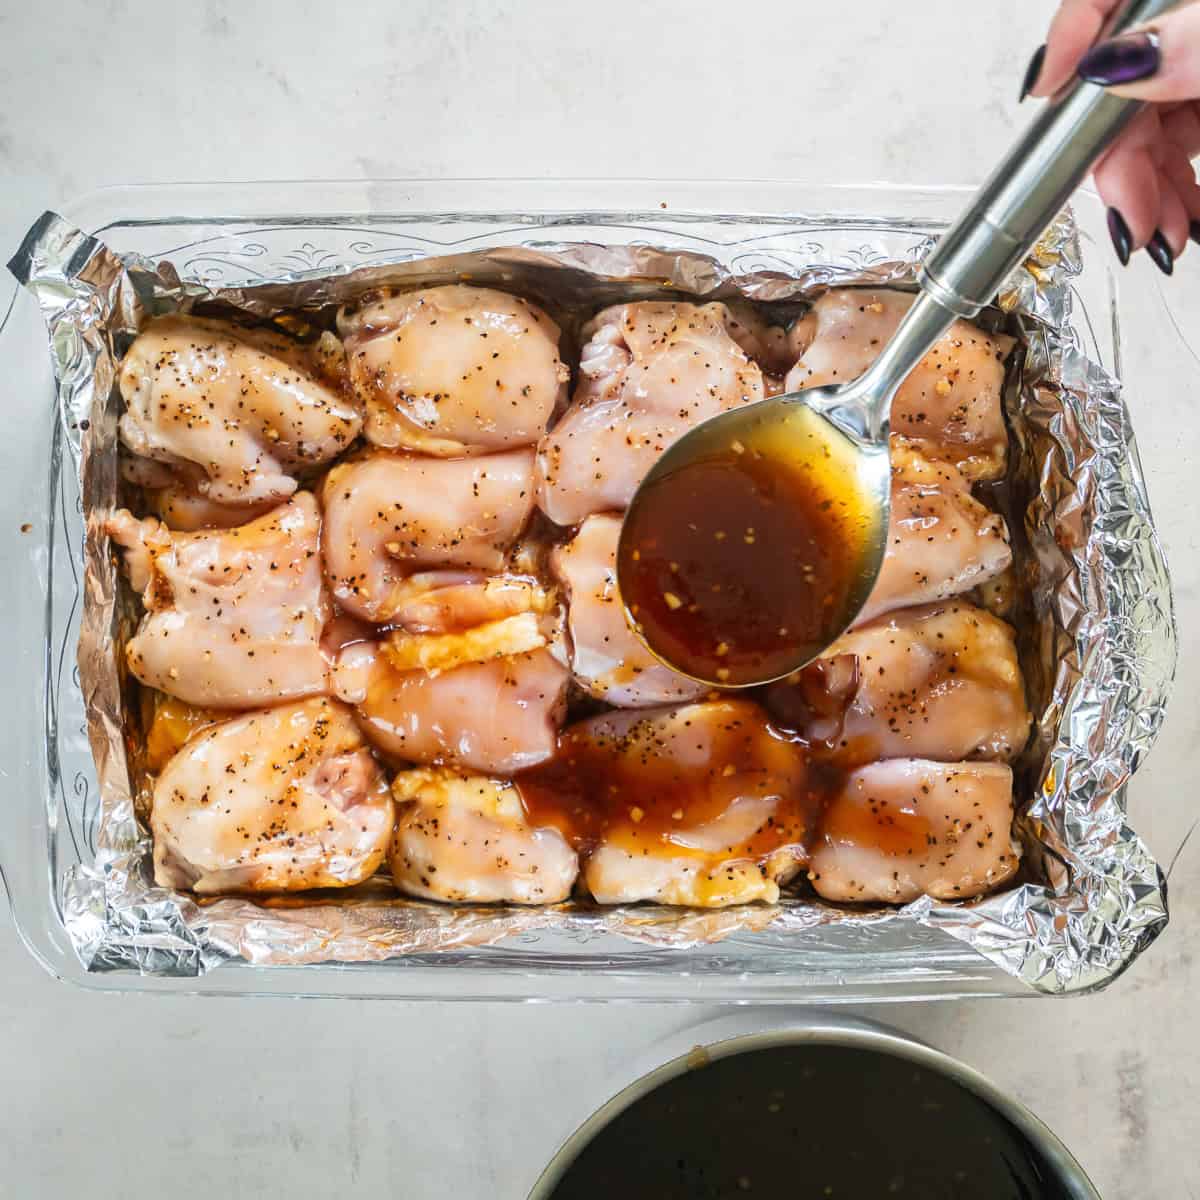
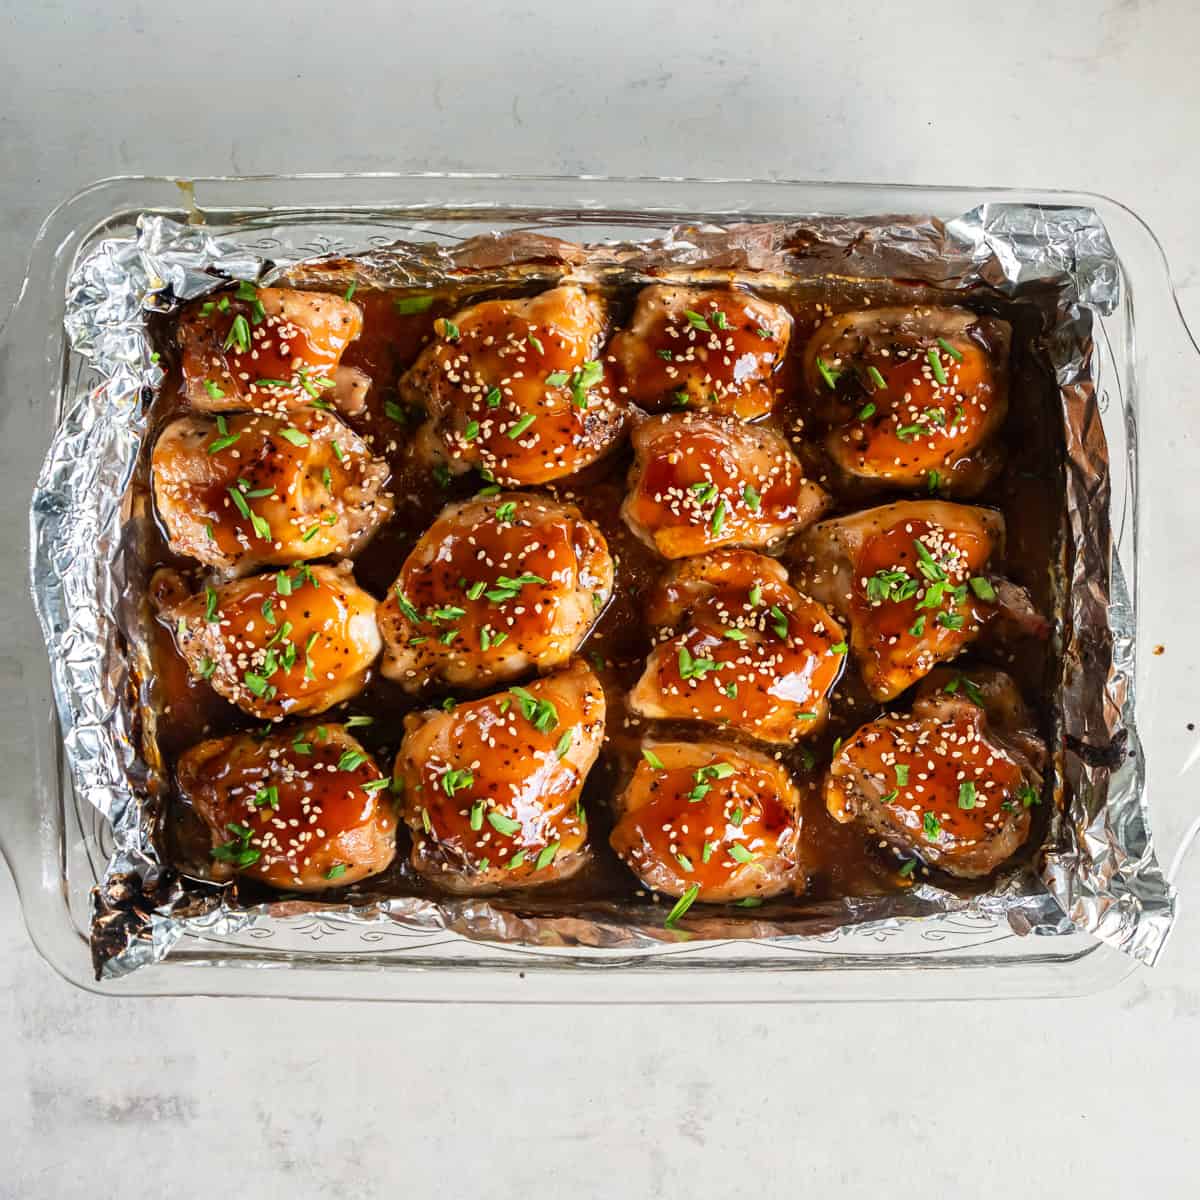
- Combine the sauce ingredients. Whisk together the soy sauce, mirin, sugar, sesame oil, ginger, and garlic. Add the cornstarch slurry.
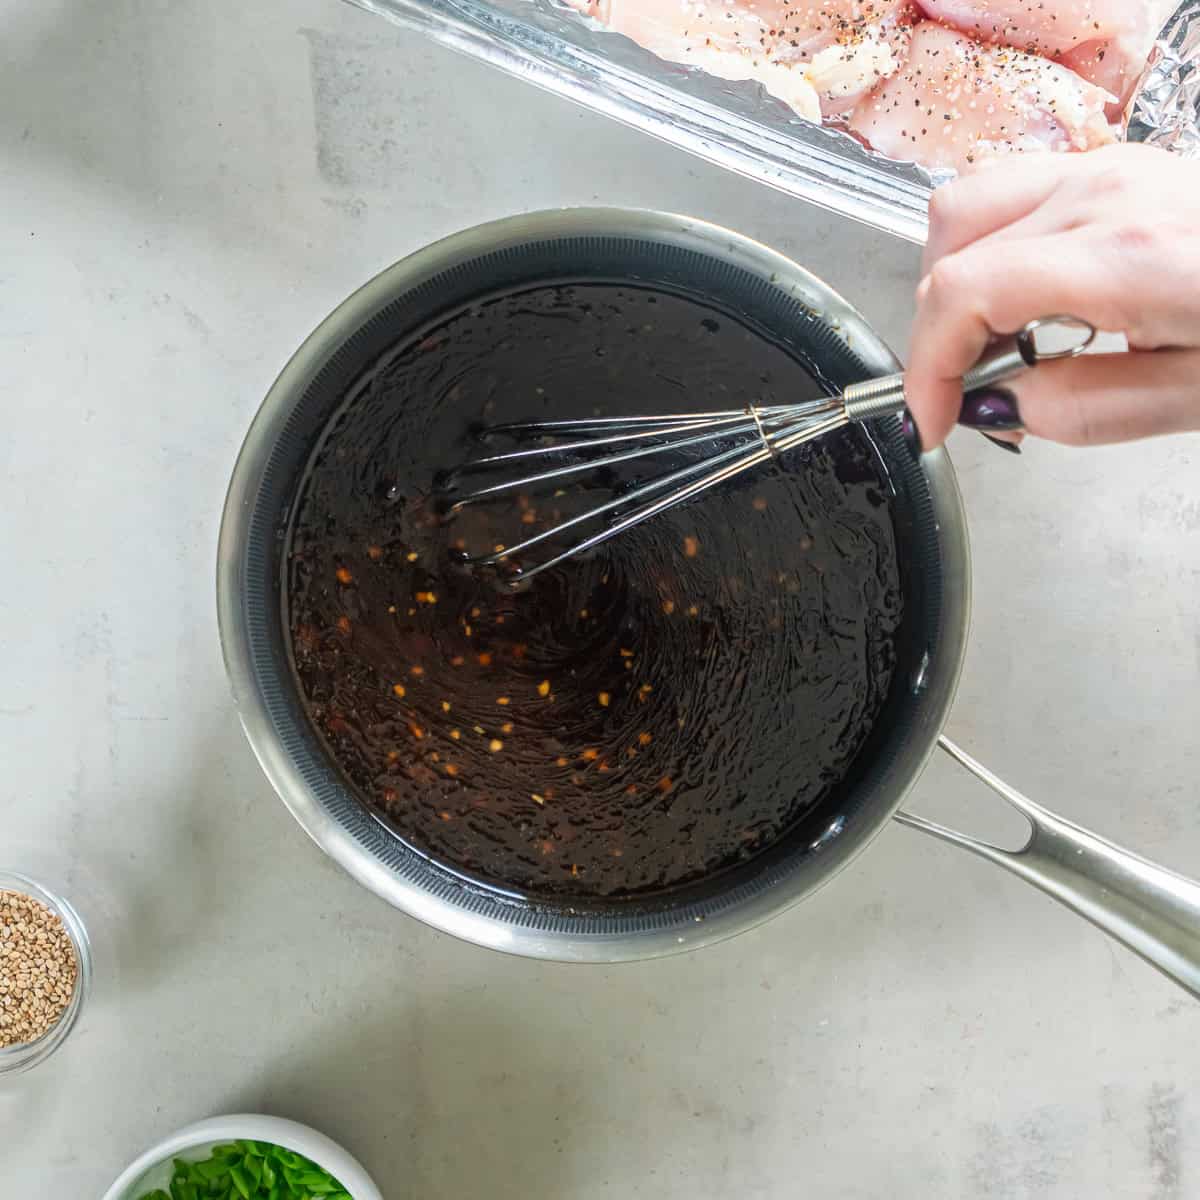
- Thicken the sauce. Cook, stirring, until the teriyaki sauce is smooth and thickened, then remove it from the heat.
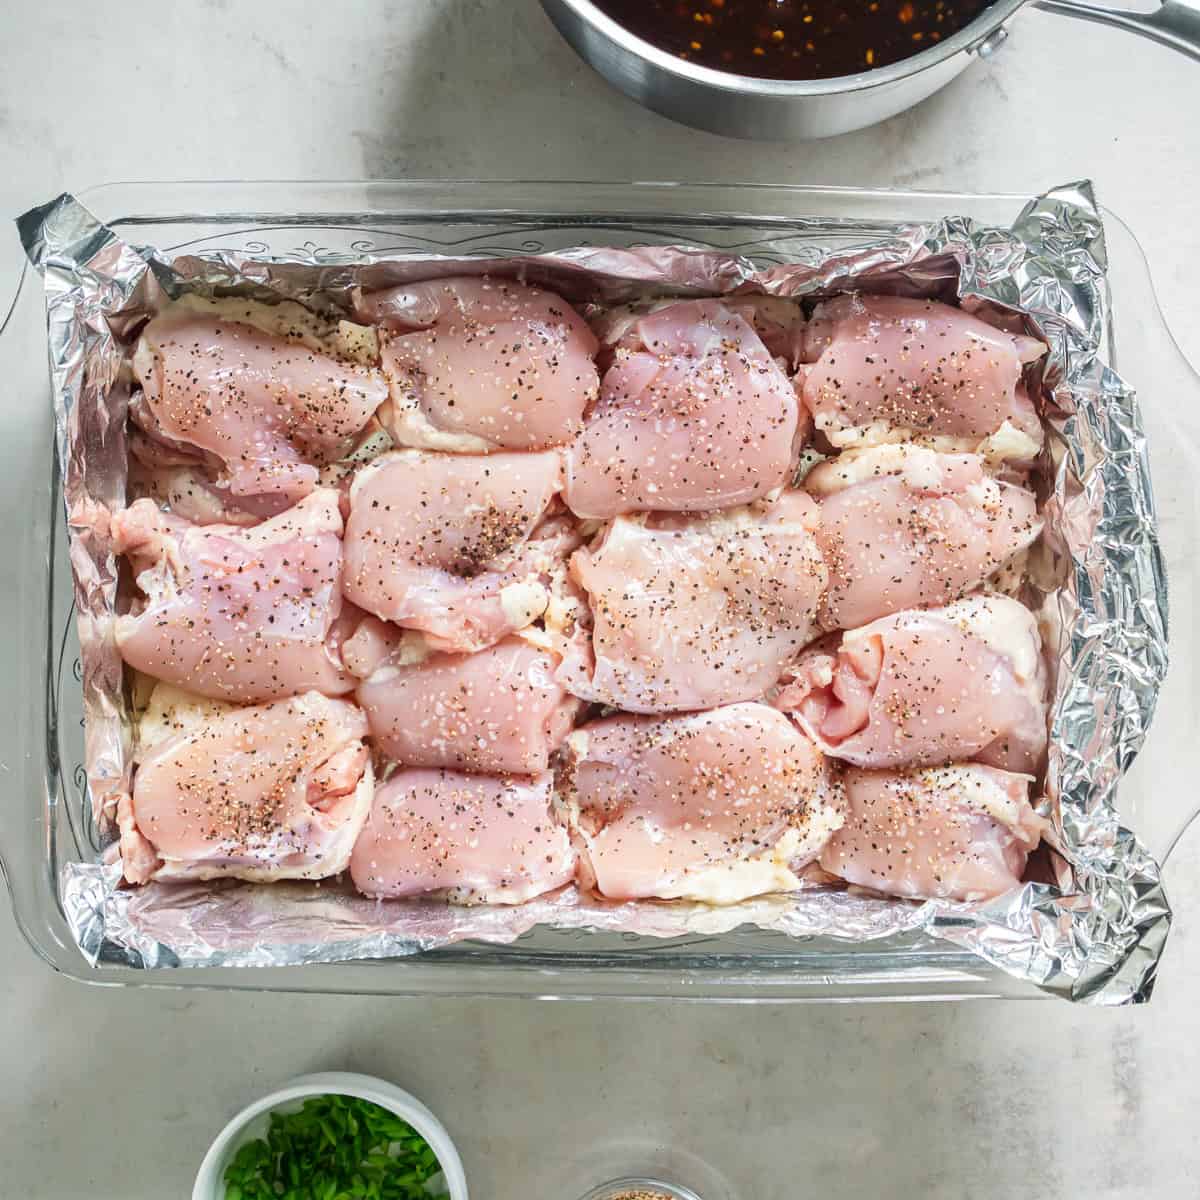
- Season the chicken. Arrange the chicken thighs in a single layer in foil-lined baking dish and season with salt and pepper.
- Add the sauce. Spoon about one-third of the teriyaki sauce over the chicken. Cover and bake for 30 minutes.
- Drain and add more sauce. Drain off most of the cooking liquid, then spoon the remaining teriyaki sauce over the chicken.
- Finish baking. Bake uncovered until the chicken is tender and cooked through. Let it rest for 5 minutes, then garnish with sesame seeds and green onions.
Valerie’s Tips
- Line the baking dish. Teriyaki sauce gets quite sticky as it cooks, so lining the baking dish makes cleanup much easier. I prefer heavy-duty aluminum foil because it provides the best coverage up the sides of the dish. If you prefer not to use foil, you can line the dish with parchment paper instead.
- Use skinless chicken. If using bone-in, skin-on chicken thighs, pull off and discard the skin before baking. This prevents excess fat from cooking into the teriyaki sauce and allows the sauce to coat the chicken more evenly.
- Don’t skip draining the pan. Chicken releases quite a bit of liquid as it bakes. Draining off most of it before adding the reserved teriyaki sauce keeps the sauce rich, thick, and flavorful instead of watery and diluted.
- Save some of the sauce for later. Adding the teriyaki sauce in two stages gives the chicken flavor as it bakes while reserving plenty of thick sauce to coat it at the end. The sauce will thicken a little more as it rests after baking and cling beautifully to the chicken.
- For tender chicken thighs: I like to cook thighs to at least 175°F. They become more tender as they cook beyond the minimum safe temperature of 165°F.
- Using chicken breasts? Watch them closely during the final bake and pull them as soon as they reach 165°F to help keep them juicy.
Let it rest. Give the chicken about 5 minutes before serving.
Storage and Reheating
Refrigerator: Transfer leftover chicken and teriyaki sauce to an airtight container and refrigerate for up to 4 days.
Freezer: Transfer the cooled chicken and sauce to a freezer-safe container and freeze for up to 3 months. Thaw overnight in the refrigerator before reheating.
Reheating: Reheat the chicken with some of the sauce in the microwave or in a covered baking dish in a 350°F oven until warmed through.
Love teriyaki? Be sure to check out my Grilled Teriyaki Steak. Same sauce, different meat, different method, equally delicious!
Baked Teriyaki Chicken
Ingredients
- 2½ pounds boneless skinless chicken thighs, about 8 thighs (see Notes below)
- salt and freshly ground black pepper, to taste
Teriyaki Sauce
- ⅔ cup less sodium soy sauce, or tamari for gluten-free
- ⅔ cup mirin, (sweet rice wine)
- ¼ cup granulated sugar
- 2 tablespoons sesame oil
- 1 teaspoon minced fresh ginger or ginger paste
- 1 teaspoon minced garlic
- ⅔ cup water
- 2 tablespoons cornstarch
For Garnish
- 2 tablespoons sesame seeds
- 3 or 4 green onions, thinly sliced
Instructions
- Preheat oven to 400 °F. Line a 13- x 9-inch baking dish with heavy duty aluminum foil and coat the foil with nonstick cooking spray.
- In a medium saucepan, whisk together the soy sauce, mirin, sugar, sesame oil, ginger, and parlic. Place over MEDIUM-HIGH heat. In a meauring cup or a small bowl, whisk the water and cornstarch until dissolved and then add the mixture to the pan. Bring just to the boiling point then reduce heat to MEDIUM-LOW and cook for several minutes, stirring, until thickened. Remove from the heat.
- Place the chicken in the prepared pan and season on both sides, to taste, with salt and freshly ground black pepper. Spoon about one-third (about ¾ cup) of the teriyaki sauce over the chicken, being sure to coat each piece. Reserve the remaining sauce.
- Cover the dish with foil and bake for 30 minutes. Remove the foil and carefully spoon off or drain the thin cooking liquid that has collected in the bottom of the pan. Spoon the reserved thickened sauce evenly over the chicken. Return the dish to the oven and bake, uncovered, for 15 to 20 minutes, or until the chicken reaches an internal temperature of 175 °F for thighs or 165 °F for breasts. Remove from the oven and let the chicken rest for 5 minutes. The sauce will continue to thicken as it rests. Spoon some of the sauce over the chicken and garnish with sesame seeds and sliced green onions before serving.
- Serve with rice and vegetables with additional teriyaki sauce spooned over the chicken and rice, if desired.
Notes
Nutrition
Nutrition information is automatically calculated using generic ingredients, and is an estimate not a guarantee. For more accurate results, please refer to the labels on your ingredients at home.
Like this? Please rate & comment below!
This post was originally published on January 3, 2016. The recipe has been retested and the post has been updated with new text and images.












Tried it and will definitely make it again!