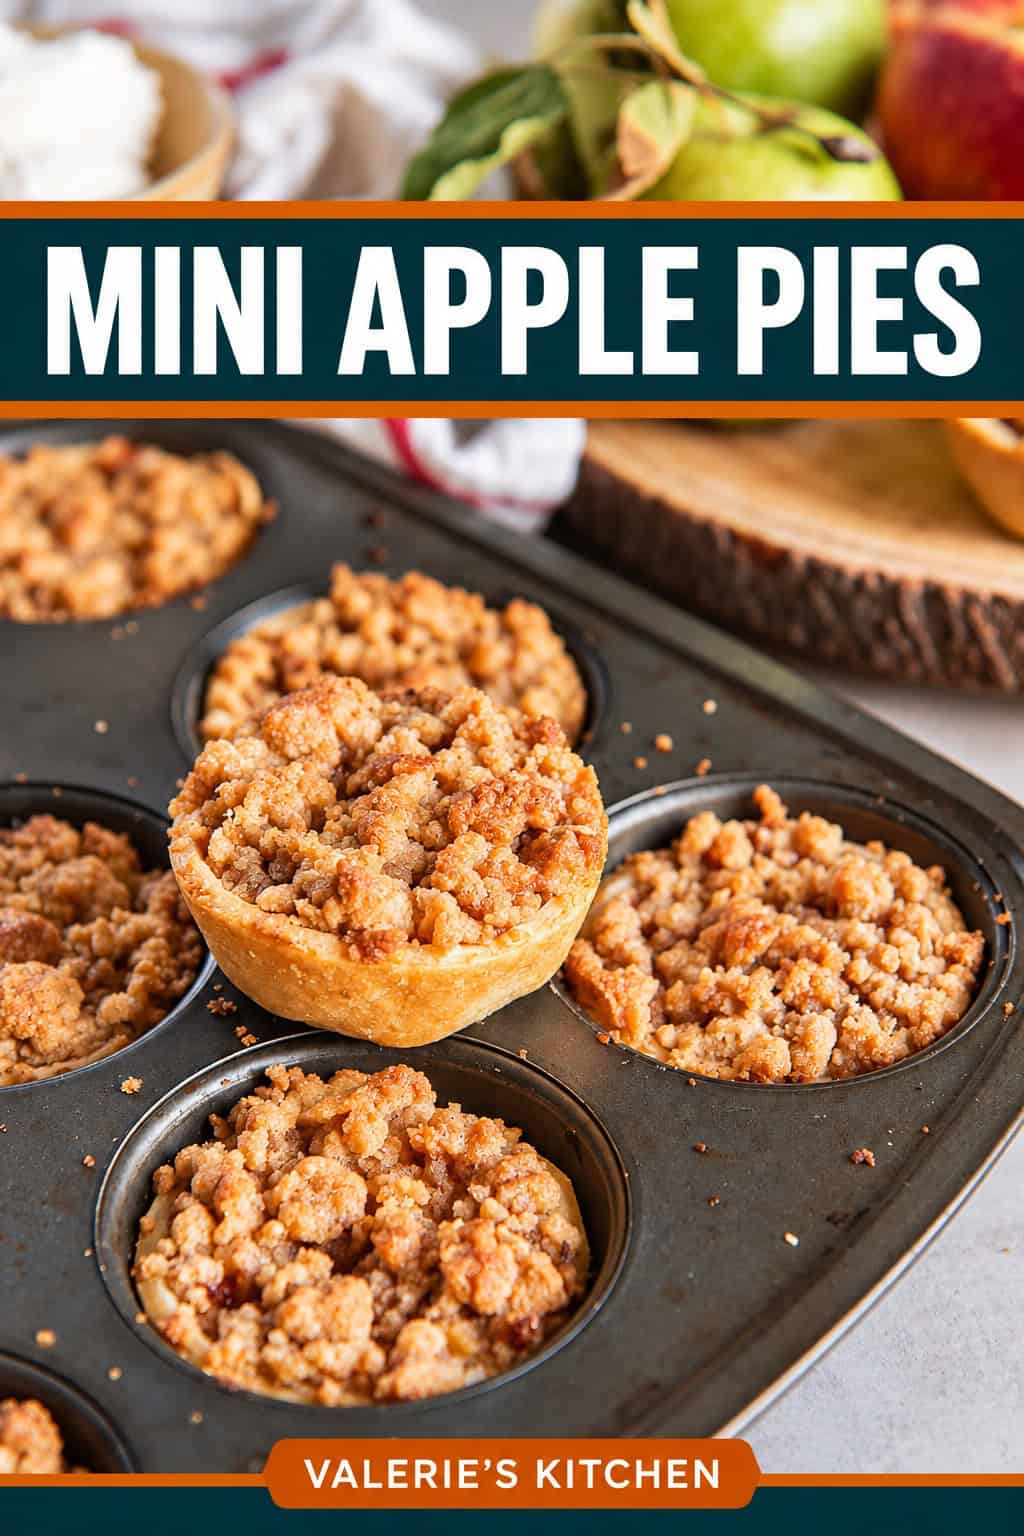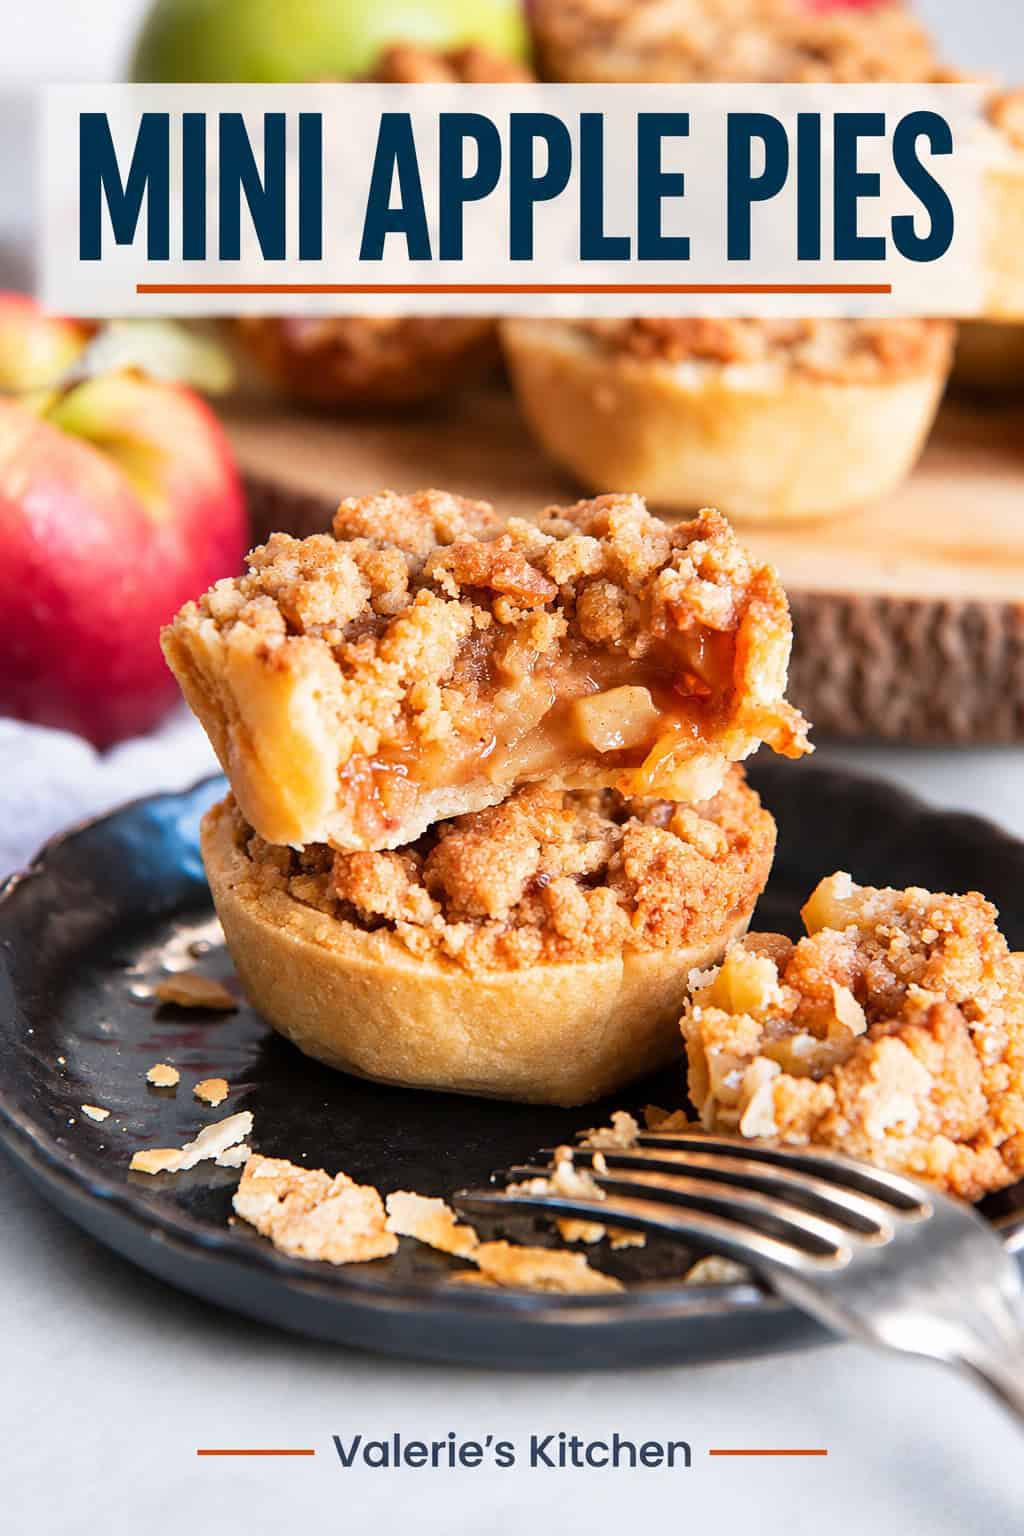
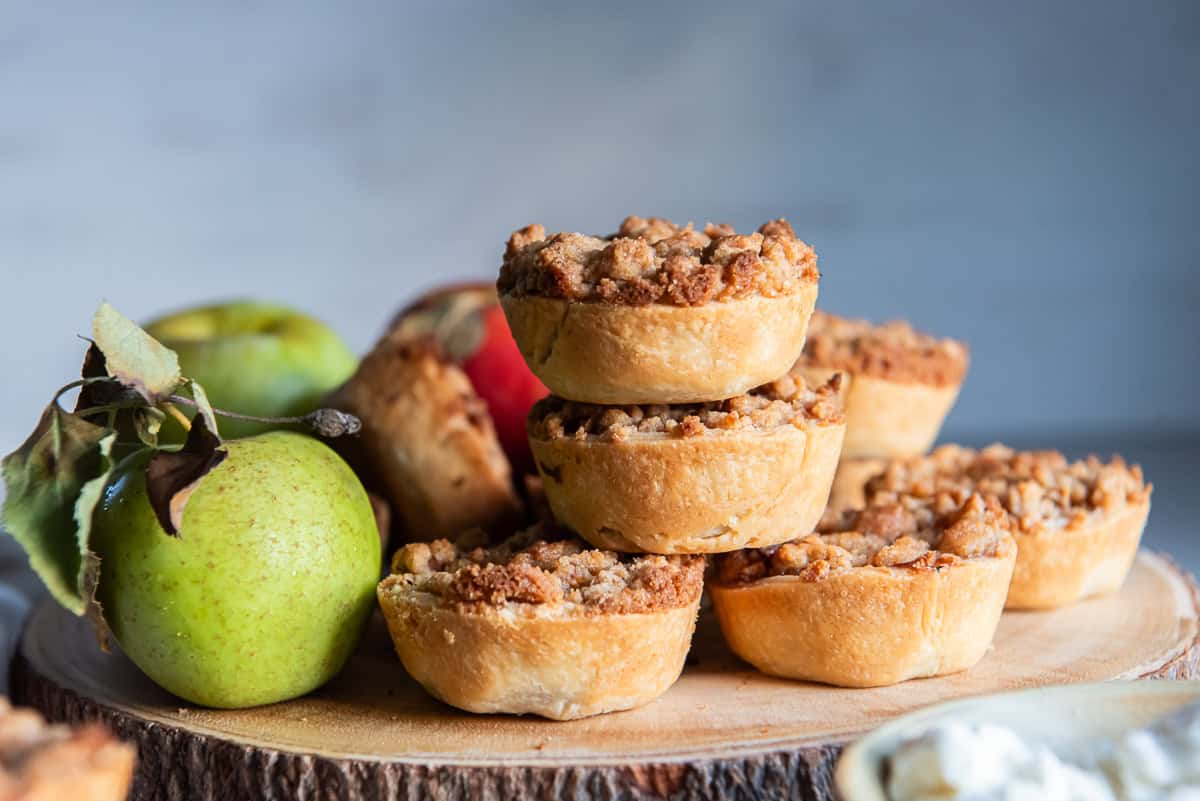
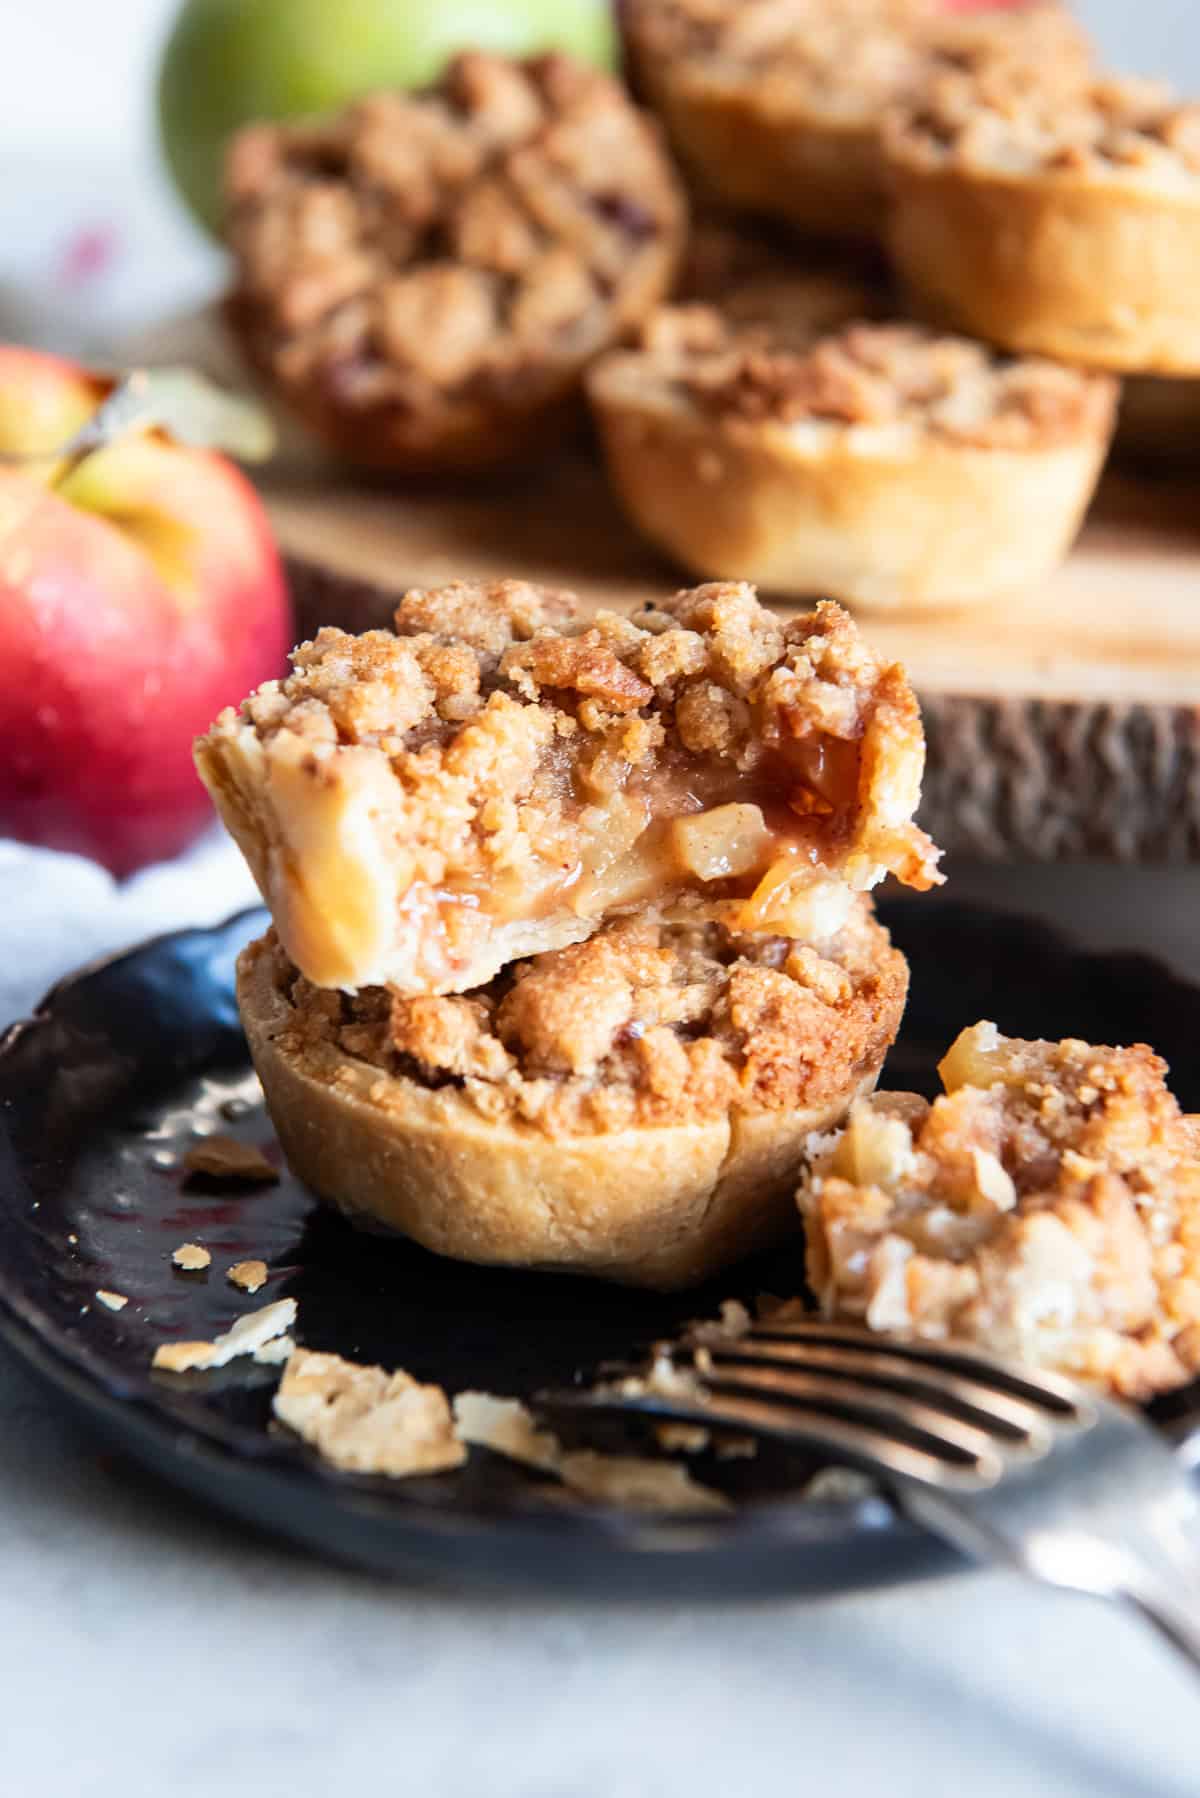
These easy Mini Apple Pies have a perfectly spiced fresh apple filling tucked into a flaky crust with a buttery crumb topping. They bake in a muffin pan for an easy, handheld dessert that’s perfect for the holidays.
This post may contain affiliate links. Please read our disclosure policy.
Pin this now to find it later
Pin ItApple Pie Made Easy

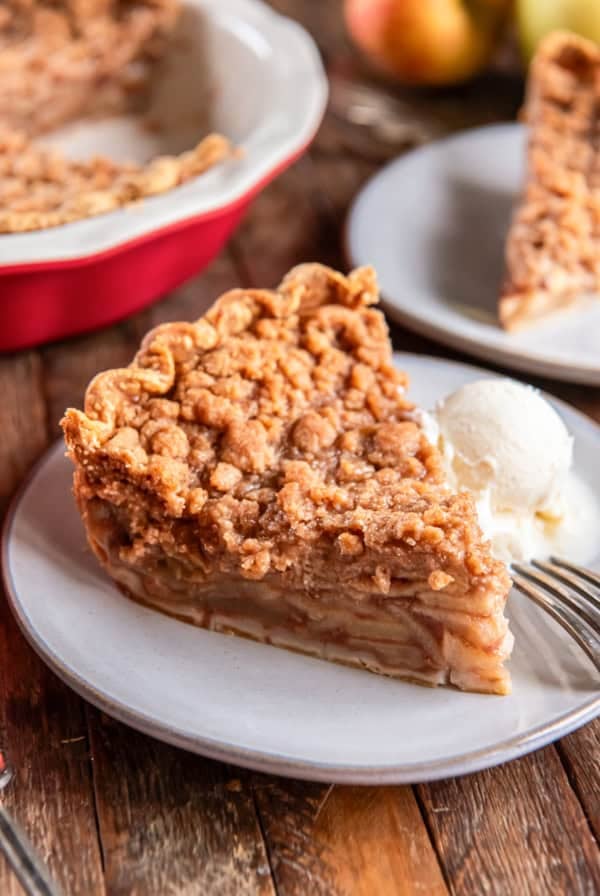
Each Thanksgiving, I pretty much turn into a pie-baking maniac and turn out four different varieties so that everyone gets their favorite. Full size, all from scratch, and all exceptionally delicious. And when it comes to apple, it’s either my Double Crust Apple Pie or Dutch Apple Pie.
But, my friends, this year I’m replacing one of those full-size pies with these cute little Mini Apple Pies, and I already know they’ll be a hit.
- Perfect balance: The crumb topping gives these little pies just the right ratio of tender apple filling to flaky pastry plus a little additional sweetness. A top crust would be too much for their mini size.
- A shortcut that works: I typically make my own homemade pie crust, but refrigerated store-bought pastry works beautifully for these. It’s sturdy, easy to handle, and saves precious time during the holiday rush. Go easy on yourself and give this shortcut a try!
- Easy apple filling: Finely diced fresh apples bake until tender right in the pastry cups. No precooking needed.
- Easy to serve: No slicing required, and guests can pick one up and enjoy it while leaving room for the other desserts.
Ingredient Notes
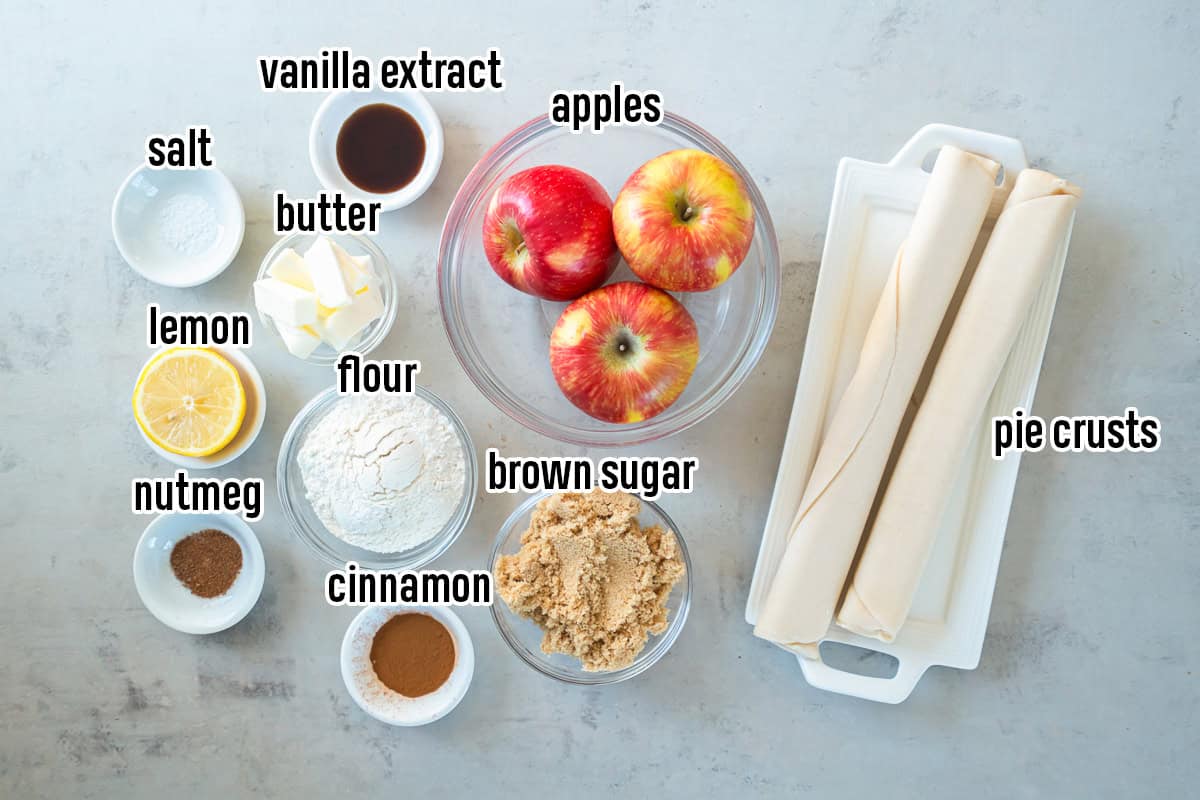
- Pie crust: Store-bought refrigerated pie crust makes these easy, and it bakes up nicely browned and sturdy enough to lift out of the muffin pan. You’ll need two crusts for 9-inch pies. There will be scraps left after cutting the circles, which you can discard or save for another use.
- Apples: Choose crisp-sweet apples like Envy, Gala, or Honeycrisp. One pound of whole apples yields the 3 cups of peeled, diced apples needed. Cut them into small, ¼-inch pieces so they become tender during the short baking time. No precooking needed!
- Lemon juice and vanilla: A little lemon juice brightens the filling, while vanilla adds a warm flavor that pairs beautifully with the brown sugar and spices.
- Brown sugar: Light brown sugar sweetens both the filling and crumb topping and adds a touch of caramel flavor.
- Flour: All-purpose flour thickens the juices as the pies bake. It also forms the base of the crumb topping.
- Cinnamon and nutmeg: Cinnamon gives the filling its familiar apple pie flavor, with just a little nutmeg for warmth. There’s a touch of cinnamon in the topping as well.
- Butter: Use softened butter for the crumb topping so it blends easily with the dry ingredients and forms coarse, buttery crumbs.
How to Make Mini Apple Pies
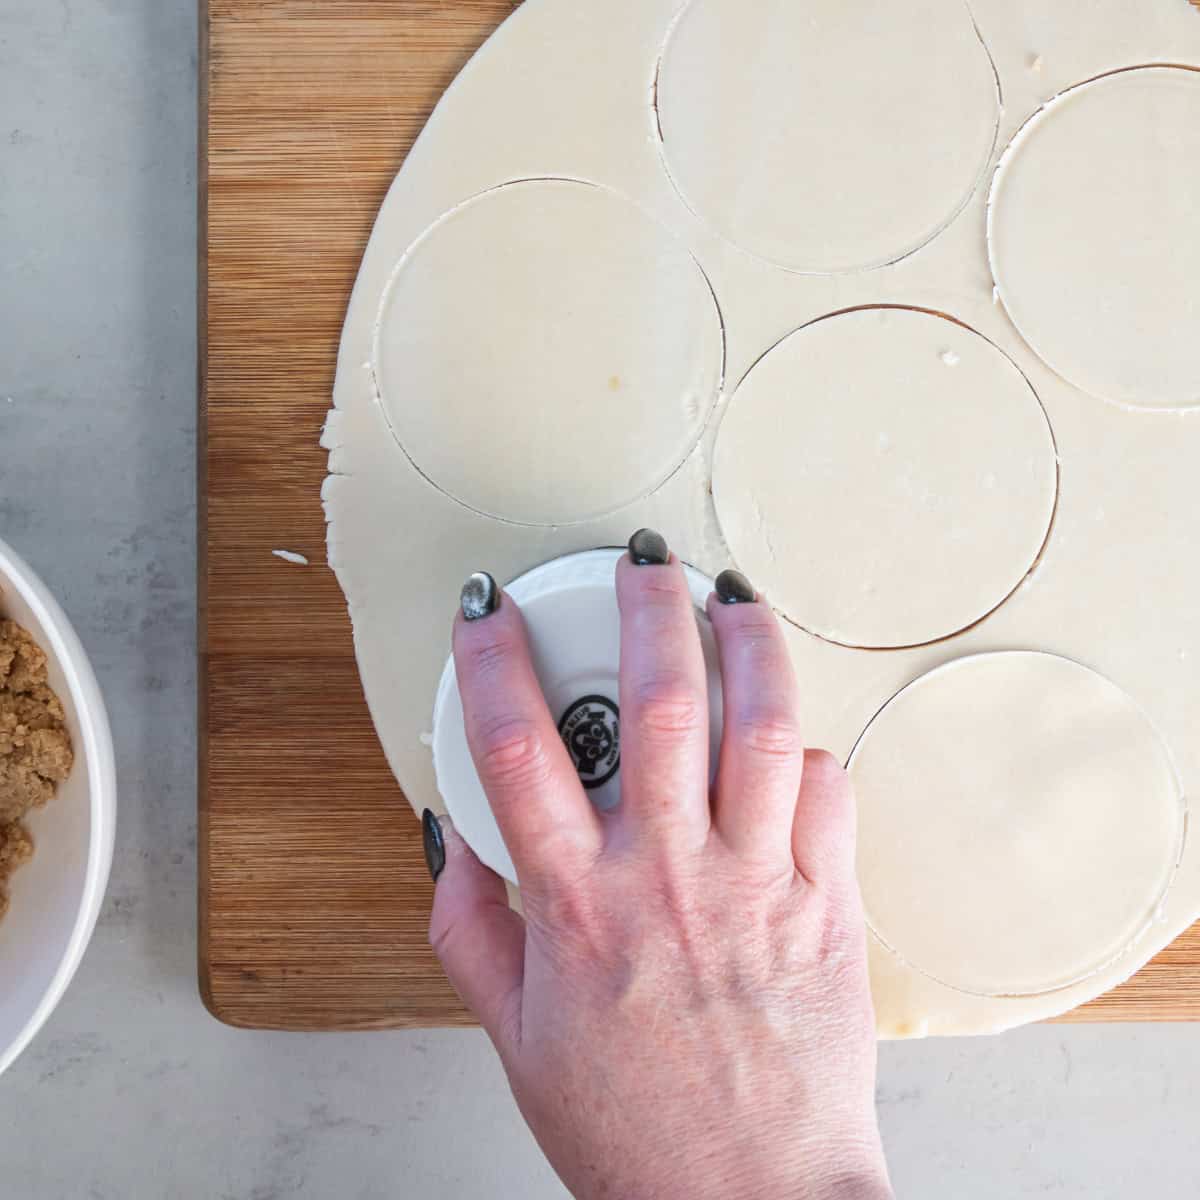
- Cut the pastry: Unroll the softened pie crusts on a lightly floured surface and cut six 3½-inch circles from each crust.
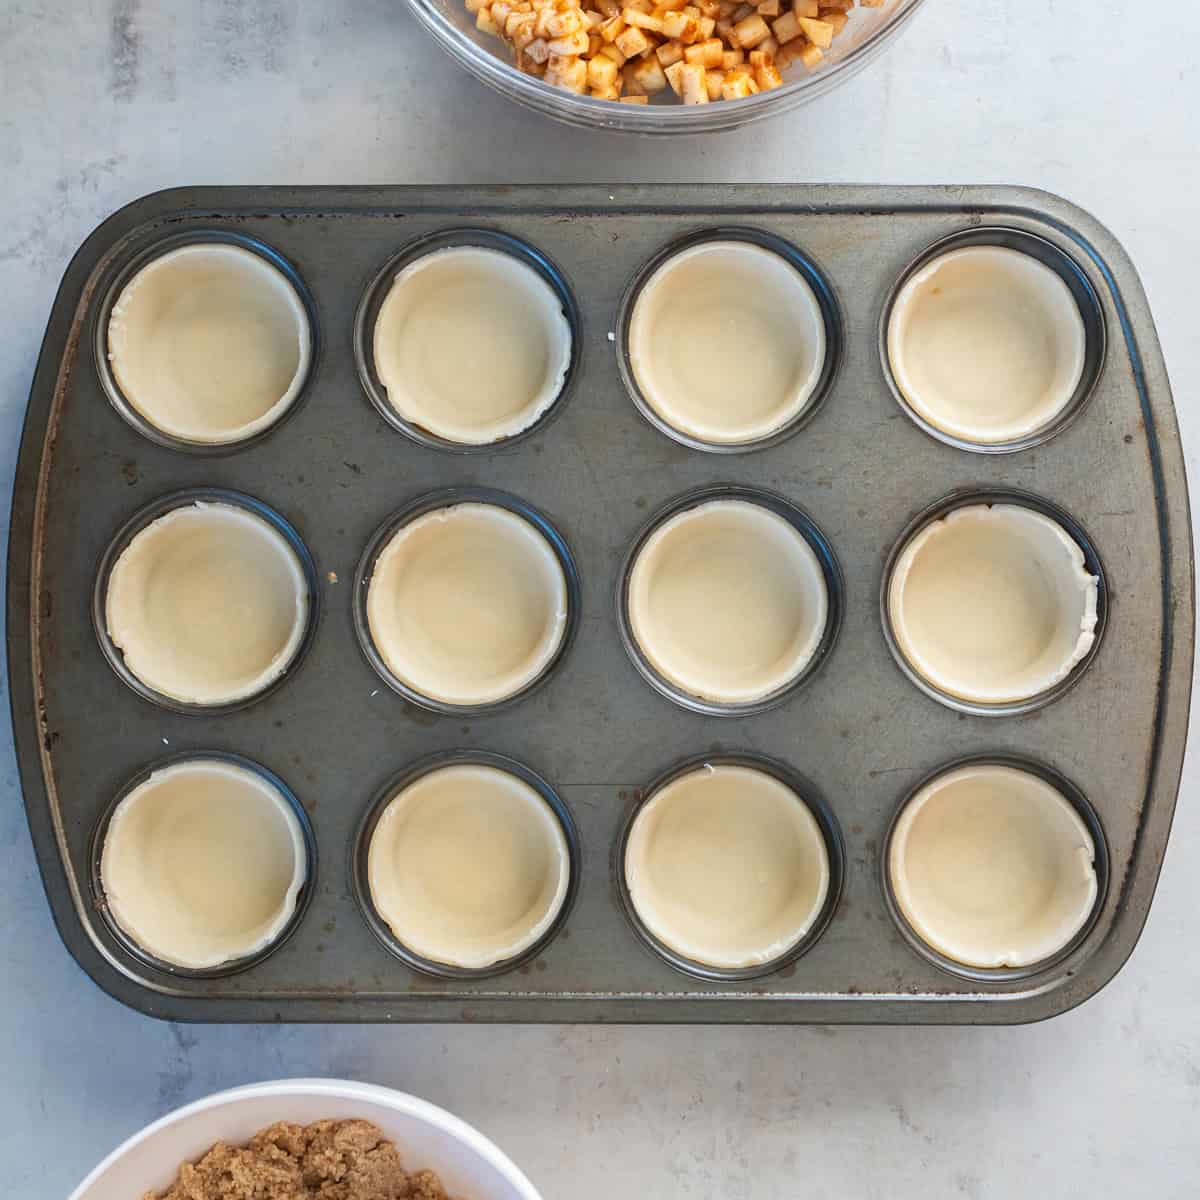
- Line the pan: Gently press the pastry circles into the bottom and sides of a standard nonstick 12-cup muffin pan.
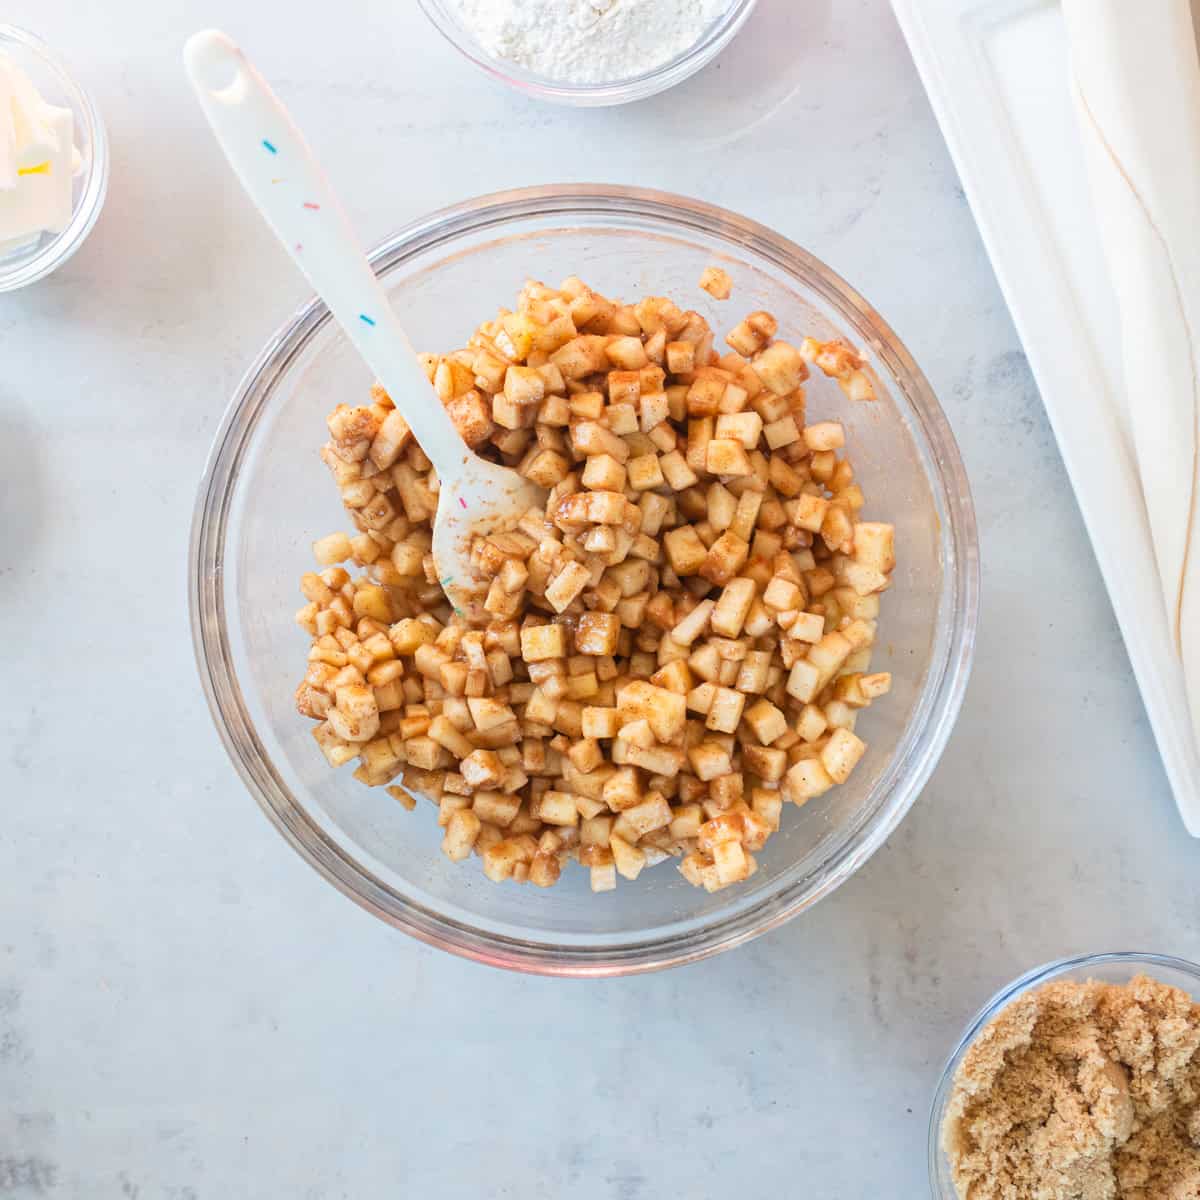
- Make the filling: Toss the diced apples with lemon juice and vanilla, then stir in the combined brown sugar, flour, and spices.
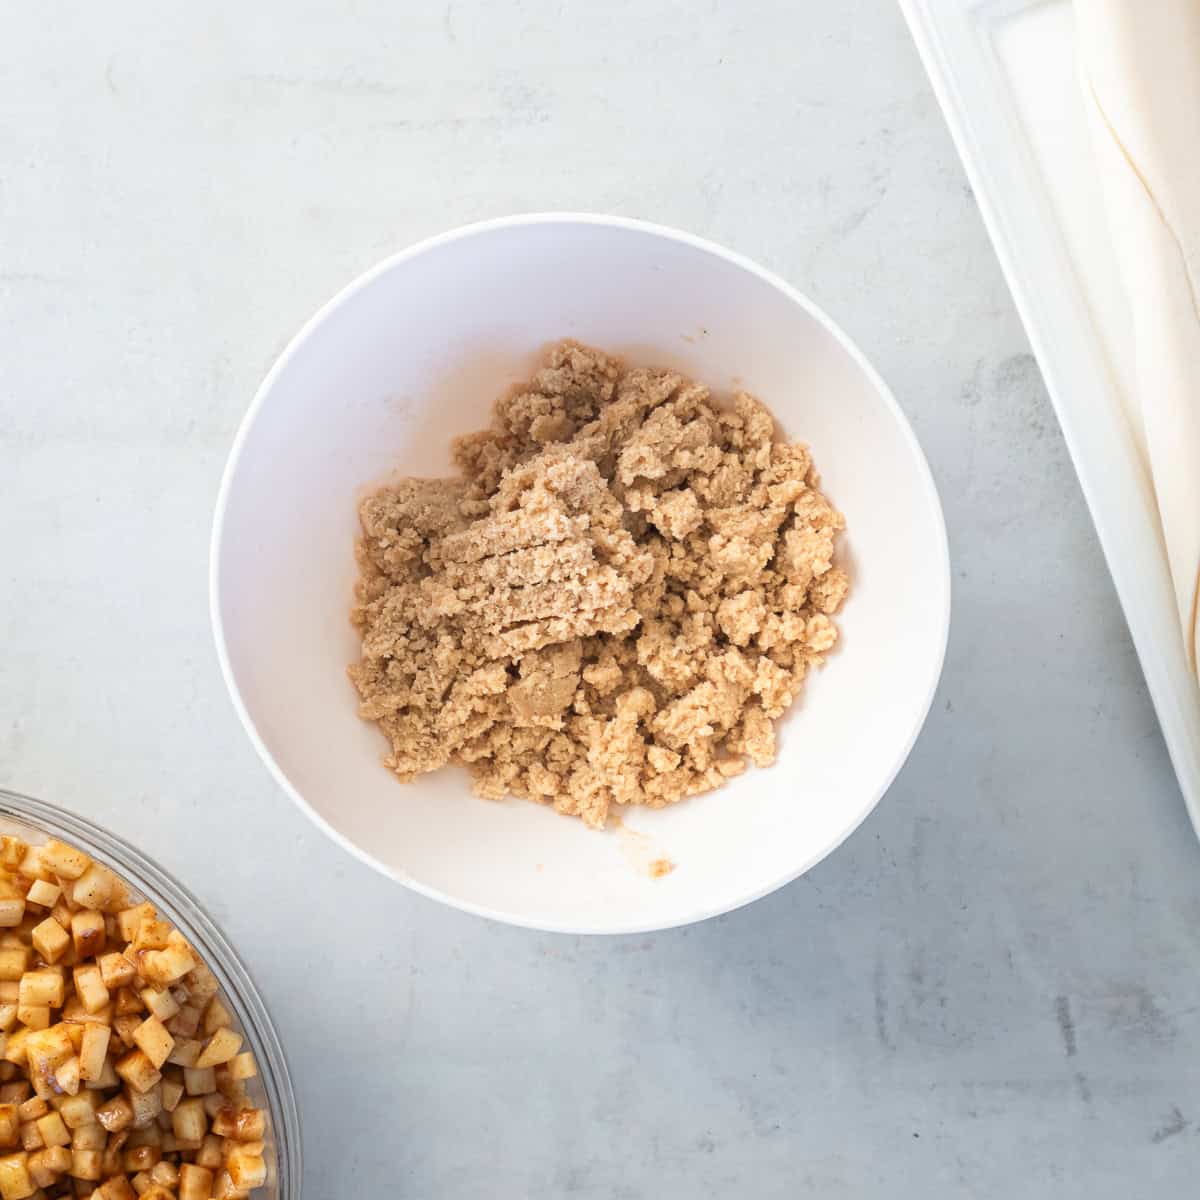
- Make the crumbs: Combine the dry topping ingredients in a small bowl. Cut in the softened butter with a pastry cutter, then use your fingers to form coarse crumbs.
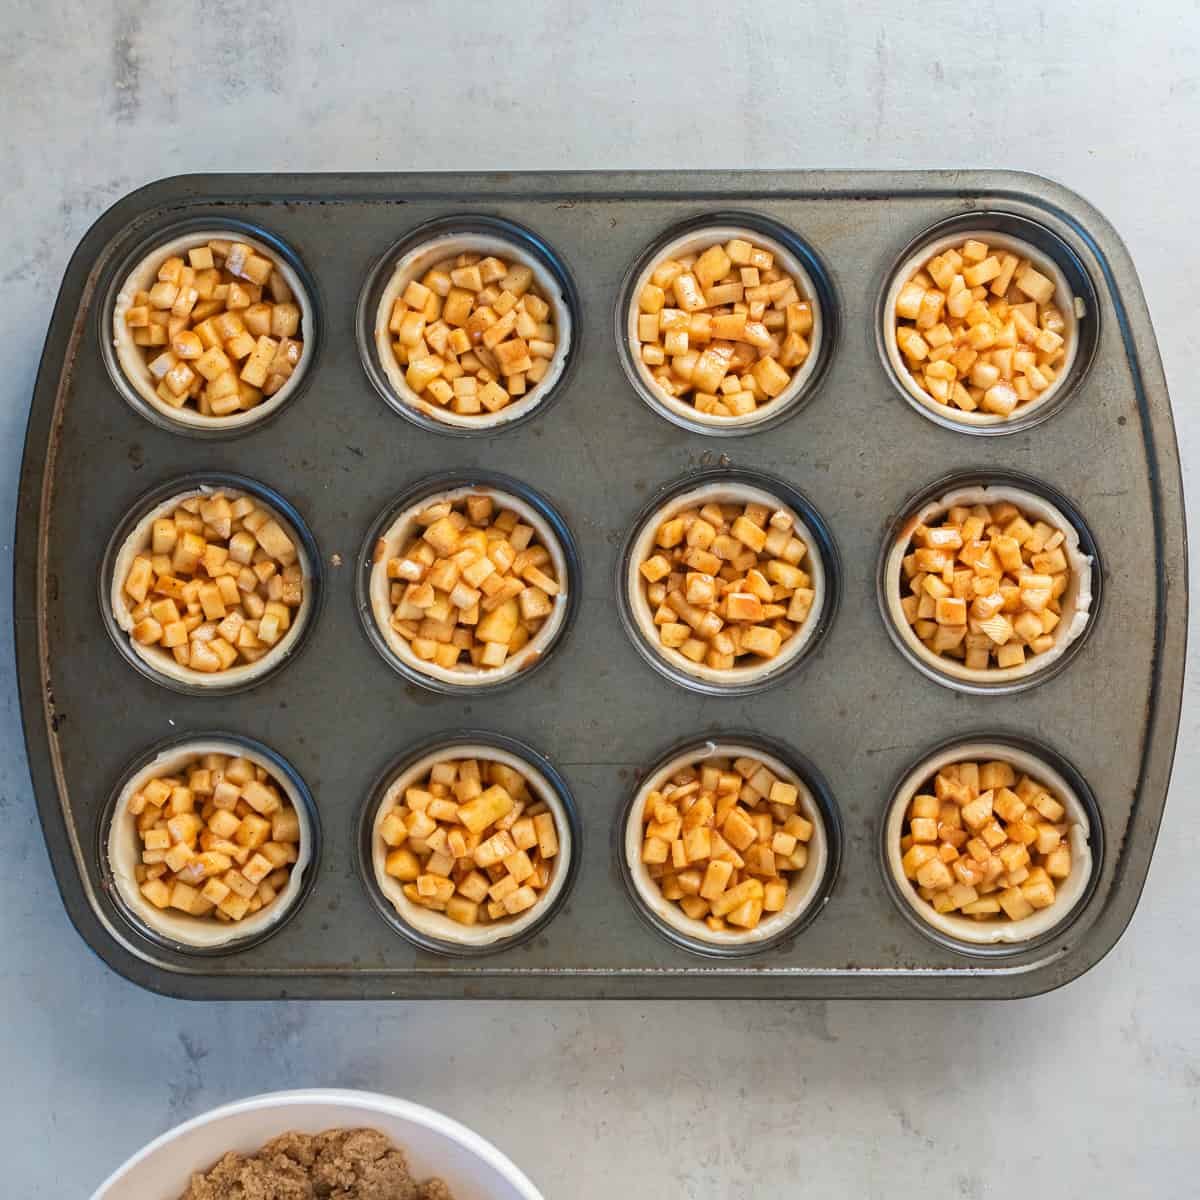
- Fill the crusts: Divide the apple filling mixture and any accumulated juices evenly among the pastry-lined cups.
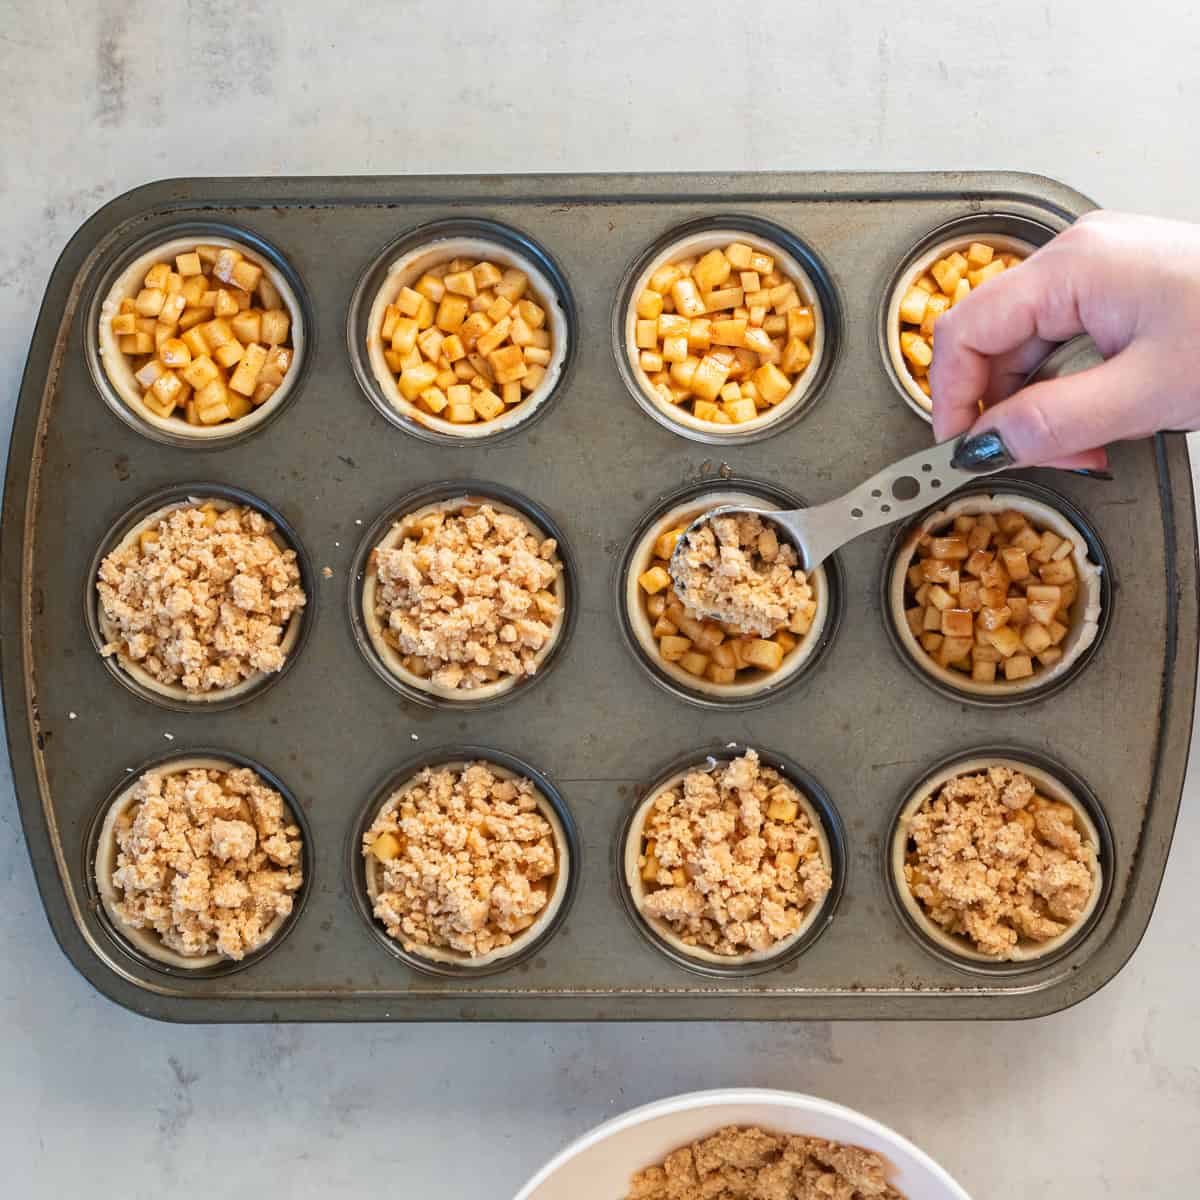
- Add the topping: Spoon the crumbs onto the center of each pie, letting them fall outward to cover the apples.
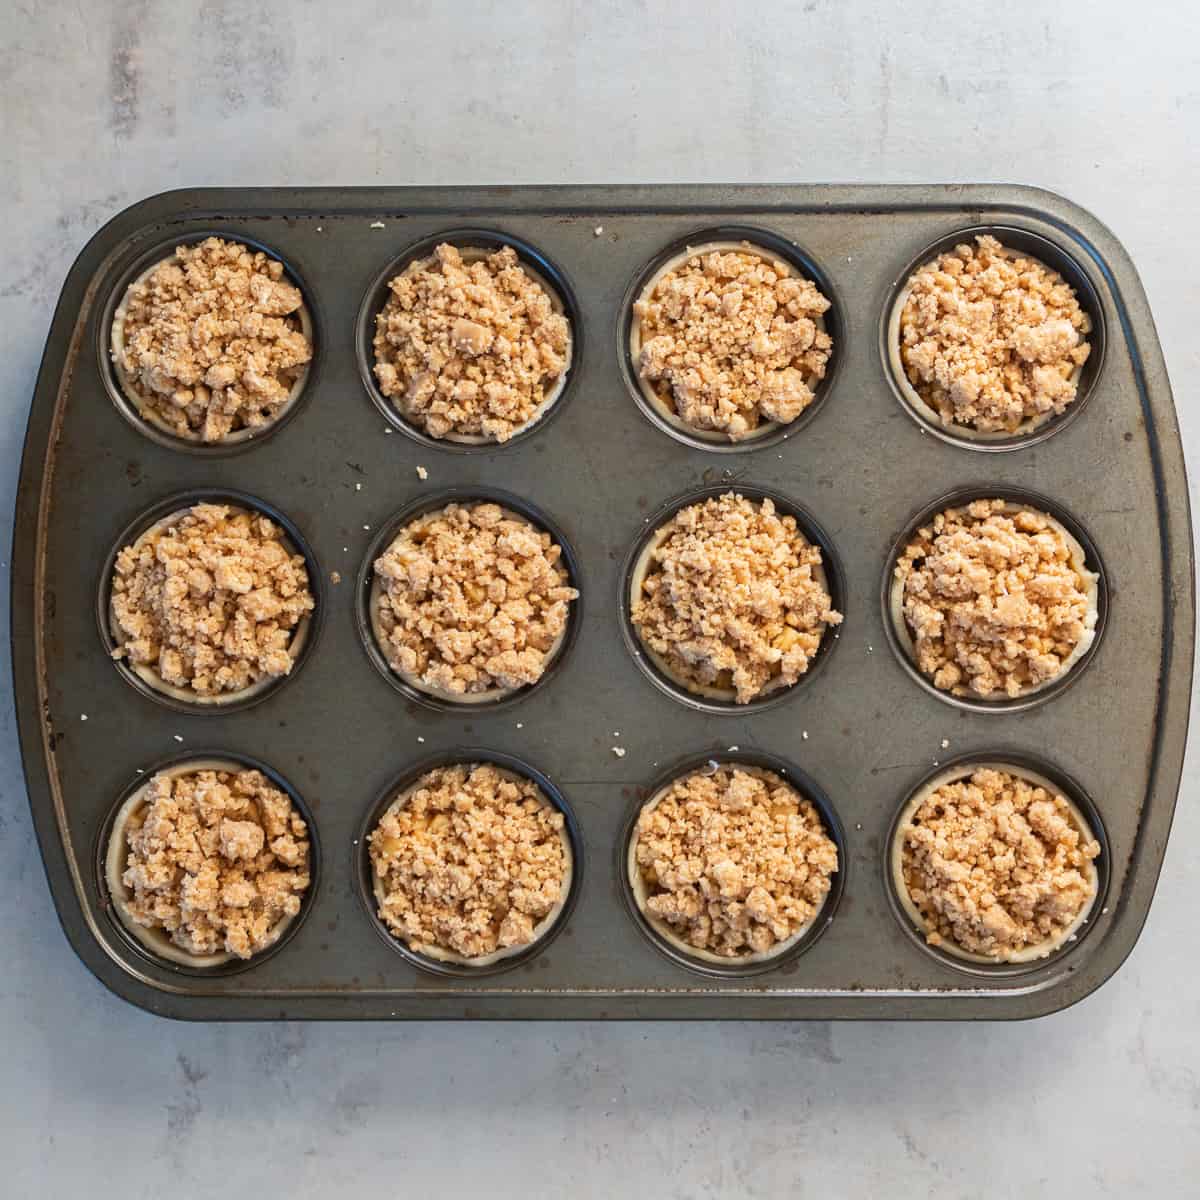
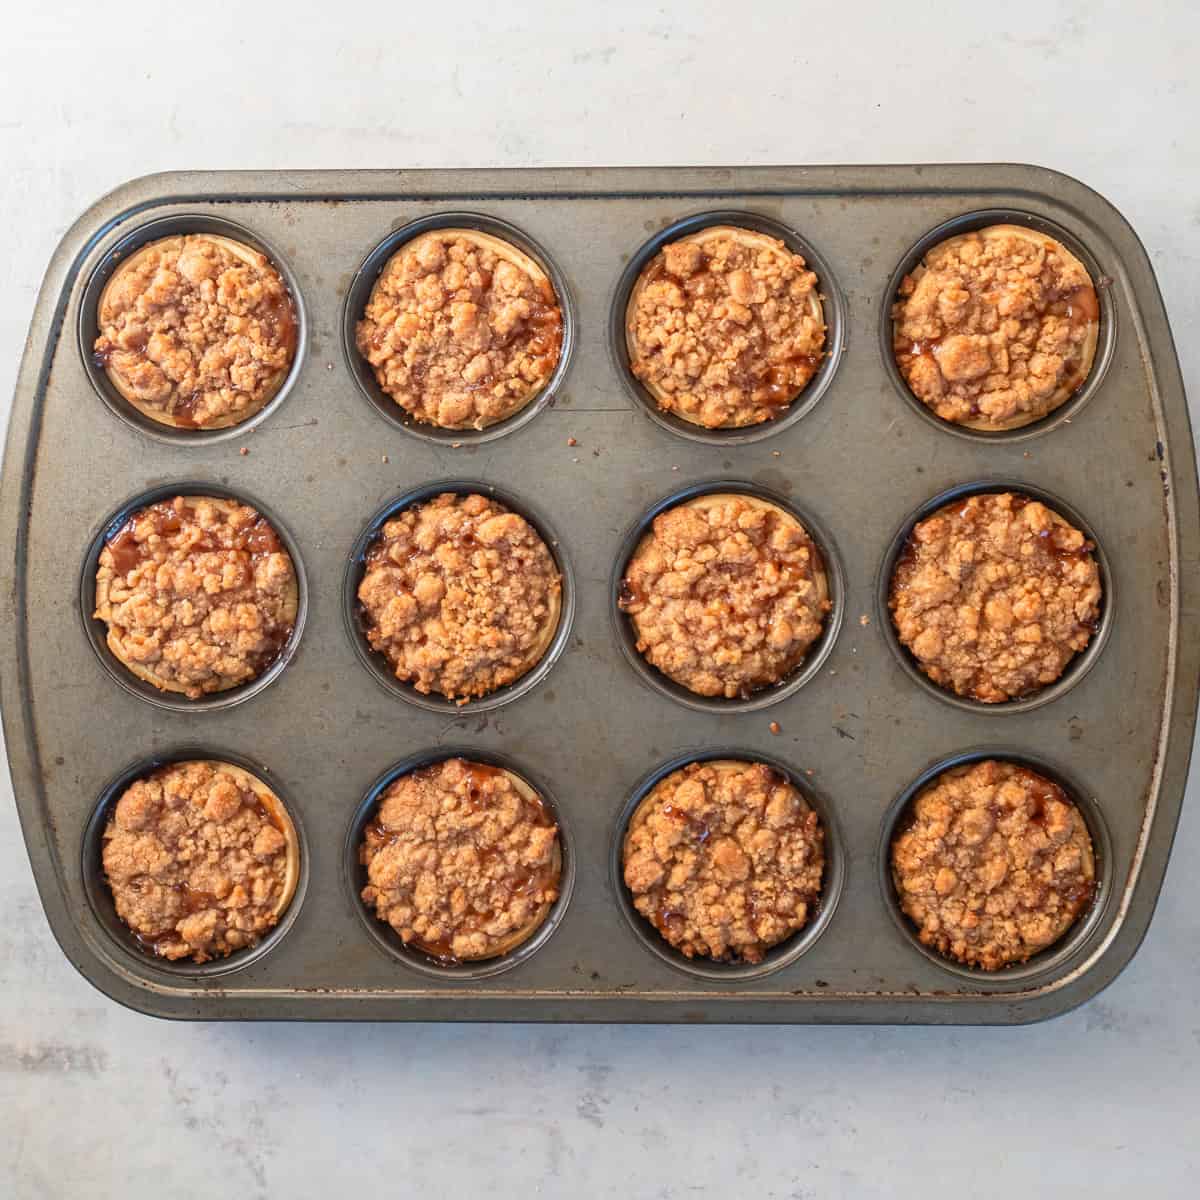
- Ready to bake: Keep the topping inside the pastry edges and brush any stray crumbs off the pan.
- Bake and cool: Bake at 400°F for 18 minutes, then check and tent with foil if the topping is golden. Bake another 5 to 7 minutes, until the pastry is golden and apples are tender. Cool in the pan for 5 to 10 minutes before removing.
Valerie’s Tips
- Check your cutter size: Use a 3½-inch biscuit or cookie cutter to cut the pastry. If you don’t have this size, you can use the rim of a drinking glass.
- Dice the apples small: Cut the apples into ¼-inch pieces so they become tender during the short baking time.
- Keep the crumbs on the pies: Spoon the topping onto the center of each pie, letting it fall outward over the filling. Brush stray crumbs off the pan before baking so the pies will be easier to remove from the muffin pan.
- Watch the topping: Check at 18 minutes and loosely drape foil over the pan once the crumbs are golden. Continue baking until the pastry is golden brown and the apples are tender.
- Let them rest: Cool in the pan for 5 to 10 minutes before gently loosening the edges and lifting the pies. Transfer to a wire rack to continue cooling.
- Use those pastry scraps!: Turn them into cinnamon sugar pie crust cookies, just like Mom or Grandma used to make. Gather and gently reroll the leftover dough, cut into strips or squares, brush lightly with melted butter, and sprinkle with cinnamon sugar. Bake on a parchment-lined baking sheet at 375°F until golden, checking after 8 minutes. Baking time will vary with the size and thickness of the pieces.
FAQs
If you want to try this, chop the apple slices into smaller pieces and use about ¼ cup per pie. Bake until the pastry is golden and the filling is hot and bubbling. It should work as a shortcut, although I haven’t tested it.
Yes! Roll your homemade pastry to approximately the same thickness as refrigerated pie crust, about ⅛ inch. You’ll need enough dough for a double-crust 9-inch pie to cut the 12 pastry circles.
No, these pies bake in a standard 12-cup muffin pan. The 3½-inch pastry circles are the perfect size to fit standard muffin cups.
I use an ungreased nonstick muffin pan. The pastry contains enough fat to release easily once the pies have cooled for 5 to 10 minutes. If your pan isn’t nonstick, lightly grease the wells as extra insurance against sticking.
Storage
Make them ahead: Bake the mini pies up to 1 day before serving. Let them cool completely, then store in an airtight container at room temperature.
Leftovers: Store leftover mini apple pies covered at room temperature for up to 2 days from baking, or refrigerate for up to 4 days. The pastry and crumb topping will soften somewhat during storage.
Freeze: For longer storage, place cooled pies on a baking sheet and freeze until firm, then wrap in plastic wrap and transfer to a freezer-safe airtight container for up to 3 months. Thaw overnight in the refrigerator.
Reheat: Microwave individual pies at 50% power in 15-second intervals, just until warmed through. To help crisp the pastry and topping, place on a baking sheet in a 325°F oven and check after 5 minutes, adding time as needed.
More Mini Desserts

Bars + Brownies
Apricot Bars
Candy
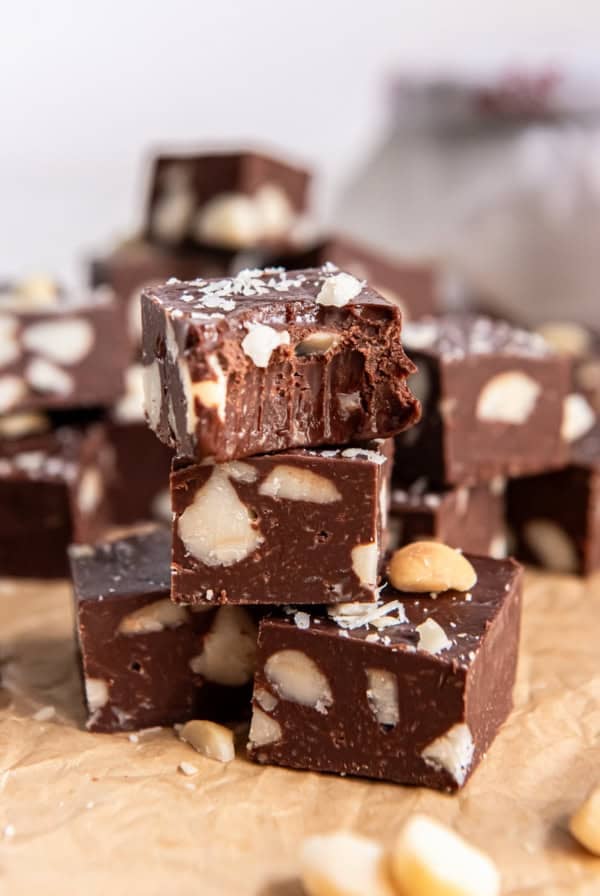
Macadamia Nut Fudge
Bars + Brownies
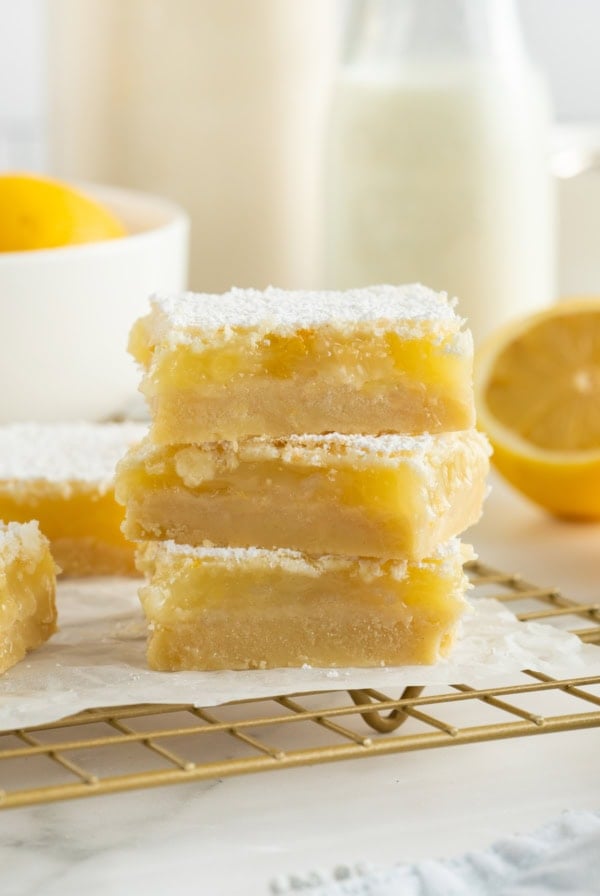
Easy Lemon Bars
Bars + Brownies
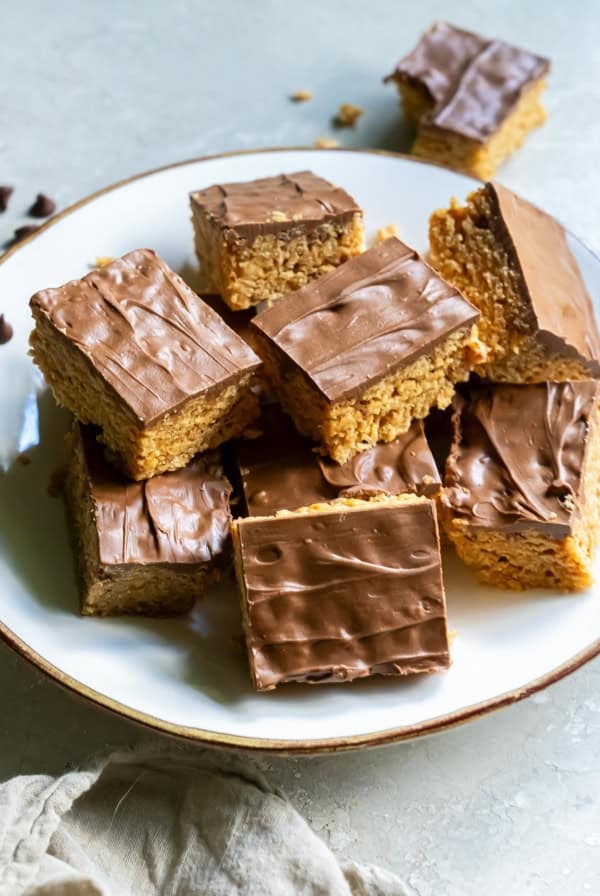
Scotcheroos
Sign up for my free newsletter and join me on Facebook, Instagram and Pinterest for all the latest recipes and more cooking inspiration!
Ingredients
For the Apple Filling
- 1 package refrigerated pie crusts, 2 crusts for 9-inch pies
- 1 pound apples, about 2 large apples
- 1 teaspoon fresh lemon juice
- ½ teaspoon pure vanilla extract
- ¼ cup packed light brown sugar
- 2 tablespoons all-purpose flour
- 1 teaspoon cinnamon
- ⅛ teaspoon nutmeg
- Pinch of kosher salt
For the Crumb Topping
- ½ cup all-purpose flour
- ⅓ cup packed light brown sugar
- ¼ teaspoon cinnamon
- Pinch of salt
- ¼ cup butter, softened
Instructions
- Position an oven rack in the lower third of the oven (I use the rack position just below center). Preheat the oven to 400°F. Use an ungreased nonstick muffin pan (standard size, not mini). If your pan isn’t nonstick, you can lightly grease the wells as extra insurance against sticking.
- Allow the pie crusts to soften at room temperature according to the package directions, then unroll on a lightly floured board. Use a 3½-inch round cutter or the rim of a drinking glass to cut 12 circles from the pastry, 6 from each crust.
- Gently ease a pastry circle into each cup of a standard 12-cup muffin pan, pressing it against the bottom and sides without stretching it.
- Peel, core, and dice the apples into approximately ¼-inch pieces. Measure out 3 cups and place them in a large bowl. Toss with the lemon juice and vanilla extract.
- In a small bowl, combine the brown sugar, flour, cinnamon, nutmeg, and kosher salt. Add to the apples and toss until evenly coated. Set the bowl aside while you make the crumb topping.
- In a medium bowl, combine the flour, brown sugar, cinnamon, and salt. Add the softened butter and cut it into the dry ingredients with a pastry blender or the tines of a fork until well incorporated. Use your fingers to work the mixture until it holds together in clumps, then break it into coarse crumbs.
- Divide the apple mixture evenly among the pastry-lined cups, gently settling the pieces into place, about ¼ cup per pie. Divide any juices remaining in the bowl among the pies.
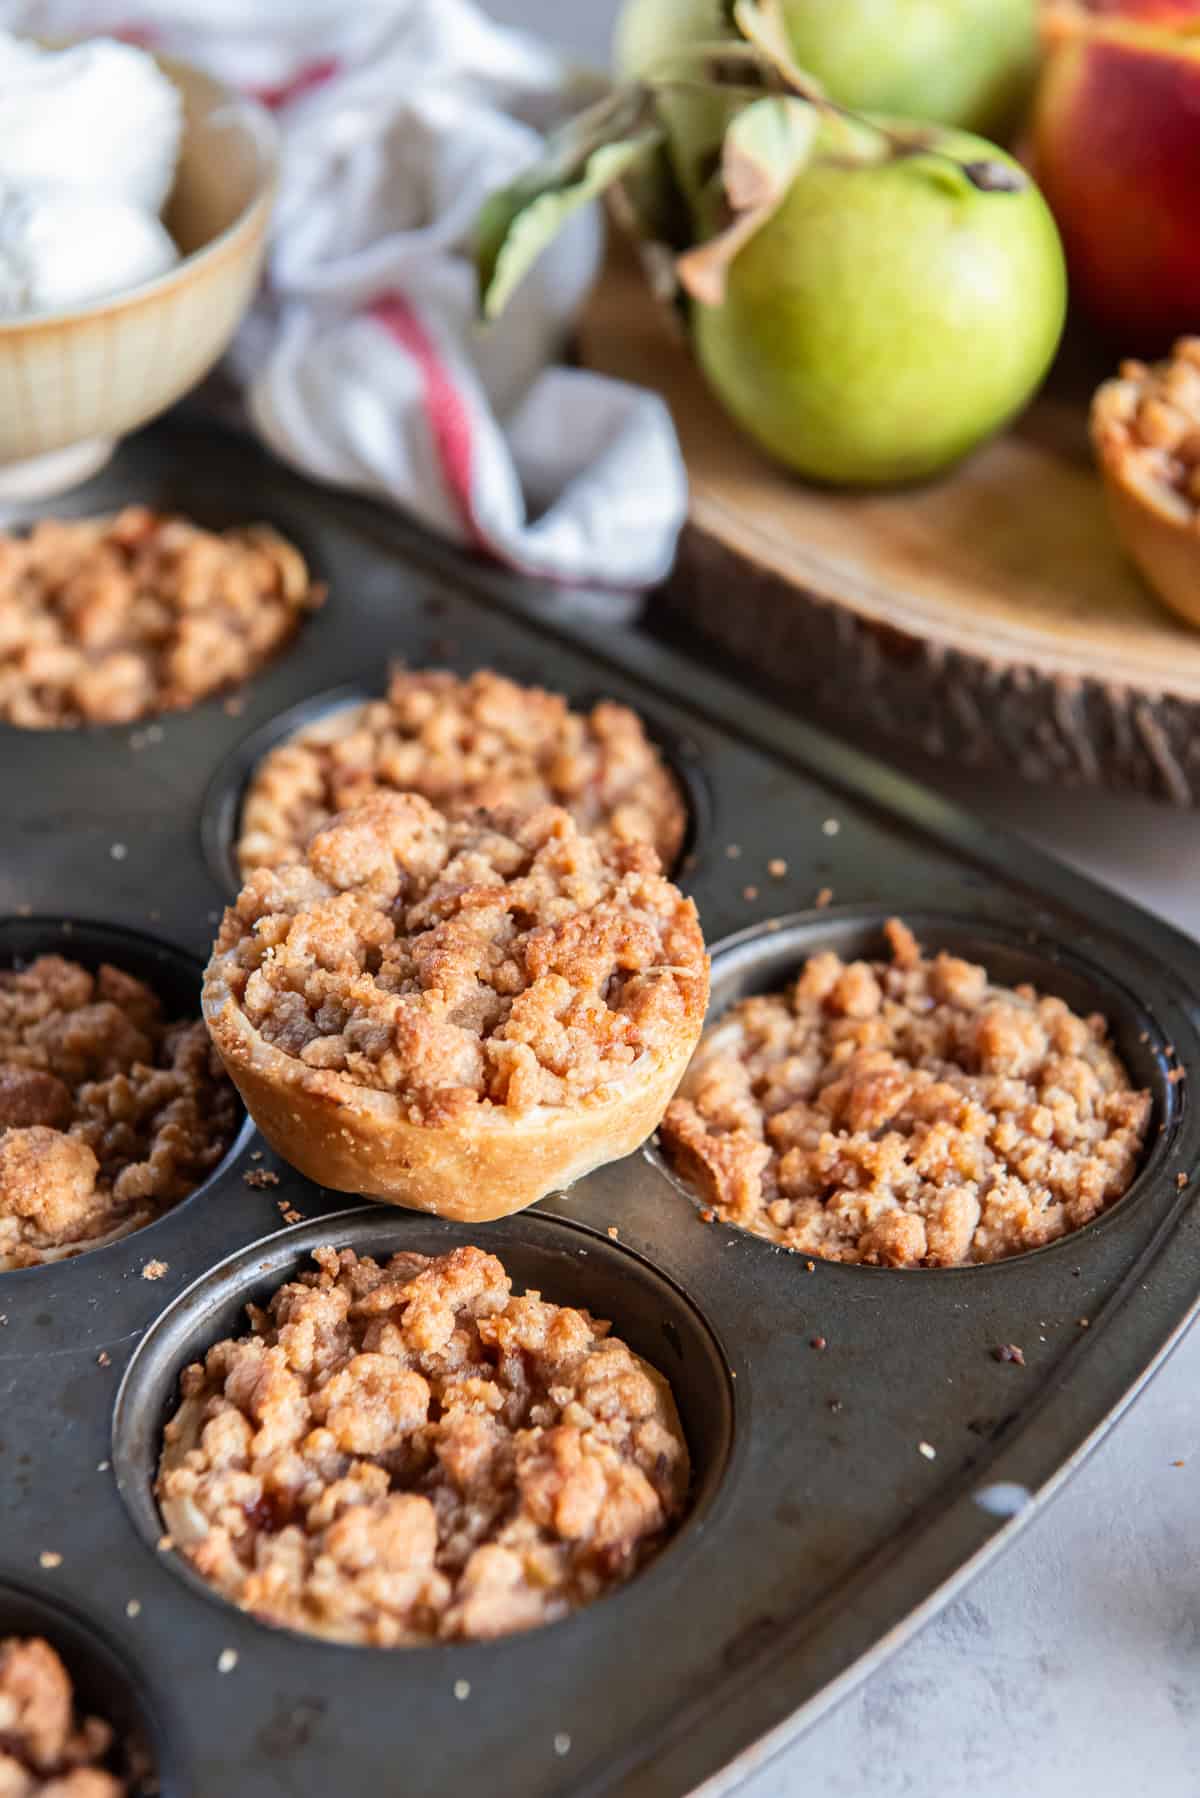
- Divide the topping evenly among the pies, about 1½ tablespoons per pie. Spoon it onto the center of each pie, letting the crumbs fall outward to cover the filling, keeping the topping inside the pastry edges. Brush any stray crumbs off the surface of the muffin pan before baking.
- Bake for 18 minutes, then check the pies. If the crumb topping is golden, loosely drape a sheet of foil over the pan. Continue baking for an additional 5 to 7 minutes or until the pastry is golden, the filling is bubbling, and the apples are tender when pierced with a toothpick or thin knife.
- Let cool in the pan for 5 to 10 minutes, then carefully loosen the edges with a thin knife or the tines of a fork and transfer the pies to a wire rack. Serve warm or at room temperature.
Notes
Nutrition
Nutrition information is automatically calculated using generic ingredients, and is an estimate not a guarantee. For more accurate results, please refer to the labels on your ingredients at home.
Like this? Please rate & comment below!