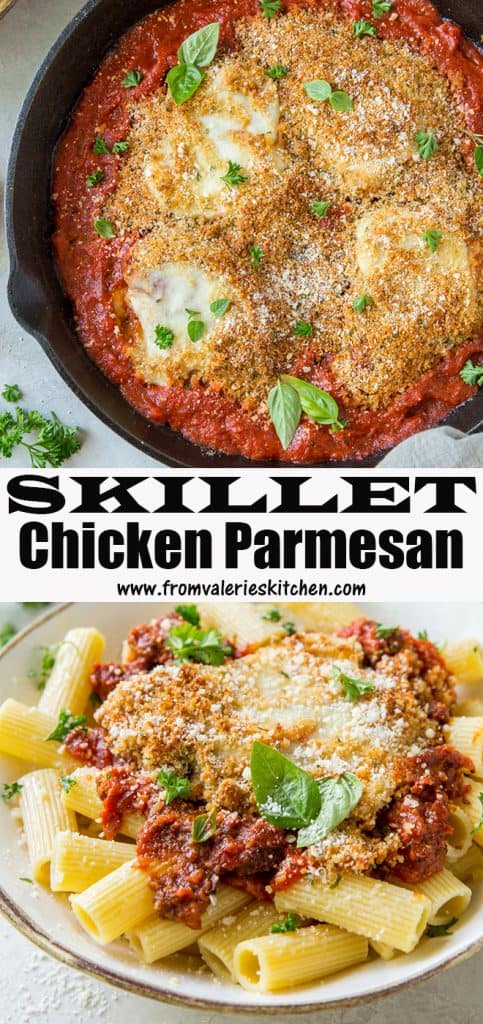
This quick and easy Skillet Chicken Parmesan is a rustic, Italian one-pot recipe that goes from stovetop to oven to table in 30 minutes.
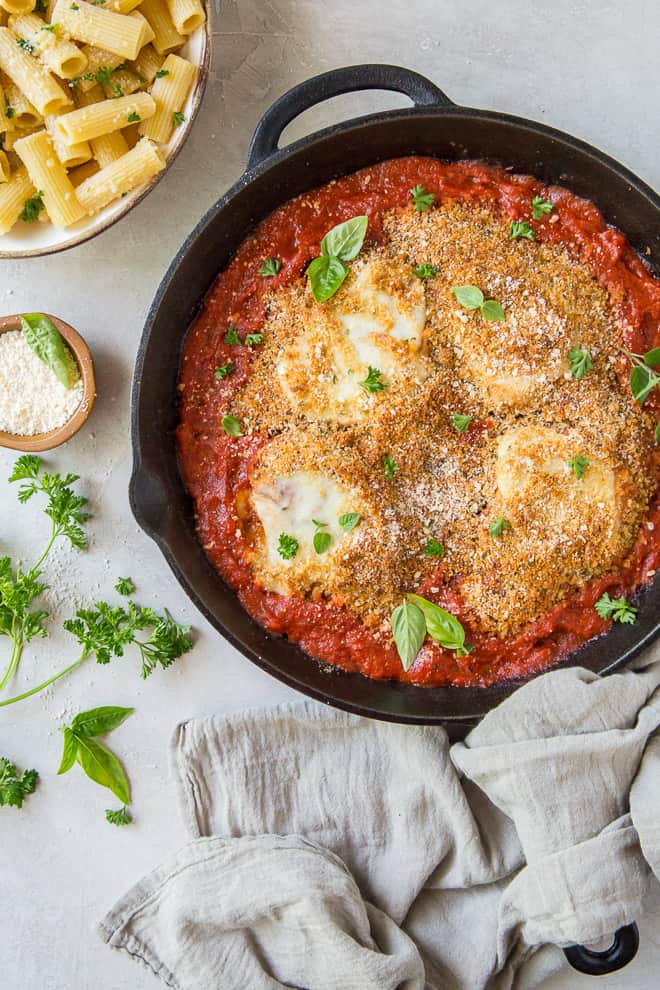
You might think of Chicken Parmesan as a meal best left for weekends when you have more time to spend in the kitchen. I used to think that too. But since I refuse to contain my desire for this dish to weekends, I’ve simplified things a bit.
This version is an easy, one-pot recipe you can easily pull together on a busy weeknight. Precisely the type of recipe we all need to get through the busy holiday season.
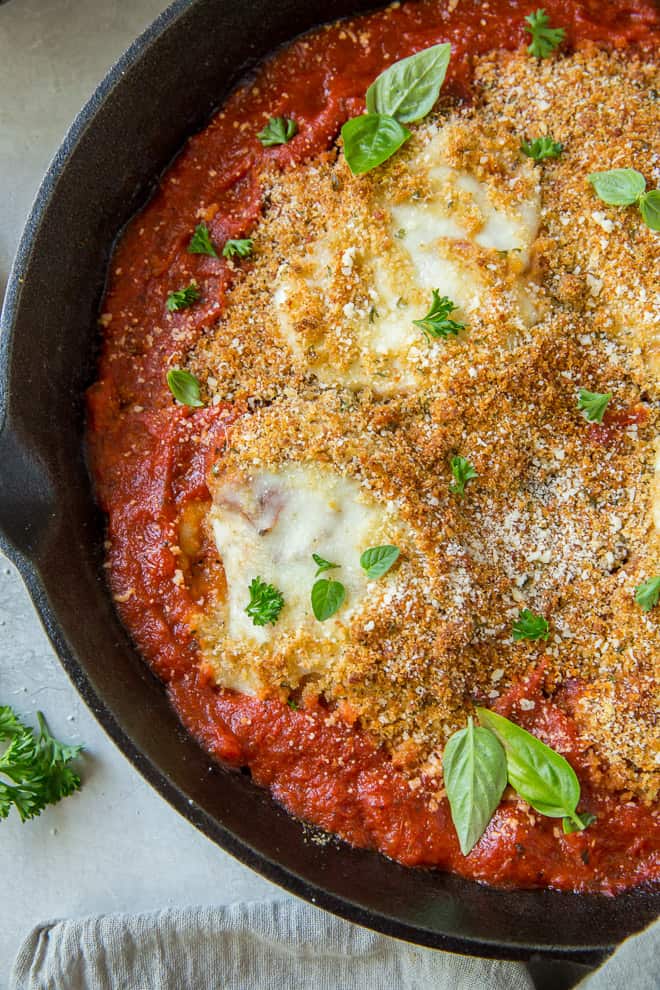
Most of the work is completed in one skillet right on your stove and then it takes a quick turn in the oven to finish things off. I’ve taken a few shortcuts with this Skillet Chicken Parmesan to save time and effort but the end result is fabulous.
How to Make Skillet Chicken Parmesan
Like so many of my recipes, the key to the flavor in this dish is a combination of dried herbs. I love the punch dried herbs add to a recipe but feel free to substitute fresh herbs if you happen to have them on hand. Just be sure to double or even triple the amounts called for if using fresh.
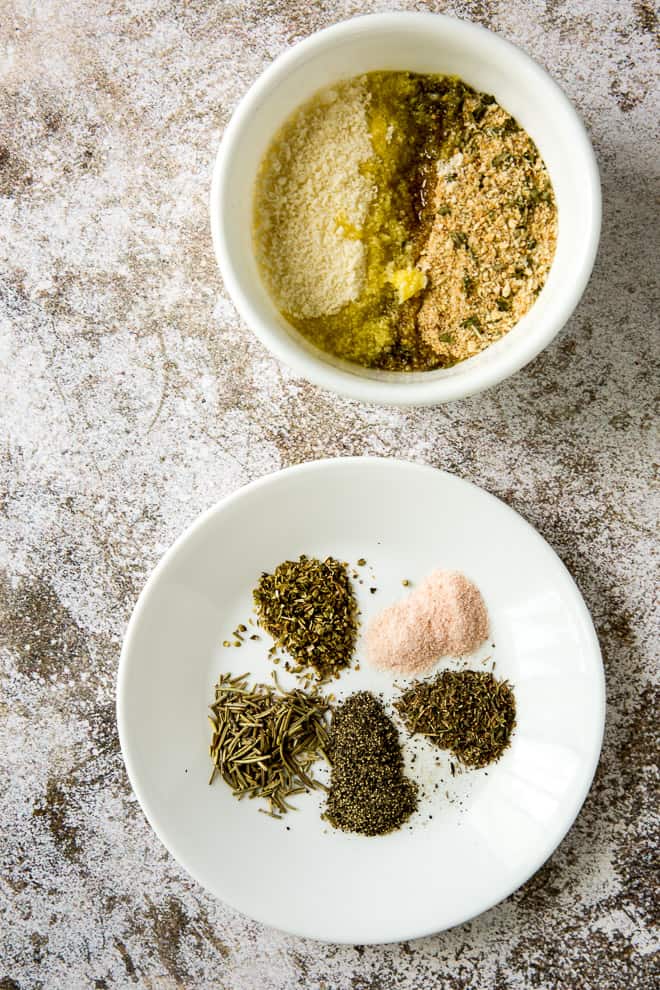
Combine sea salt, freshly ground black pepper, rosemary, thyme, and oregano in a small bowl.
In a separate bowl combine some Italian-style panko bread crumbs, Parmesan cheese, and 1 tablespoon of olive oil.
Start with the Right Cut of Chicken
You’ll need 4 thin-sliced boneless, skinless chicken breasts for this recipe. If your chicken breasts are not the thin-sliced variety you can slice thicker breasts in half, right through the center. Continue the cut through until you have two thin pieces. Check out this article on Serious Eats to see this process in action. Thinner slices of chicken will cook quickly and be more tender at the end of the quick cooking process.
This recipe calls for 4 pieces but you could easily throw in a another piece or two if you’ve got a big skillet and more people to feed.
From Stovetop to Oven
Add a couple tablespoons olive oil to a large, deep, ovenproof skillet and place it over medium-high heat.
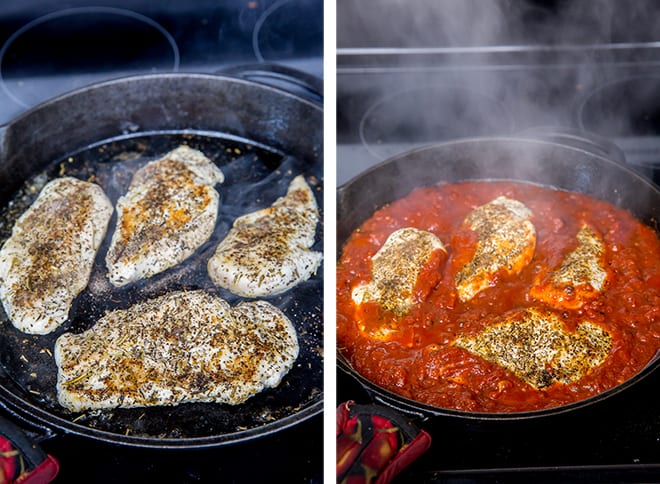
When the oil is nice and hot, carefully add the chicken. Cook for about three minutes on each side, sprinkling both sides with the dry seasoning mix as it cooks. We are only trying to get a nice golden brown sear on the chicken at this point, not completely cook it through.
Pour the marinara sauce around the chicken and ladle a little over each piece.
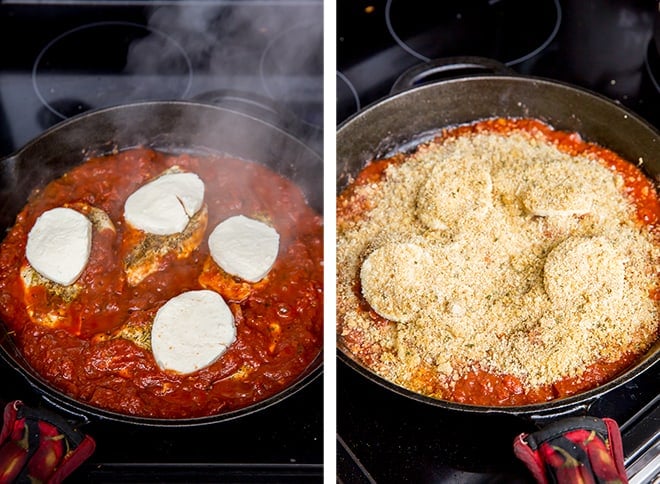
Add a slice of fresh mozzarella to each piece of chicken. I give you my permission to add more cheese if you’d like. More cheese is never a bad idea.
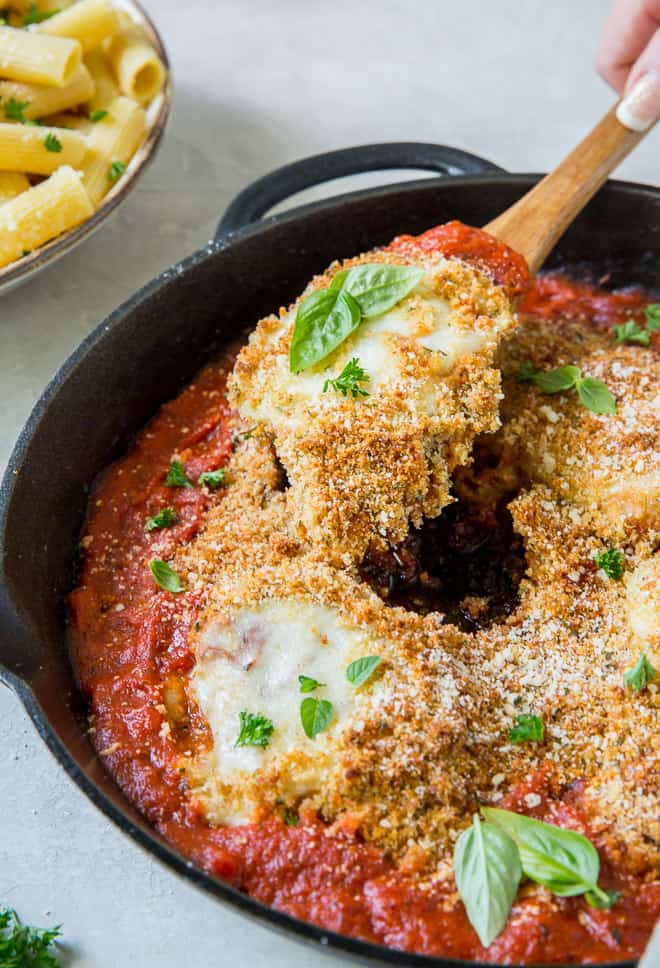
Time to sprinkle on the bread crumb and Parmesan cheese mixture and pop it in a really hot 475 degree oven for about 8 to 10 minutes. Watch the Skillet Chicken Parmesan closely and pull it out when the cheese has melted, the chicken is cooked throughout, and the bread crumbs are browned.
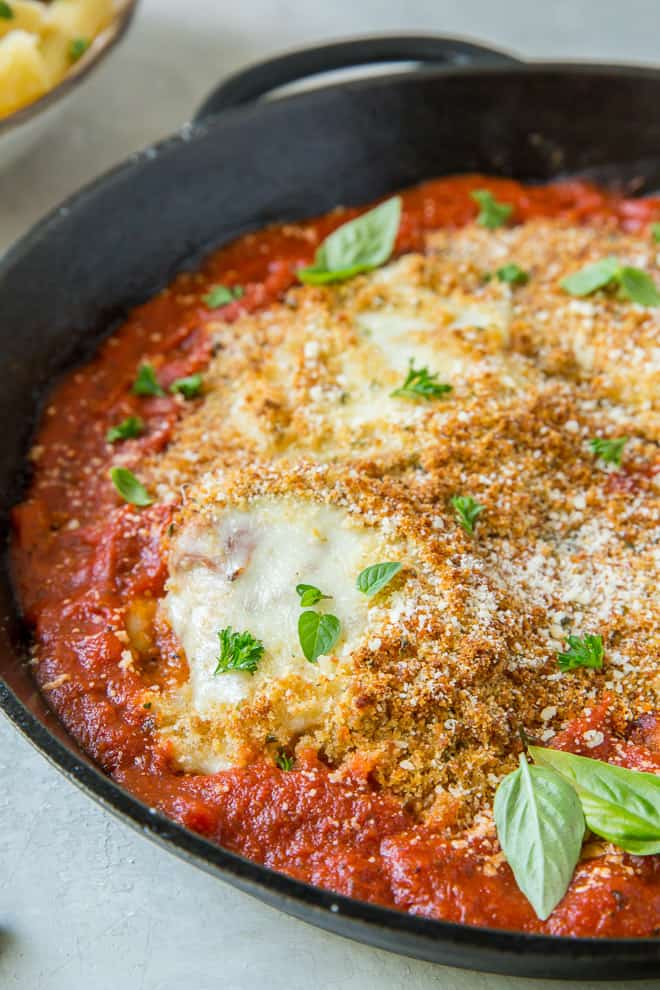
Transferring the skillet to a hot oven to finish the cooking process is the key to creating a nicely browned, crispy bread crumb topping.
What Pasta is Best with Chicken Parmesan?
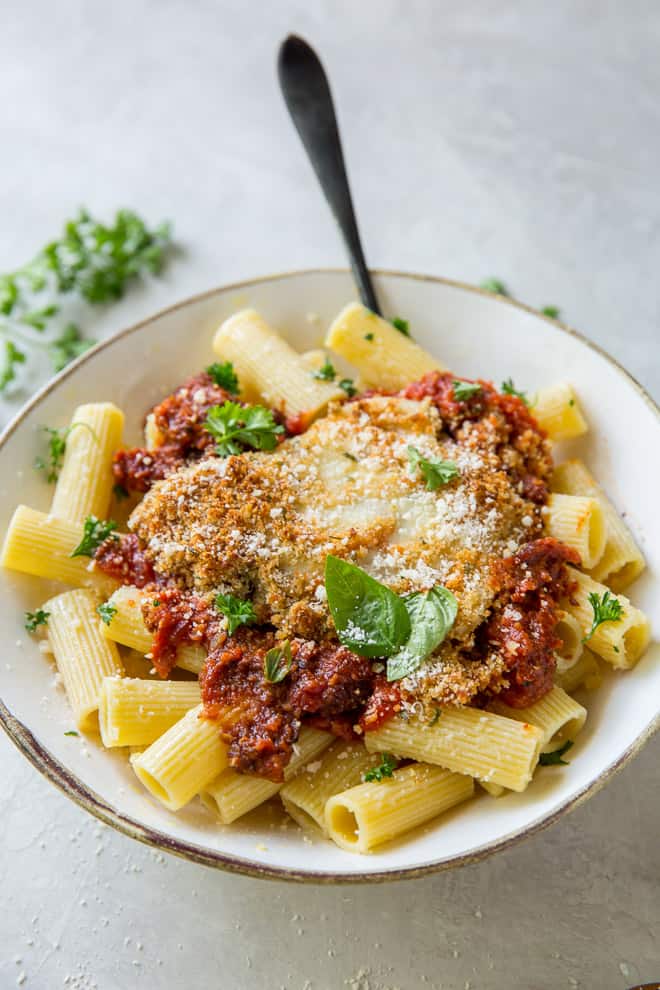
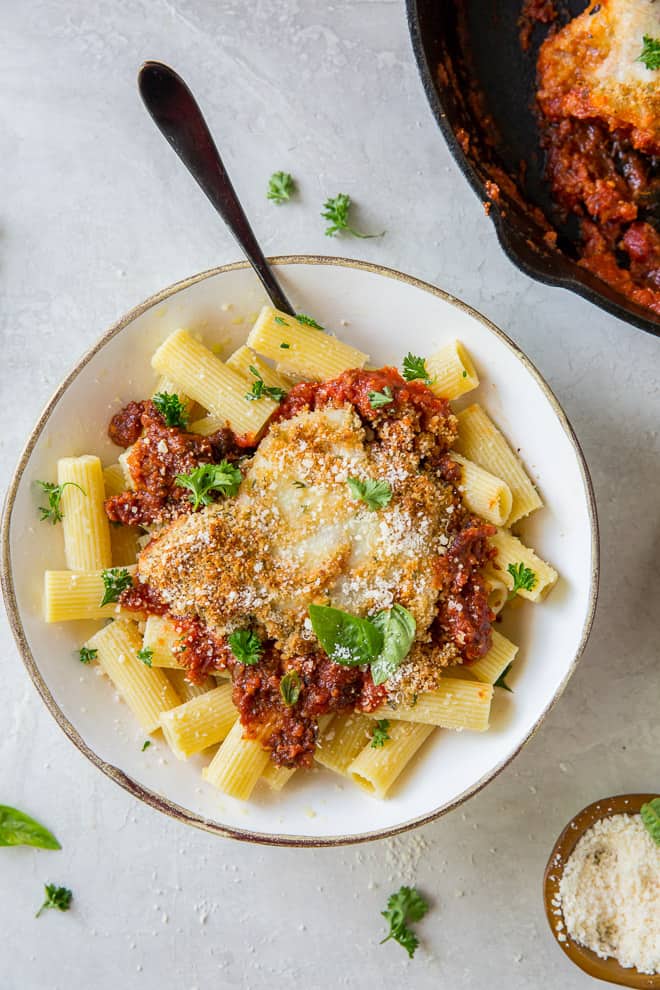
I like to serve this Skillet Chicken Parmesan over a mound of rigatoni and sprinkled with a generous amount of grated Parmesan. A substantial pasta like rigatoni pairs well with this dish but any pasta you love or that you happen to have on hand will work.
Cook the pasta according to the package directions for al dente, toss it with a bit of olive oil to prevent it from sticking together, and toss it with some grated Parmesan cheese.
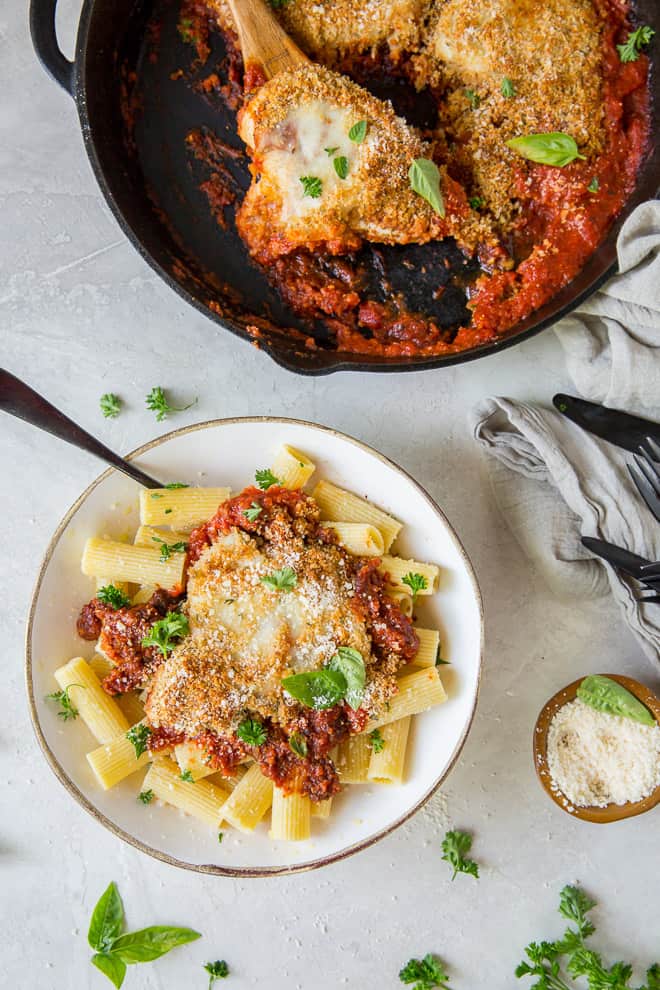
This is a gorgeous, mouthwatering dish that you can have on the table in under thirty minutes.
What to Serve with Chicken Parmesan
Looking for some simple side dish ideas? My Cheater Garlic Bread and Butter Lettuce Salad with Grapes and Gorgonzola would round out this meal in a delicious way!
This post was originally published on July 8, 2013. It has been updated with new text and images.
Skillet Chicken Parmesan
Ingredients
- 12 ounces dry pasta of your choice, prepared according to package directions for al dente
- 1 teaspoon dried thyme
- 1 teaspoon dried rosemary
- 1 teaspoon dried oregano
- ½ teaspoon fine ground sea salt
- ½ teaspoon fresh ground pepper
- ½ cup Italian-style panko bread crumbs
- ⅓ cup grated Parmesan cheese
- 3 tablespoons olive oil,, divided
- 1 ½ pounds thin-sliced boneless, skinless chicken breasts
- 24 ounce jar marinara sauce, (I like Mezzetta brand)
- 4 ounces fresh mozzarella
- Additional olive oil and Parmesan cheese to toss with cooked pasta
Instructions
- Preheat oven to 475 degrees F.
- Prepare dry pasta according to package directions and allow it to boil while preparing the chicken.
- In a small bowl combine salt, pepper, thyme, rosemary, and oregano. Set aside.
- In a separate small bowl combine the Italian style bread crumbs, Parmesan cheese and 1 tablespoon olive oil. Set aside.
- Coat the bottom of a large, deep, oven-proof skillet with about 2 tablespoons olive oil and place over medium high heat. Saute chicken till nicely browned on both sides but not cooked through, about 3 minutes per side. As chicken cooks, season each side with seasoning mixture. After chicken has browned, pour the marinara sauce in the pan around the chicken, ladling some of the sauce over the top of each piece. Top each piece of chicken with a thin slice of fresh mozzarella and sprinkle the bread crumb topping over the top.
- Transfer the skillet to the preheated oven and bake uncovered for 5 to 10 minutes or till chicken is cooked through and no longer pink in center, cheese has melted, and bread crumb topping is browned.
- Serve over your choice of prepared dry pasta that has been tossed with a little olive oil and Parmesan cheese.
Notes
Nutrition
Nutrition information is automatically calculated using generic ingredients, and is an estimate not a guarantee. For more accurate results, please refer to the labels on your ingredients at home.








Thanks for posting this recipe, I don’t make it often because I think it is soaky, so I will try this and let you know
I can’t wait to try this tonight! My question is, are you using dry or fresh herbs?
Thanks!
I used dry here but it’s wonderful with fresh herbs if you’ve got them. I hope you enjoy it!
Turned out great! I went with dried herbs, but I think next time I’d try fresh, and use a bit less rosemary. I also think I should have browned the chicken a bit more (maybe I had heat too low or didn’t let oil get hot enough) and then bake it a bit longer. The chicken was cooked perfectly but I wanted a bit more crisp to the bread crumb topping. But all in all, a great, easy, and delicious recipe. Thanks!
I would choose the Gastrolux Biotan Wok Pans because I love to cook Asian food and need a wok.
I would love the 11″ pan you have pictured. I love that it goes from stove to oven. That is a total time saver. I must say your recipe was DELICIOUS! I made this last night for my boyfriend and him being Italian said it was great. I loved the idea to put the bread crumbs on top. I can’t stand them all soggy. Thank you for sharing. I love your blog and know I’ll be making many more of your recipes.
I fell in love with the Gastrolux roasting pan.
Gastrolux Biotan Frying Pans – great size, fry eggs and bacon; can’t wait to give it a try!
this looks yummy
Hi Valerie! I can’t wait to try this new chicken recipe! After visiting the Gastrolux website I think I would pick the wok. I am trying to make positive changes in my diet and lifestyle and feel the wok would help me do that. I cook for my husband and boys and they too could benefit by eating foods that are prepared in a healthier manner. Using more veggies and meat prepared in a wok would be a win-win in our household. Thanks for all your posts and recipes. They are fantastic!
My husband loves, loves, LOVES Chicken Parmesan so this will be an immediate “MUST~TRY” at our house! Thanks for the tip on not breading the chicken but instead sprinkling on the topping before it bakes; it makes a lot of sense as I don’t like soggy breading either! I love to stir~fry meals so I most certainly would choose the Gastrolux Biotan Wok Pan, preferably with the removable handle if I actually got lucky enough to win this fantastic prize. I am still using my first wok that a friend gave me back in the early 80’s but what I have never liked about it was that it does not have a nonstick type surface so I do have to use more oil when stir~frying veggies, meat, seafood, etc. at a high temperature or else they will stick. Also, cleaning my old wok is generally quite a chore because there is always some of the meal stuck to the bottom of the pan, even if I am constantly tossing the ingredients. Thanks so very much for allowing me the chance to enter your contest and keep up the fantastic work on your blog; your posts always brighten this “foodie”‘s day, Valerie! 🙂
The saute pan of course so I can make this DELICIOUS DISH you just posted teeheee… YUMMERS, Carm
Recipe looks great! The 11″ saute pan looked like a winner.
This recipe looks so much easier than the one I normally use. Cooking it in that 12″ Saute’ pan would sure be a lot of fun too! I really need a good pan, mine are all over 10yrs. old and worn out. Need a whole new set, but this one would be a nice start.