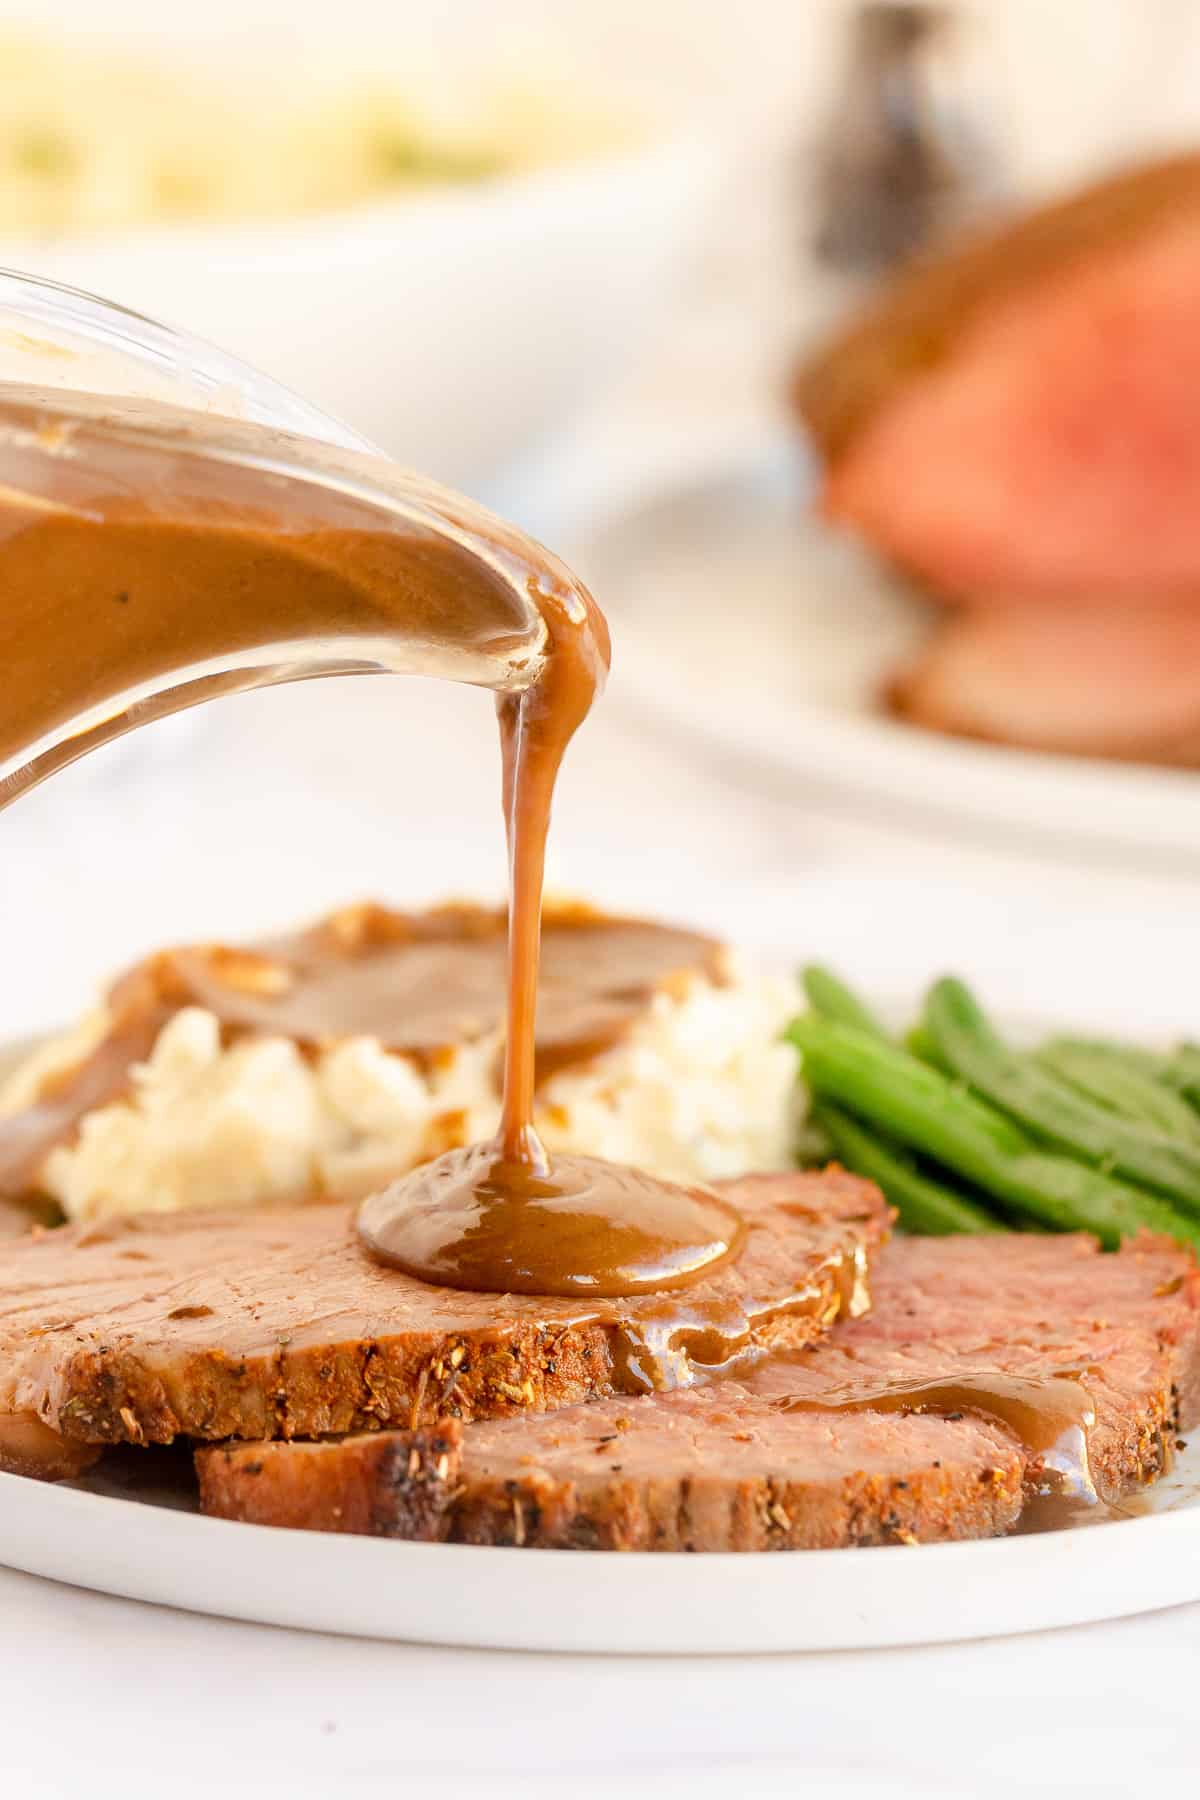
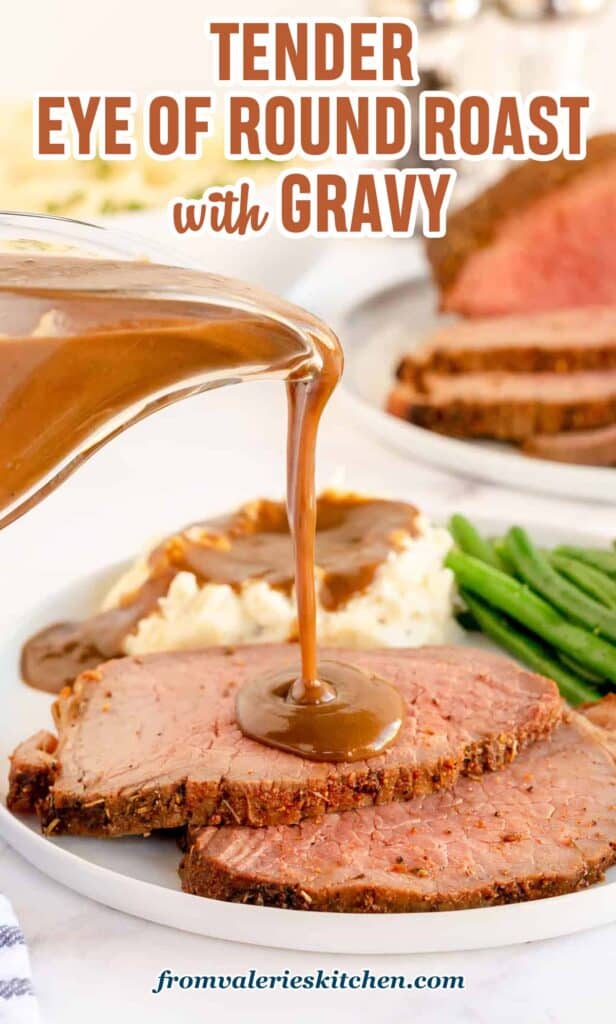
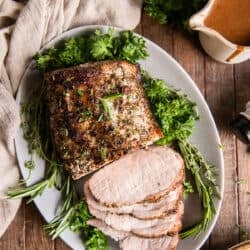
A flavorful seasoning mix and special cooking technique create this perfectly Tender Eye of Round Roast Beef with Gravy. A meal special enough for a holiday but economical enough to serve any day of the week!
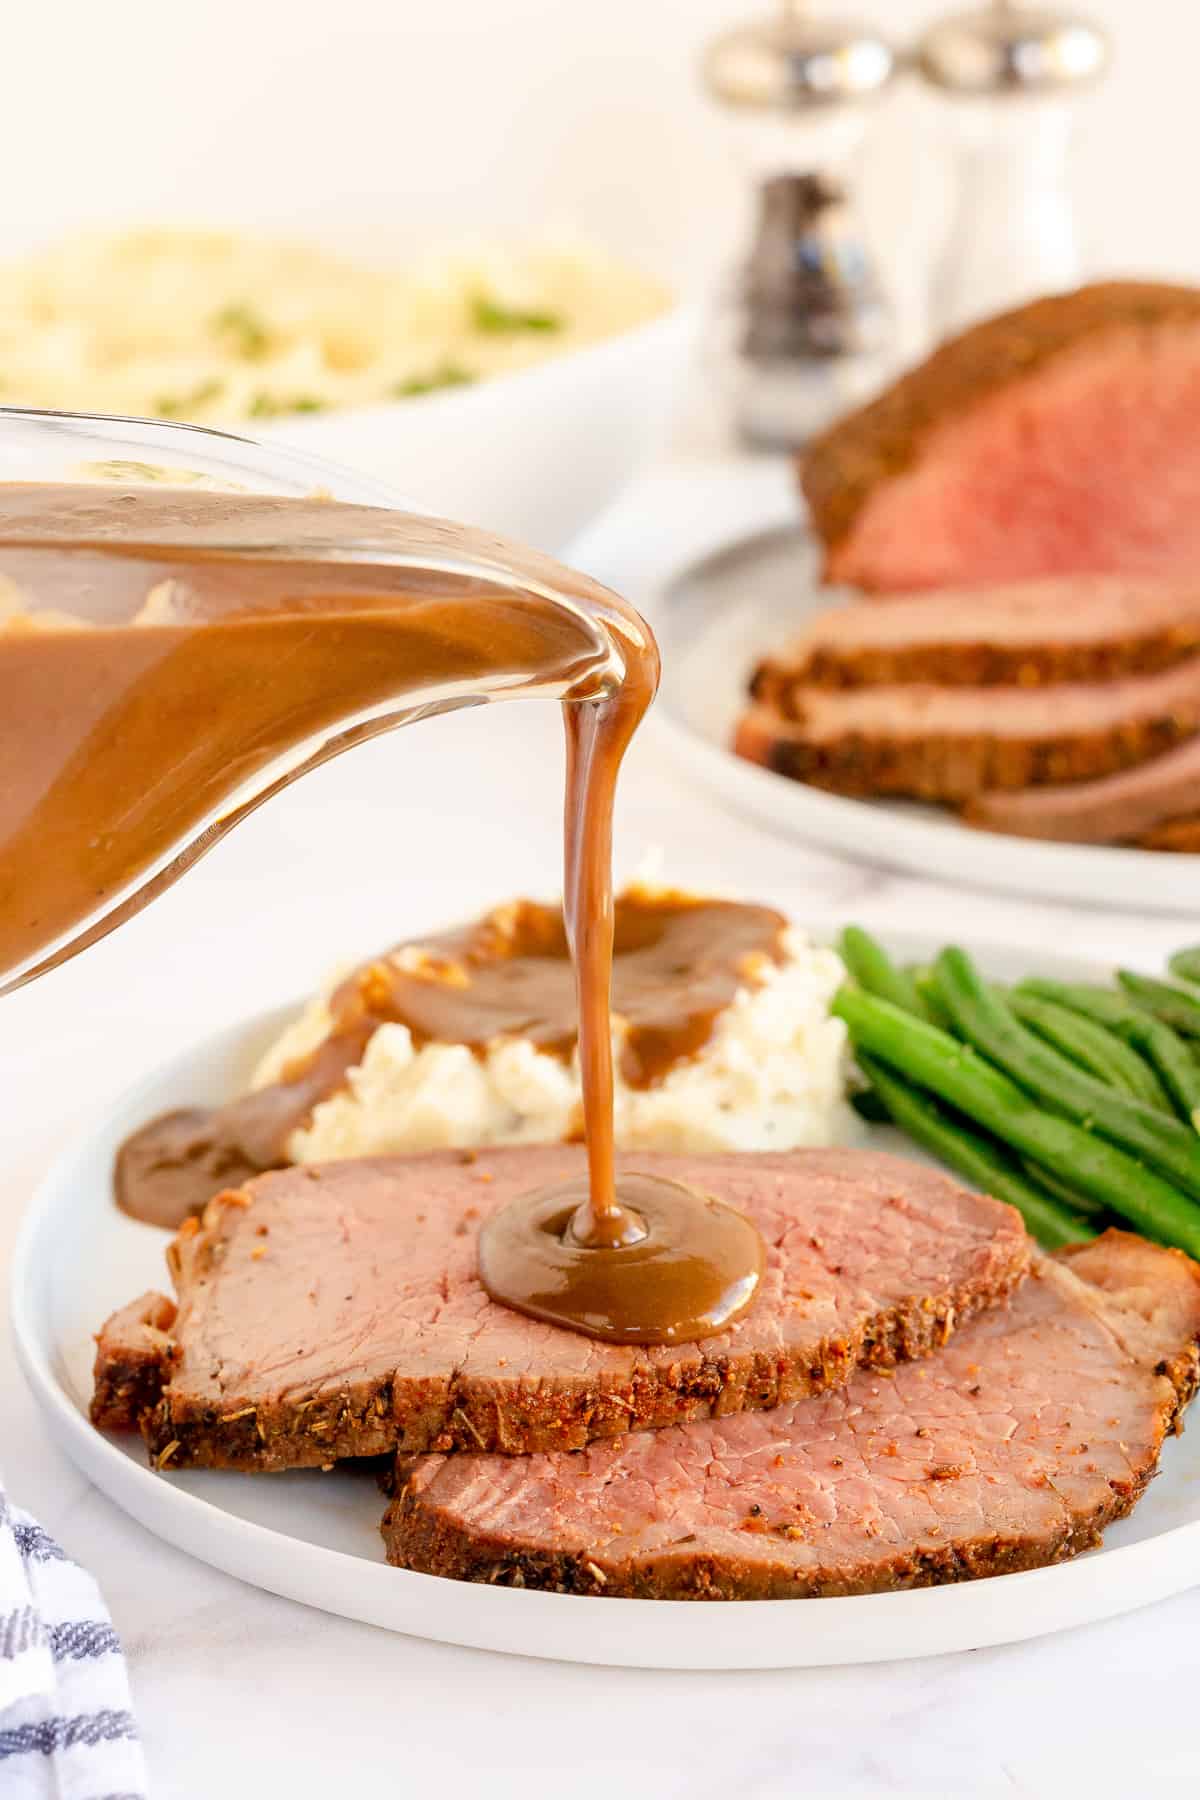
I’m really excited about this recipe, friends. If you’ve tried some of my recipes in the past and trust me, even just a little bit, I hope you will get this perfectly tender roast beef with gravy on your menu very soon. It has been a weird year and I know we’re all changing up our holiday traditions a bit. It is my hope that this delicious but less expensive roast beef recipe comes to you at a good time.
We most often think of beef tenderloin or prime rib when it comes to tender roasted beef. But, you’ve really got something special when you can create a juicy, tender roast with an inexpensive cut like the eye of round! There is no need to reserve this meal for a special occasion. This recipe allows you to enjoy a roast beef dinner anytime the craving strikes.
Table of contents
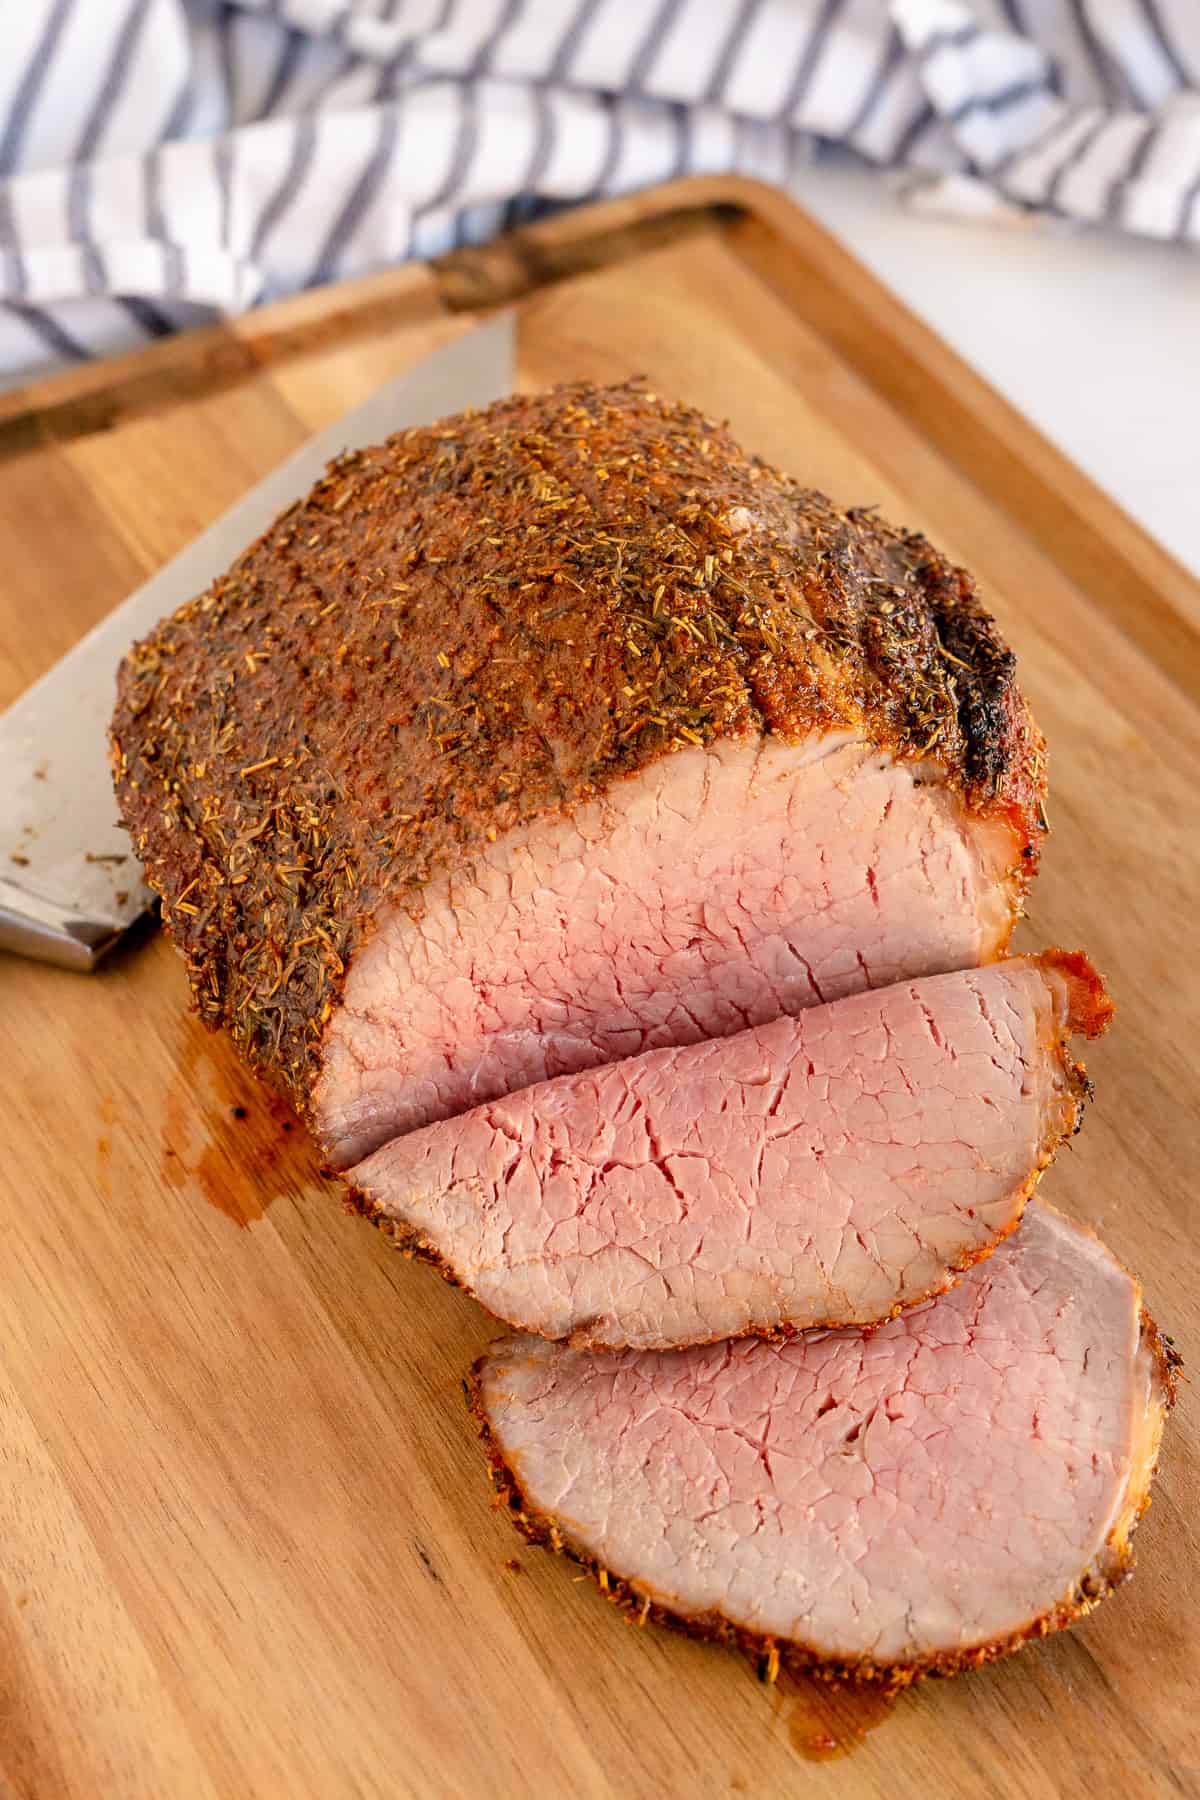
What is an Eye of Round Roast?
An eye of round is a lean but flavorful cut that comes from the “round” or hindquarters of the cow. This area gets a lot of movement so the beef is leaner and less tender than more expensive cuts of beef. The eye of round is an excellent choice for cooking on a budget and can be roasted to juicy, tender perfection if you know how to cook it properly.
The budget-friendly eye of round roast is my favorite cut for roast beef but other cuts will work. More cuts from the round area include top or bottom round, rump, or sirloin tip. This cut is also the best choice for my family’s favorite Deli Style Roast Beef.
Ingredients
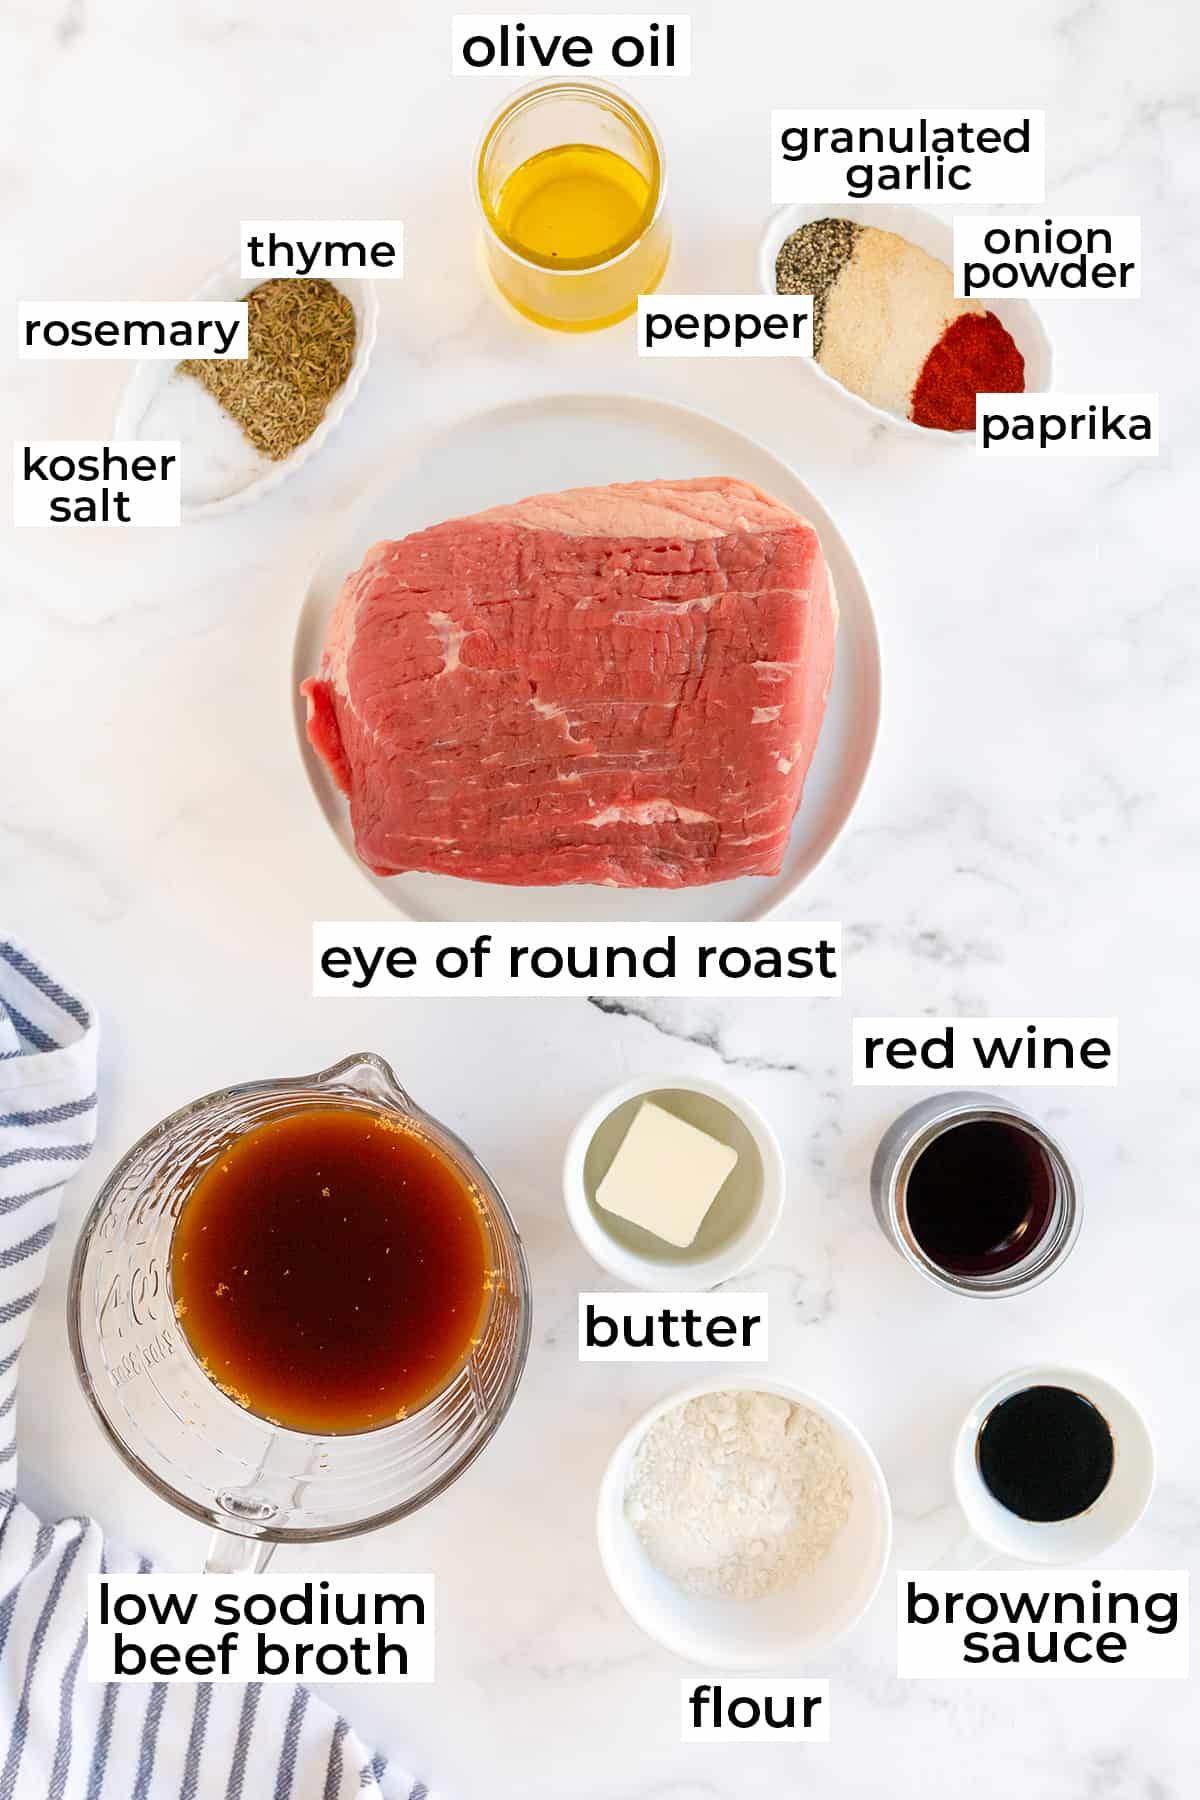
- Eye of round roasts are typically easy to find at most grocery store chains. I buy mine at Costco. They sell prime eye of round roasts in a 2-pack at a very competitive price.
- Like my Instant Pot Pot Roast and Classic Stovetop Beef Stew, the key to the flavor in this recipe comes from a special seasoning mix for roast beef. It is made up of aromatic, flavorful dry spices – rosemary, thyme, granulated garlic, onion powder, paprika, kosher salt, and freshly ground black pepper.
- A little red wine goes a long way in adding great flavor to the luscious roast beef gravy. Most red wine will work just fine but I recommend going with a full-bodied cabernet sauvignon or a flavorful pinot noir or merlot. If you don’t cook with wine, you can sub an equal amount of beef broth.
- Browning sauce, like Kitchen Bouquet, is a great way to richen up the color and enhance the flavor of the gravies, stews, and meaty dishes. It has been a kitchen staple for home cooks since the 1800’s!
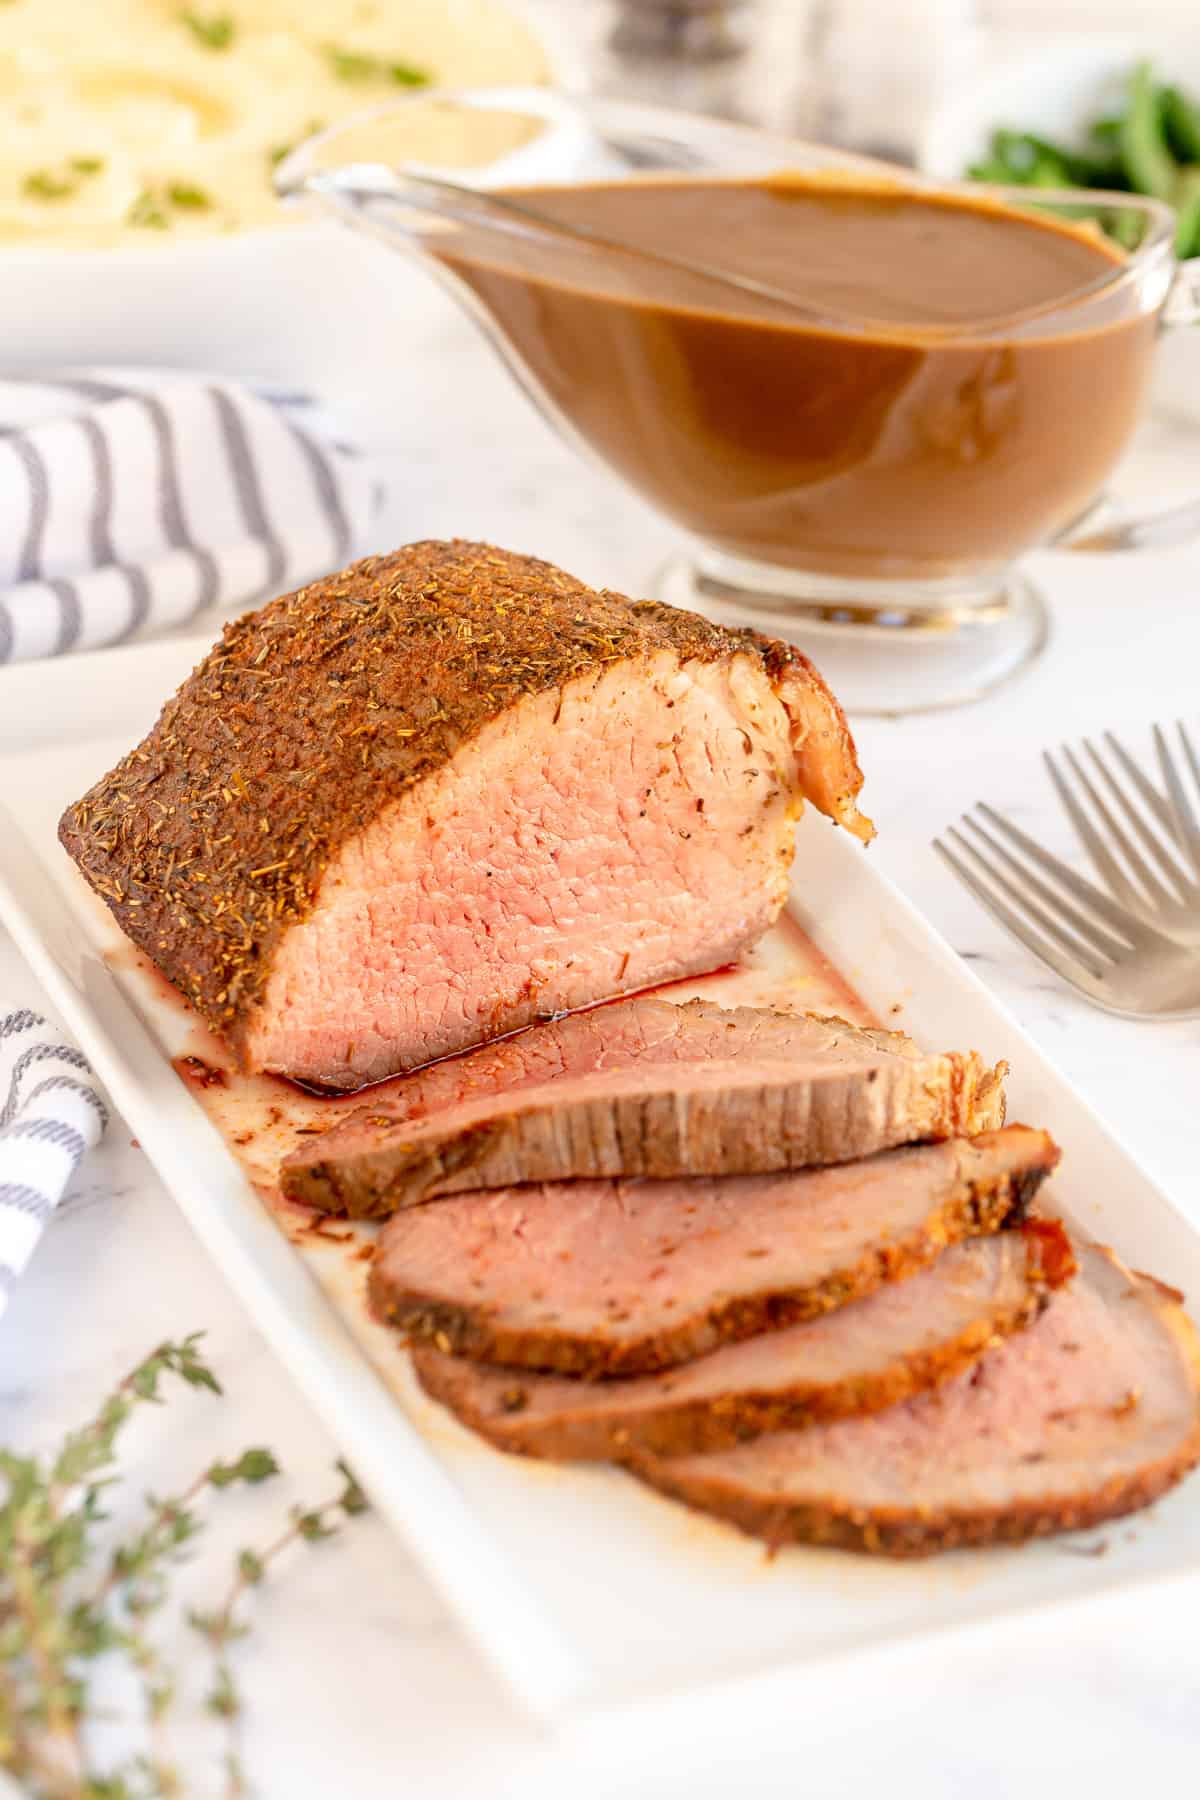
How to Cook an Eye of Round Roast
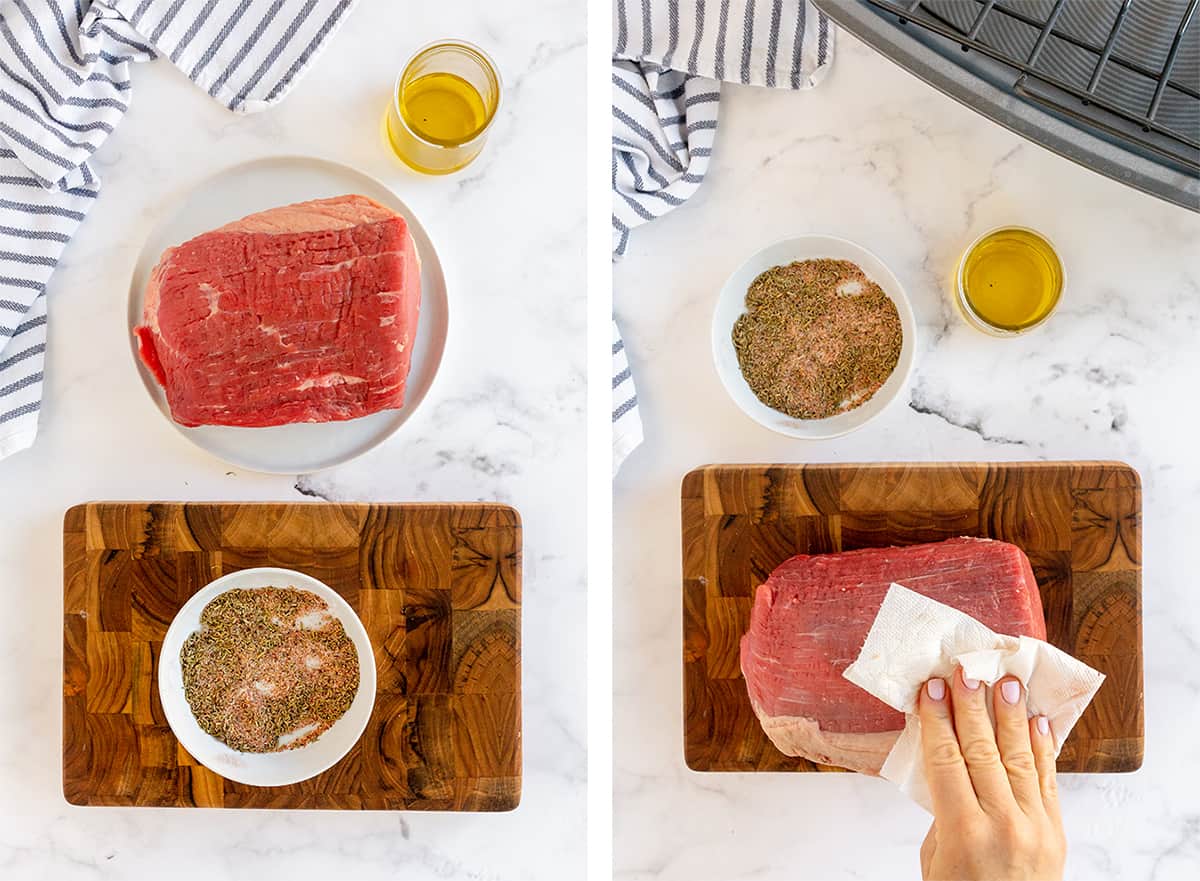
- Remove your roast from the refrigerator and allow it to rest on the counter for 45 minutes to take the chill off. Combine all the Roast Beef Seasoning Mix ingredients in a small bowl.
- Pat your roast with paper towels to dry the surface.
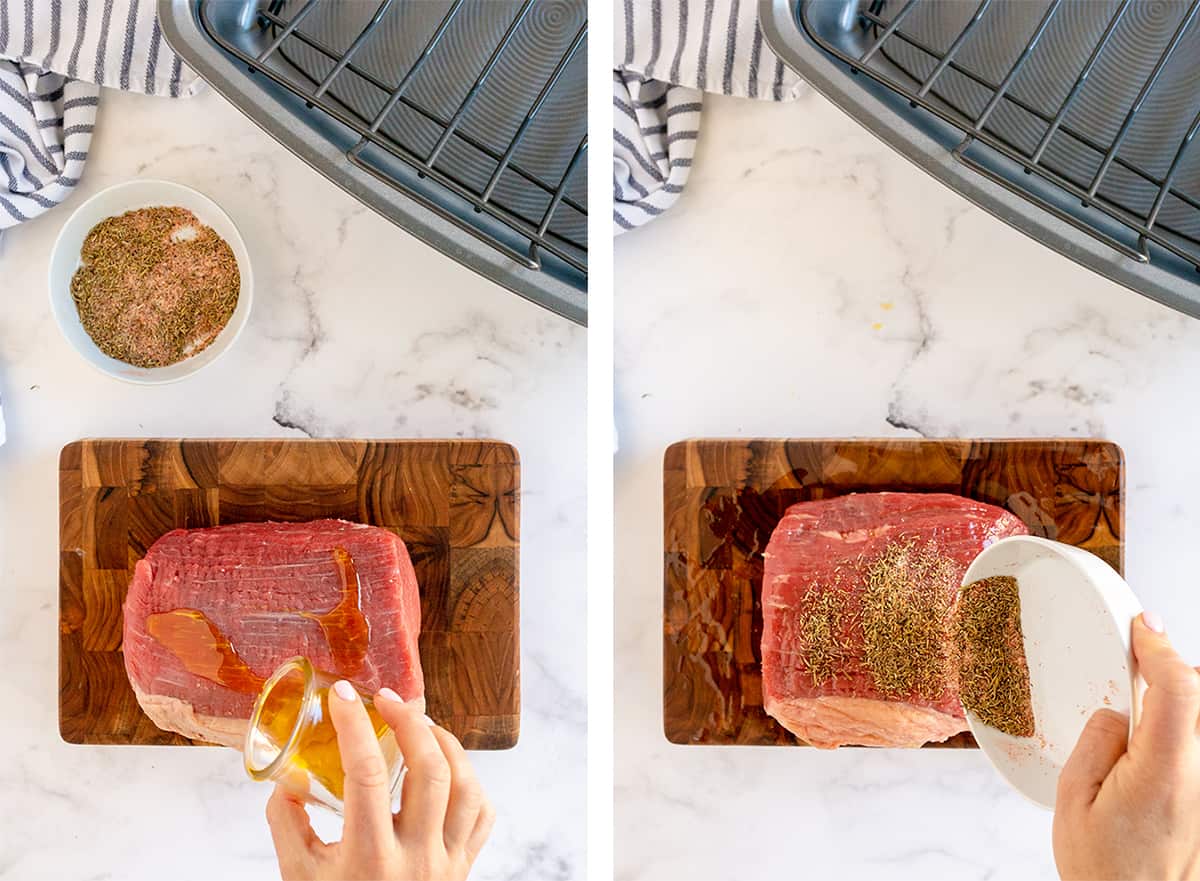
- Drizzle the roast with olive oil and use your hands to rub the olive oil, coating all sides.
- Sprinkle all sides, including ends, with the seasoning mix.
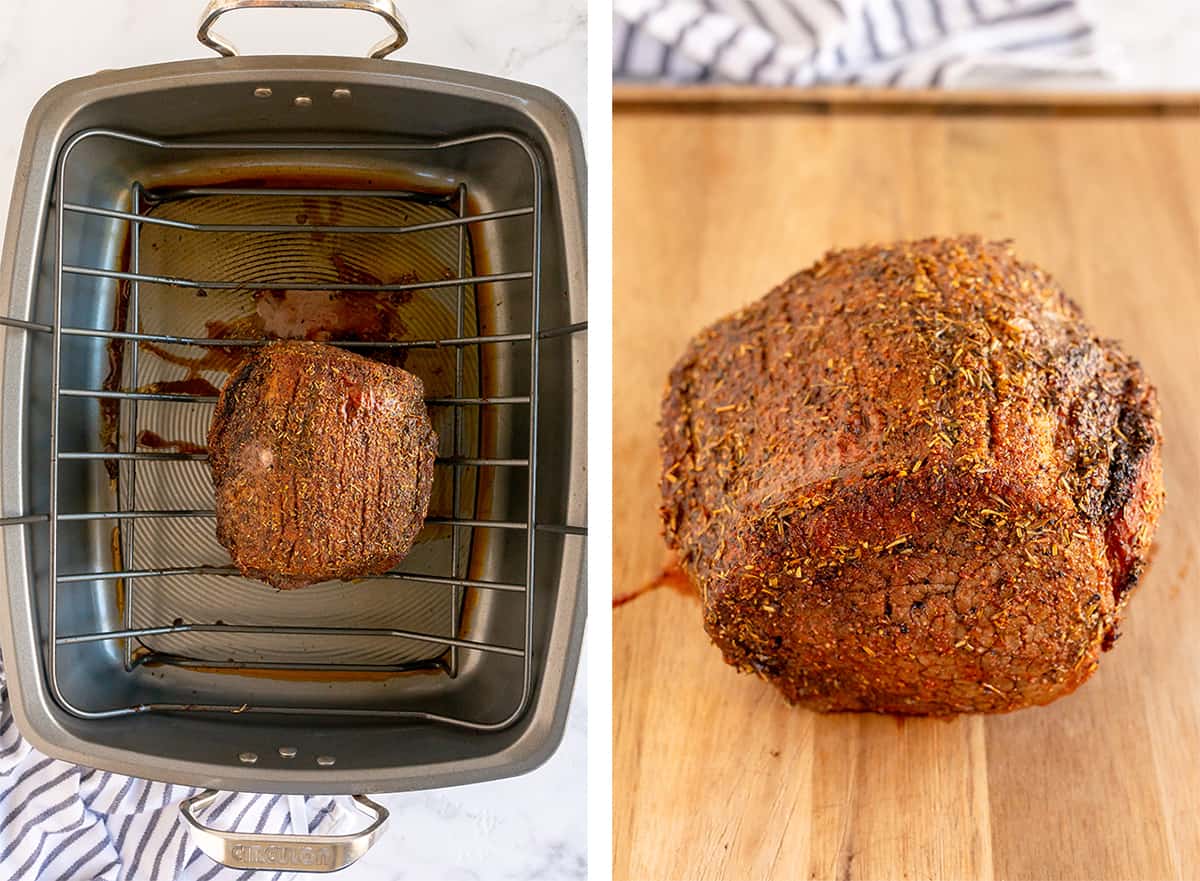
- Place your roast on a rack in a roasting pan with the fat cap side facing up. Transfer it to your preheated to 500 degrees F oven. Roast for 15 minutes until nicely browned. Reduce the oven temperature to 300 degrees F and continue to roast for another 40 to 50 minutes. I don’t recommend cooking this roast beyond 130 to 135 degrees F (medium rare) for the most tender, delicious result. Watch it closely because the temperature can rise quickly towards the end of the cooking time. An instant read thermometer is a must have kitchen item for roasting meats to perfection.
- Transfer the roast to a cutting board to rest for about 20 minutes before slicing it against the grain.
How to Make Perfect Roast Beef Gravy
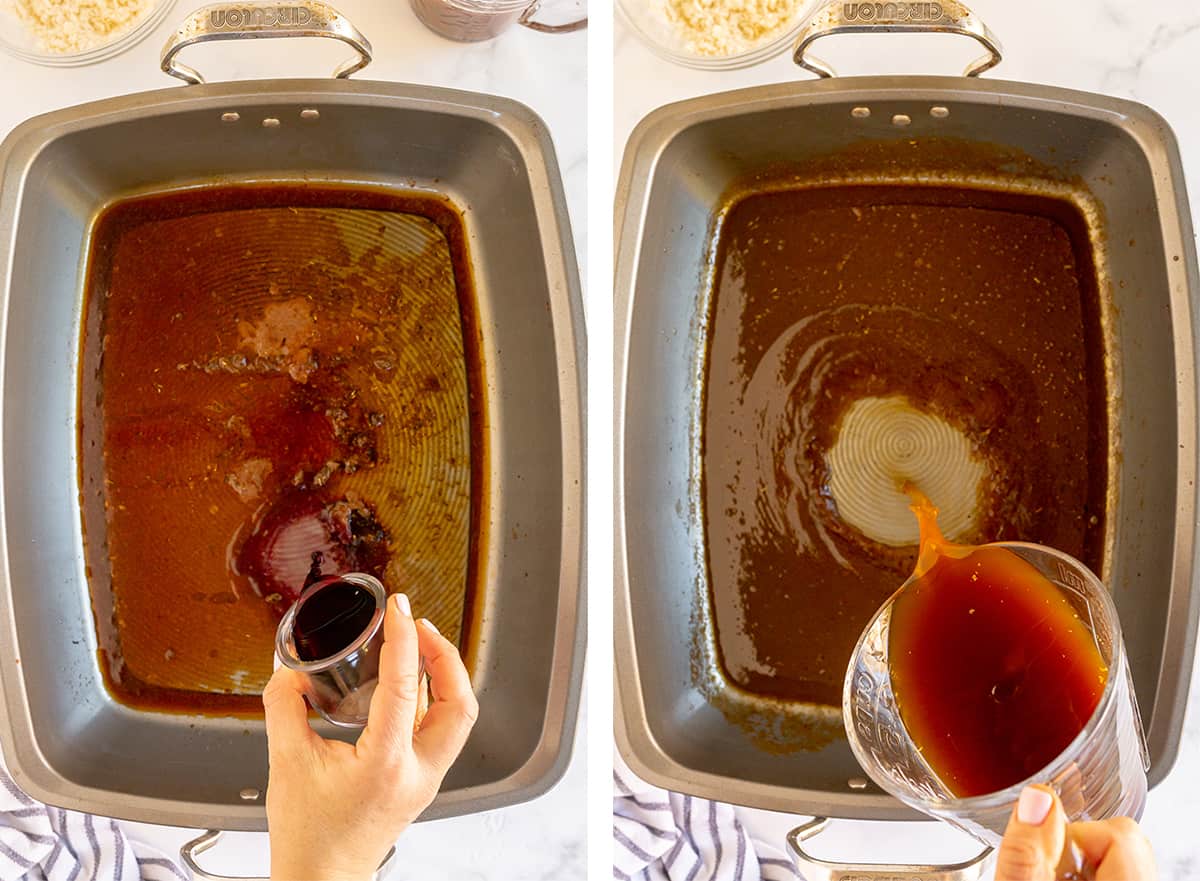
- After slicing the roast, pour those precious juices that have accumulated on your cutting board into the roasting pan with the rest of the drippings. Drippings equal a more flavorful gravy! Place the roasting pan over medium heat and add the red wine. Whisk, scraping up any browned bits from the bottom, for several minutes to cook off some of the wine.
- Add the low sodium beef broth.
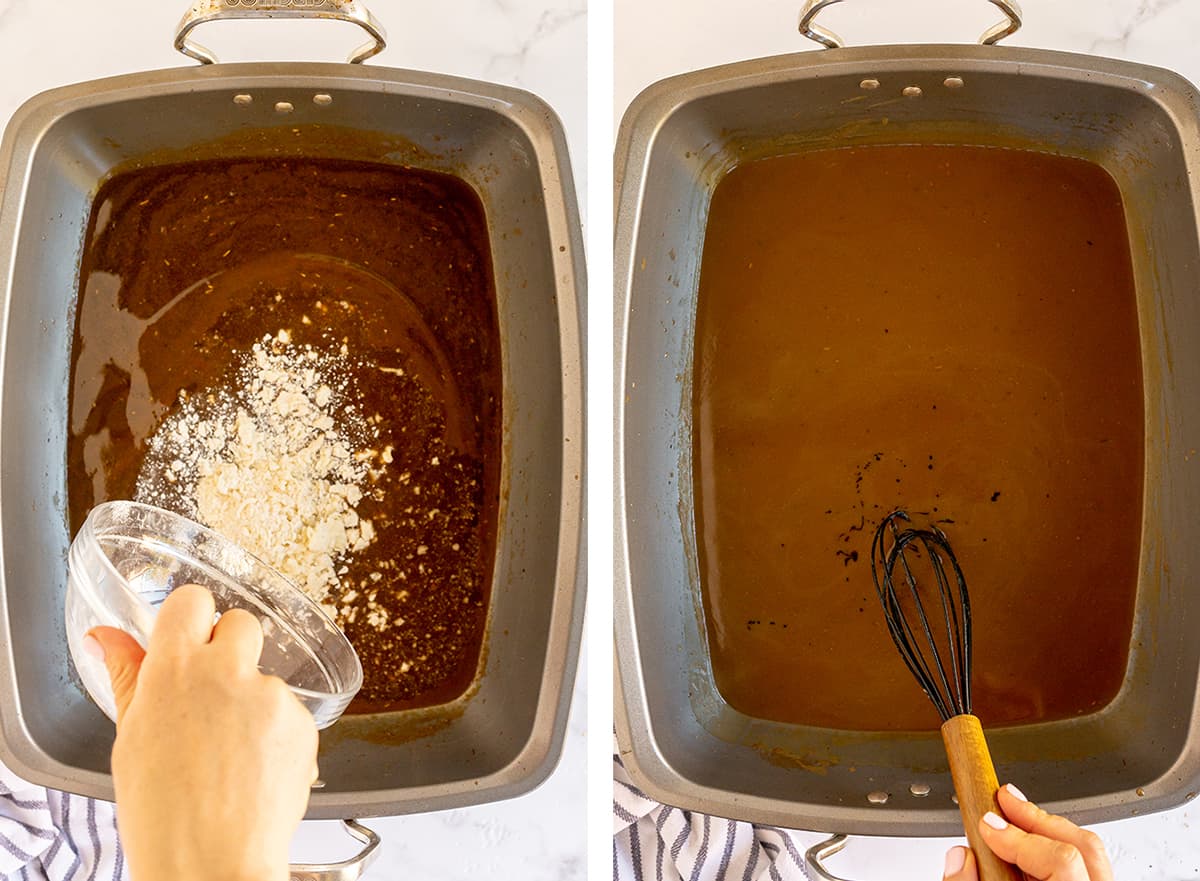
- Add a paste mixture of softened butter and flour. Whisk the gravy vigorously until the butter mixture is completely melted into the sauce.
- Add a little browning sauce (a little goes a long way!). Bring the mixture to a low boil. Reduce the heat as needed to keep the gravy at a low simmer until thickened, whisking occasionally. Transfer to a gravy boat for serving.
What to Serve with Roast Beef and Gravy
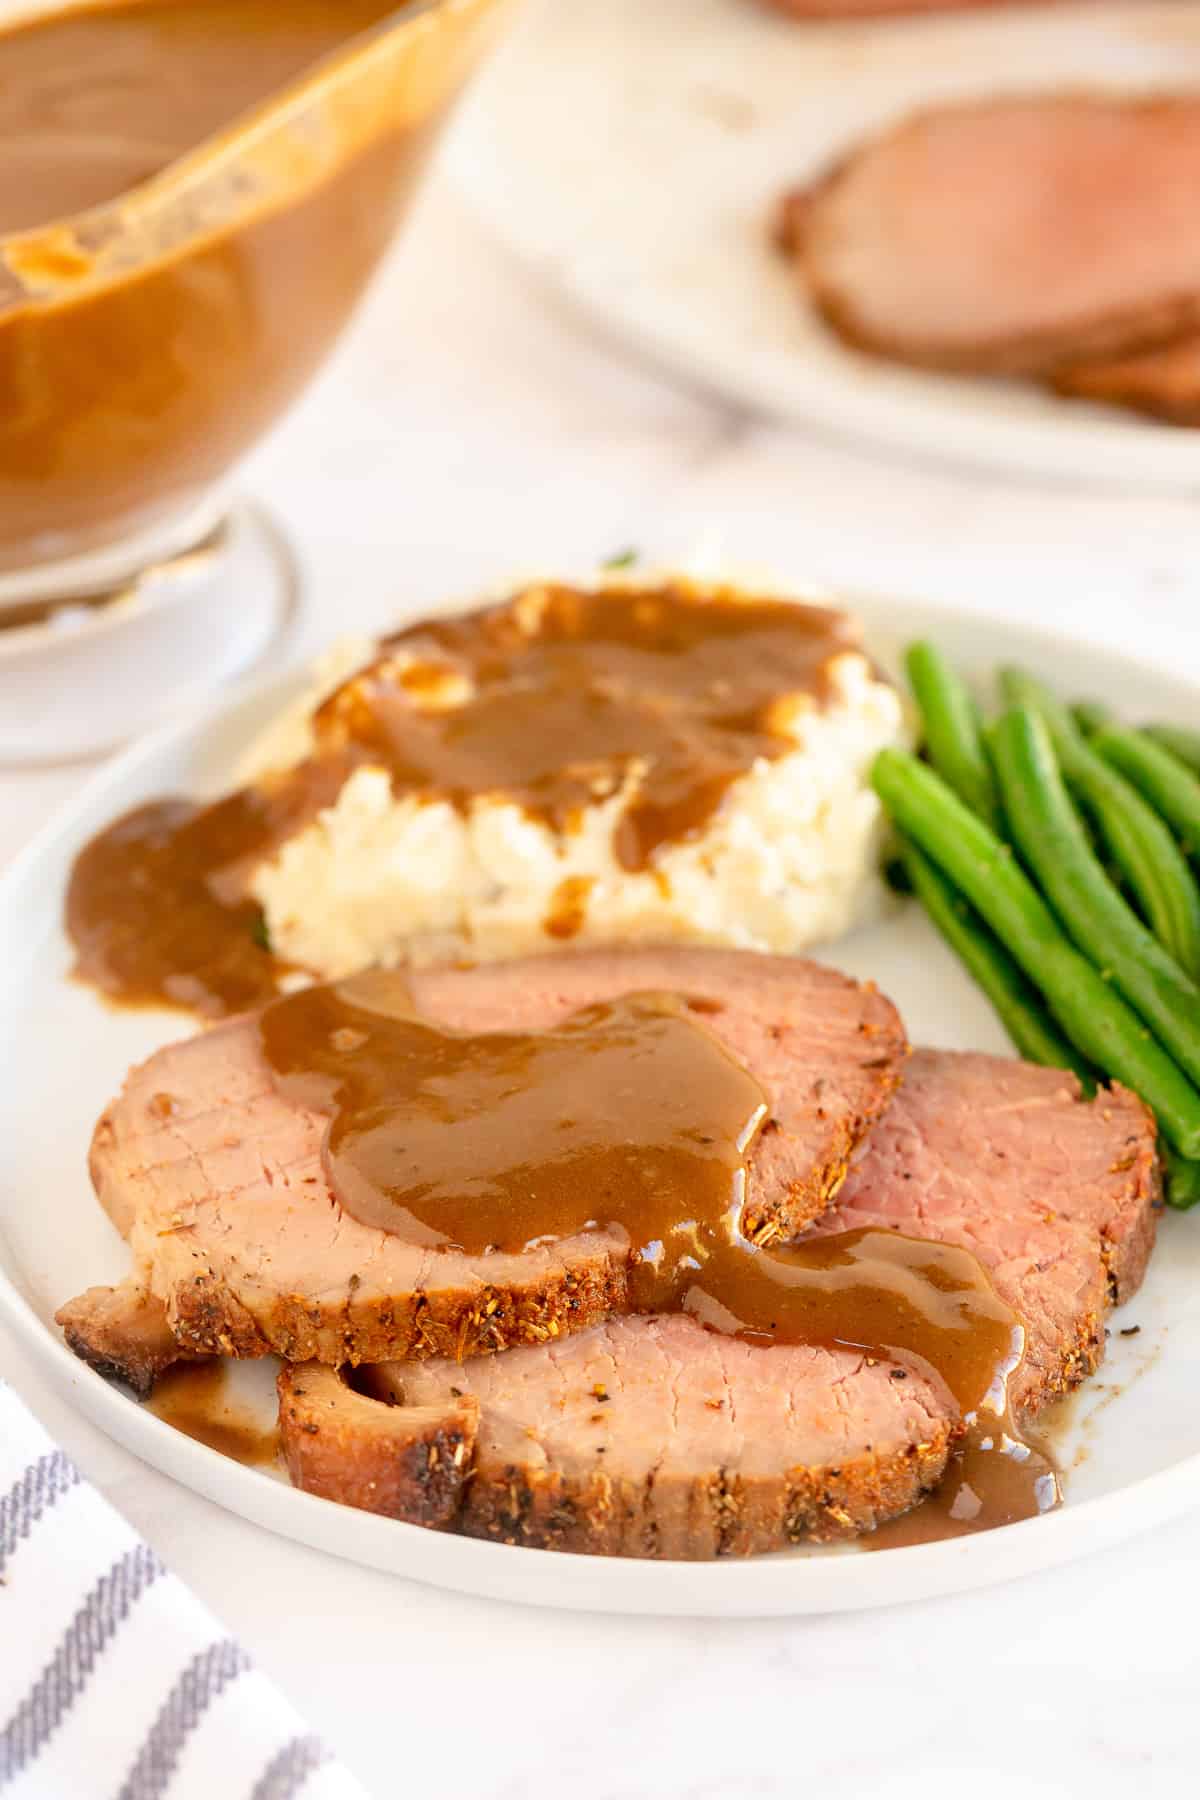
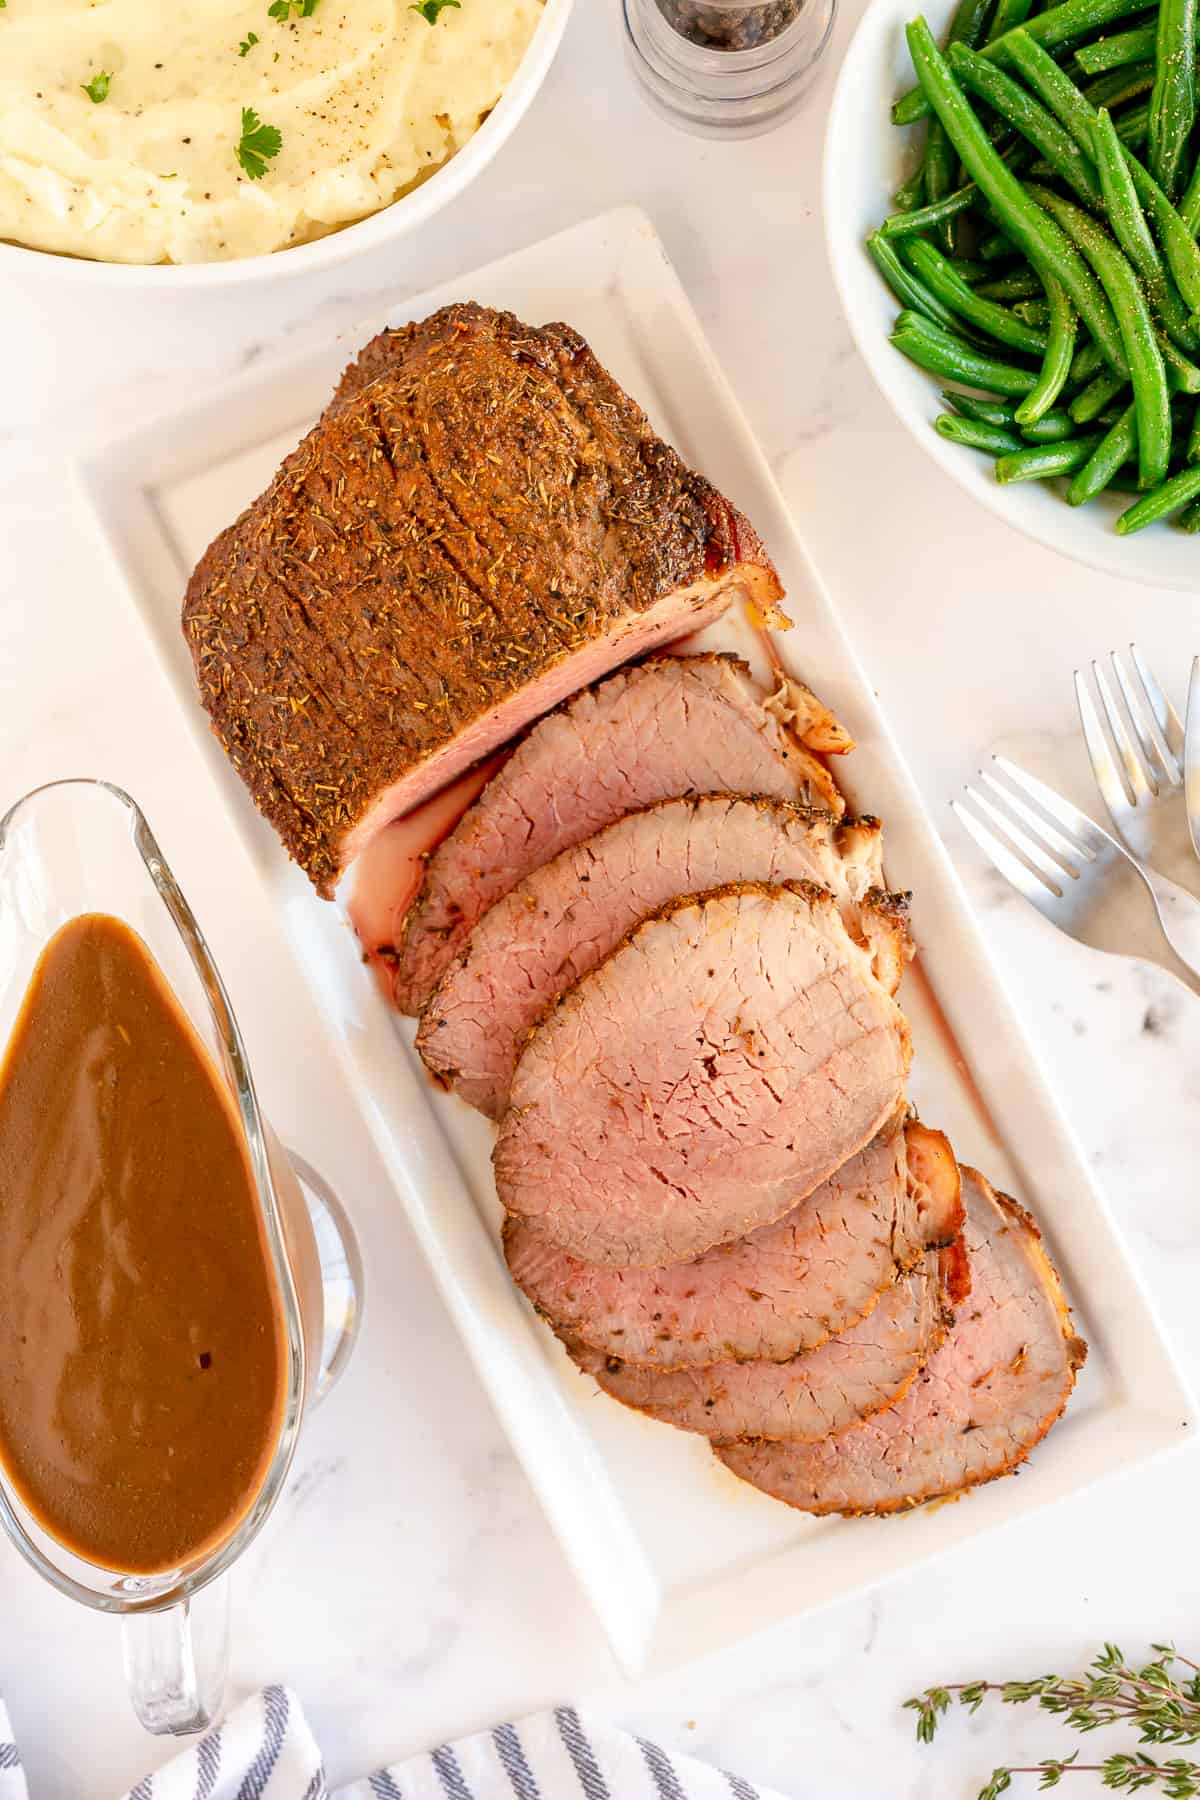
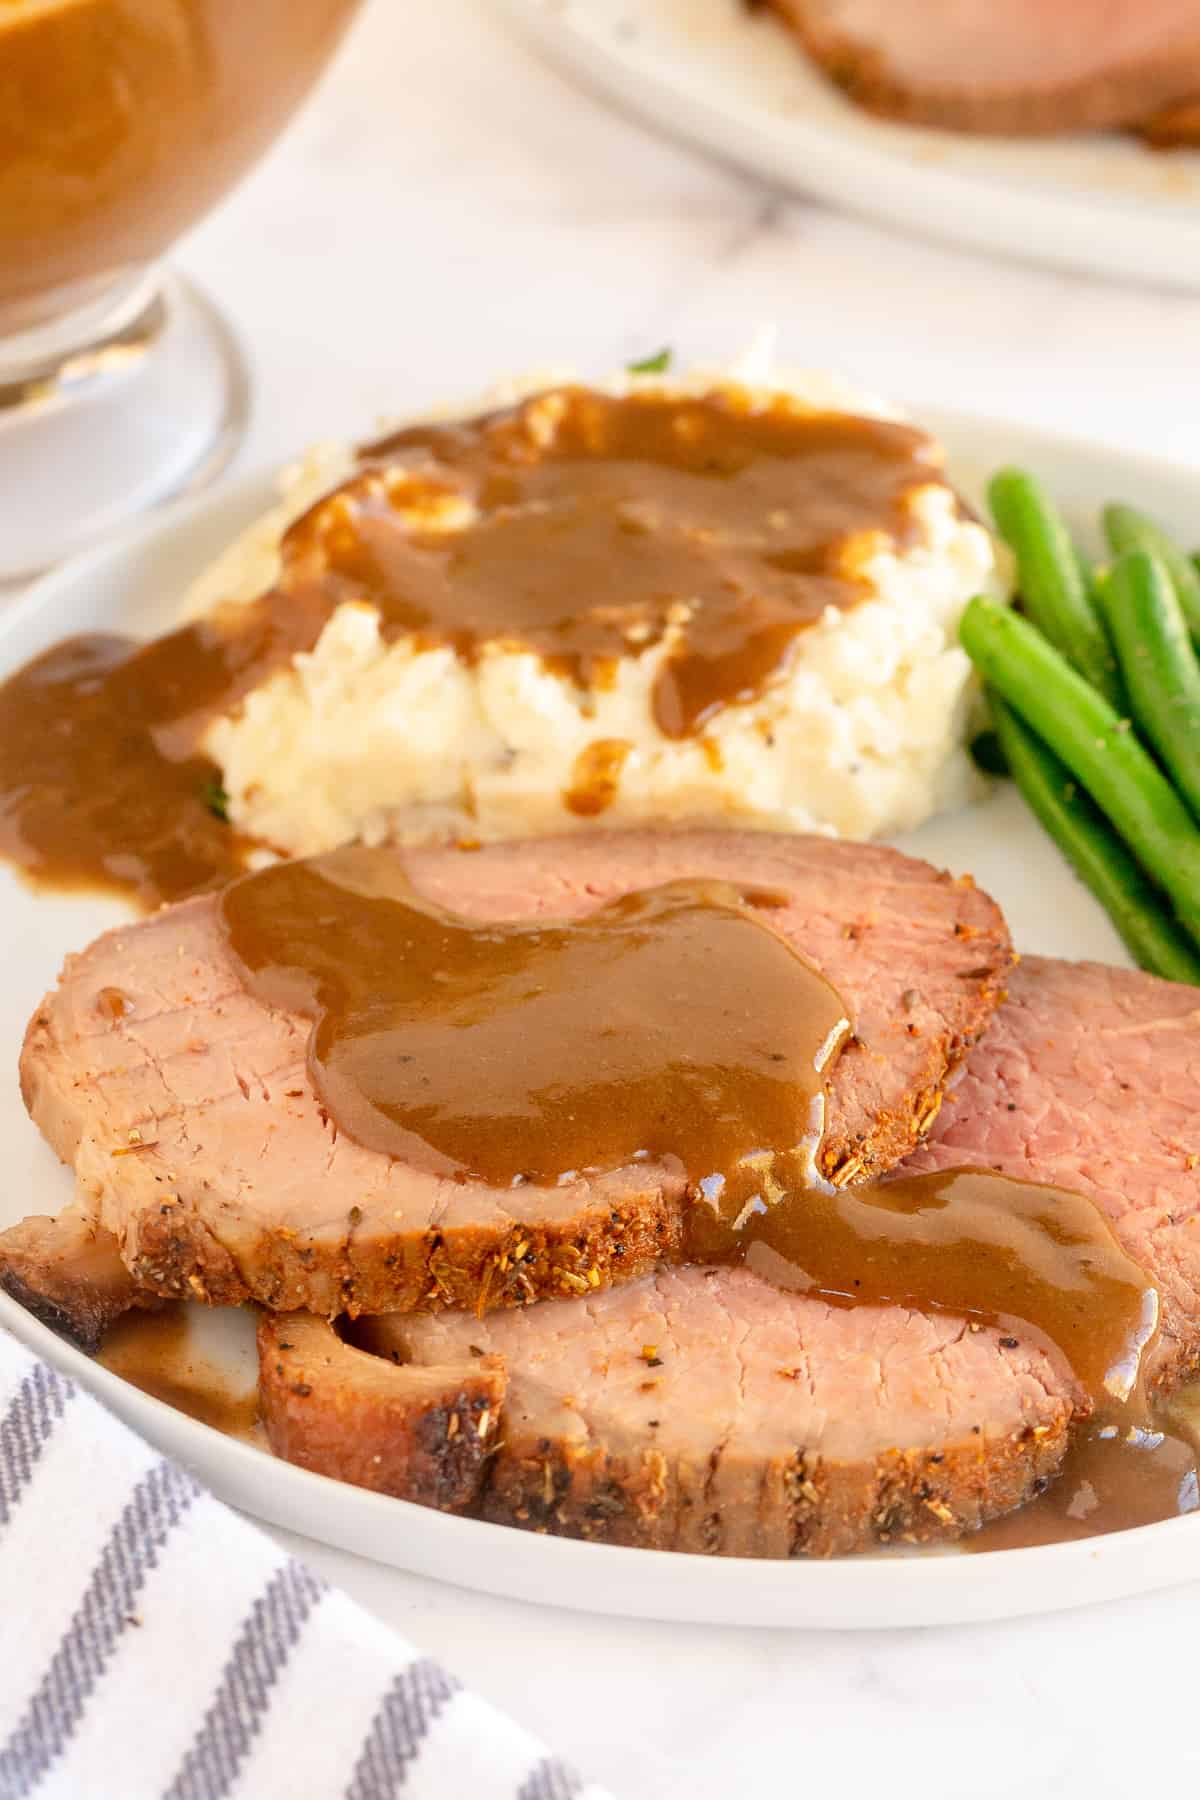
In my opinion, mashed potatoes are absolutely required as a base for this luscious gravy. My Buttermilk Mashed Potatoes are the perfect choice.
Delicious veggie side dish choices include my Broccoli Pearl Onion Casserole, Bourbon Glazed Carrots, Honey Roasted Carrots and Brussels Sprouts, or Green Beans with Almonds and Bacon.
How Much Roast Beef Per Person?
When roast beef is the star of the meal and is served with a few sides, I recommend planning for 1/2 pound per person. Leftovers of this Tender Eye of Round Roast Beef are delicious served cold on sandwiches!
Sign up for my free newsletter for all the latest recipes and join me on Facebook, Instagram and Pinterest for more cooking inspiration!
Tender Eye of Round Roast Beef with Gravy
Ingredients
- 2 ½ to 3 ½ pound eye of round roast
- 2 tablespoons olive oil, or enough to generously coat all sides
Roast Beef Seasoning Mix
- 1 teaspoon kosher salt
- 1 teaspoon dried crushed rosemary
- 1 teaspoon dried thyme
- ¾ teaspoon fresh ground black pepper
- ¾ teaspoon granulated garlic or garlic powder
- ¾ teaspoon onion powder
- ½ teaspoon paprika
Roast Beef Gravy
- 2 tablespoons softened butter
- 3 tablespoons all-purpose flour
- ¼ cup red wine, like cabernet sauvignon, pinot noir, or merlot
- 2 cups low sodium beef broth
- ¼ to ½ teaspoon browning sauce, like Kitchen Bouquet
- salt and freshly ground black pepper, to taste
Instructions
- Remove your roast from the refrigerator and allow it to rest on the counter for 45 minutes to 1 hour to take the chill off.
- Meanwhile, preheat your oven to 500 degrees F.
- Combine all the Roast Beef Seasoning Mix ingredients in a small bowl.
- Pat your roast with paper towels to dry the surface and then drizzle with olive oil and use your hands to rub the olive oil, coating all sides of the roast.
- Sprinkle all sides, including the ends, with the seasoning mix. Place your roast on a rack in a roasting pan with the fat cap side facing up.
- Transfer to the preheated oven and roast for 15 minutes until nicely browned. Reduce oven temperature to 300 degrees F and continue to roast for another 40 to 50 minutes or until internal temperature reads 130 and no more than 135 degrees F. (medium rare). Begin checking temperature after 35 minutes by inserting an instant read thermometer through the center of the roast from the side. Watch it closely because the temperature can rise quickly towards the end of the cooking time. I don't recommend cooking this roast beyond 135 degrees for the most tender, delicious result.
- Remove from the oven and loosely tent a piece of foil over the meat while still on the rack in the roasting pan. Allow to rest for 15 to 20 minutes.
- Transfer the roast to a cutting board and set the roasting pan aside (you will need the pan and drippings to make the gravy later). Use a sharp knife to slice it against the grain about ¼-inch thick slices. Transfer the sliced beef to a serving platter and cover with foil to keep warm. Pour all of the juices that have accumulated on the cutting board into the roasting pan with the drippings.
For the Gravy
- Combine the softened butter and flour in a small bowl and set aside.
- Place the roasting pan with the beef drippings and accumulated juices over MEDIUM heat and add the red wine. Whisk, scraping up any browned bits from the bottom, for several minutes to cook off some of the wine. Add the beef broth and the butter and flour mixture. Whisk vigorously until the butter mixture is completely melted into the sauce Add the browning sauce (a little goes a long way) and whisk to combine. Bring the mixture to a low boil, then reduce heat as needed to keep the gravy at a low simmer for 3 to 4 minutes, or until thickened, whisking occasionally. Taste and season to taste with salt and freshly ground pepper, only if needed (there is so much flavor in this gravy you might not need to add any additional seasoning).
- Transfer to a gravy boat and serve with the roast beef.
Video
Notes
Nutrition
Nutrition information is automatically calculated using generic ingredients, and is an estimate not a guarantee. For more accurate results, please refer to the labels on your ingredients at home.




What a fabulous recipe that produced a delicious and affordable roast that was perfect for sandwiches and much nicer than the deli sliced roast I often purchase. I took it out at 127 degrees and it was delightfully rare and medium rare. Thank you for this straightforward and useful recipe for these more expensive times.
Your welcome, Lynne. Thanks so much for your comment and happy to hear the roast worked out so well for you!
The roast come out absolutely perfect. Can’t wait to make it again. Next time I may take it out of the oven at 125 degrees as the temperature raised higher than I expected while resting. Thank you for an amazing meal.
You’re welcome, Tom! So glad it worked out so well for you. 🙂
So sorry. Epic fail. 1.524 kg eye of round. Followed as close close as possible the recipe. After hours roast still rare, very rare. Maybe my age is showing, but this did not turn out. Put it back in and will hope for the best. The timing was completely off. I better stick to hamburgers I guess.
Hi Lois. Did you allow the roast to sit at room temperature for about 45 minutes before beginning? Take a look at step #1 on the recipe card. I hope that by roasting it a bit longer it was cooked to your liking.
This was a disaster. Followed the recipe exactly, but it’s so tough we can’t eat it. ?Trying to find some way to use it so it won’t be a complete waste of money.
This came out perfect and I’ve been trying for over 30 years to make a perfect roast beef. I can’t thank you enough for sharing!
You’re very welcome, Gretchen! Thanks so much for your comment. 🙂
I didn’t read the whole article, but pics are great! Even though I wanted to take some shortcuts, I didn’t and I’m so glad because this came out like a perfect mini roastbeef. Beautiful. And gravy was great too. Thanks
My family of VERY picky eaters told me “This is the best thing you have ever made!” There were NO leftovers. A very tasty recipe and easy to make.
This is just the best! So happy you all loved it and thanks so much for coming back to leave a comment. 🙂
It turned out amazing. Not sure how such simple ingredients could turn a boring piece of meat into something so delicious.
This was an excellent recipe! I consider myself a pretty good cook, but my roast never seemed to come out perfect. I followed the recipe and I substituted GF flour to thicken the gravy! The roast was perfectly medium rare and very tasty! I will definitely make this meal again!
Made this for Christmas dinner tonight and it turned out great. Very tender, perfectly pink. The gravy was fabulous. I was so nervous making it for guests, but it was a big hit. When it came out of the oven, the pan was fairly dry, but after resting under foil, there was a lot of juice for making gravy. I’d totally make this again.
I’m hoping this comes out ok. Never made this before. Was going between this recipe and another because they were very similar, but Alize just now the temperatures are different so I hope that doesn’t affect end result. Fingers crossed.
Was a great recipe.
Worked out exactly how Valerie said.
A+
I’m looking forward to trying this, but I have a couple of questions. I have not had luck in the past with braising type recipes. Does it matter if my oven is gas or electric? The people I know that do this successfully have electric ovens. Mine is gas. Also, the resting time on the banner of the printout page does not match the resting time in the description. I assume 20 minutes of resting is correct. Perhaps this is why it doesn’t turn out for some people.
Hi Vicky. It shouldn’t matter whether you have an electric or gas oven as long as the temperature is correct. The recipe was tested in a gas oven. I’m not sure where you are seeing different resting times. The roast should rest 15 to 20 minutes before slicing for the best result. I hope this helps!