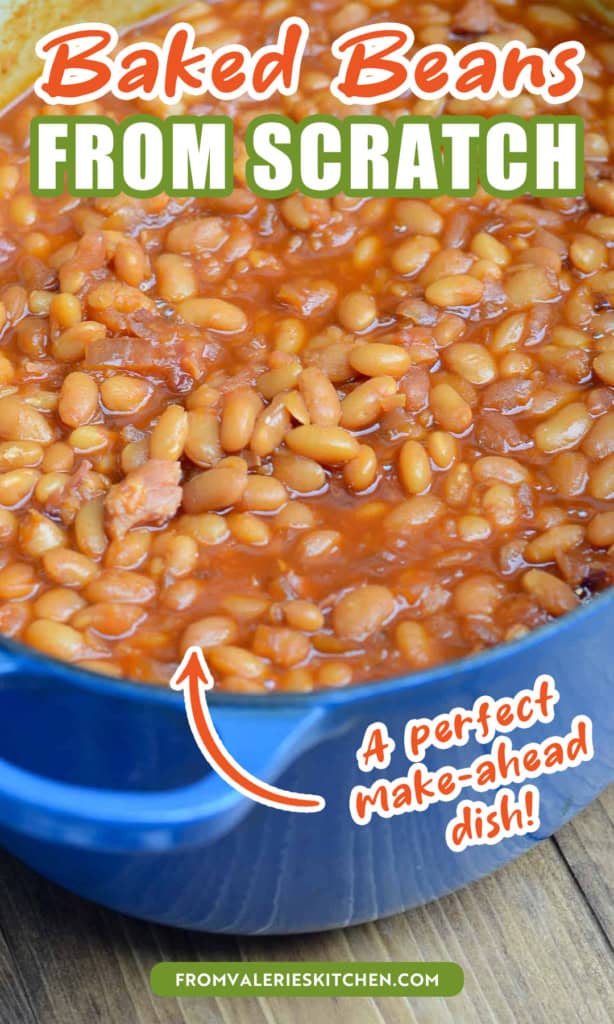
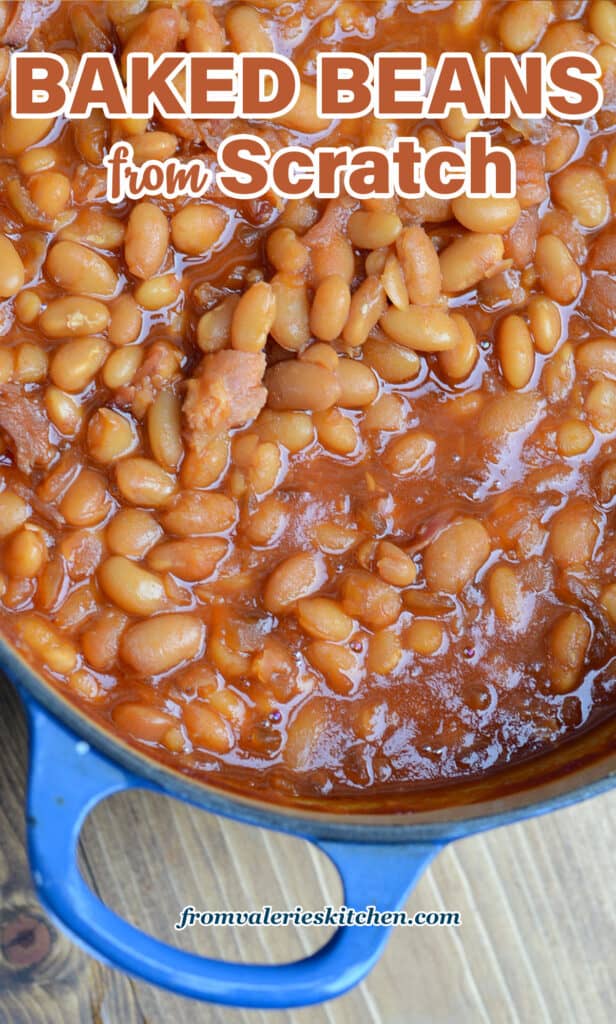
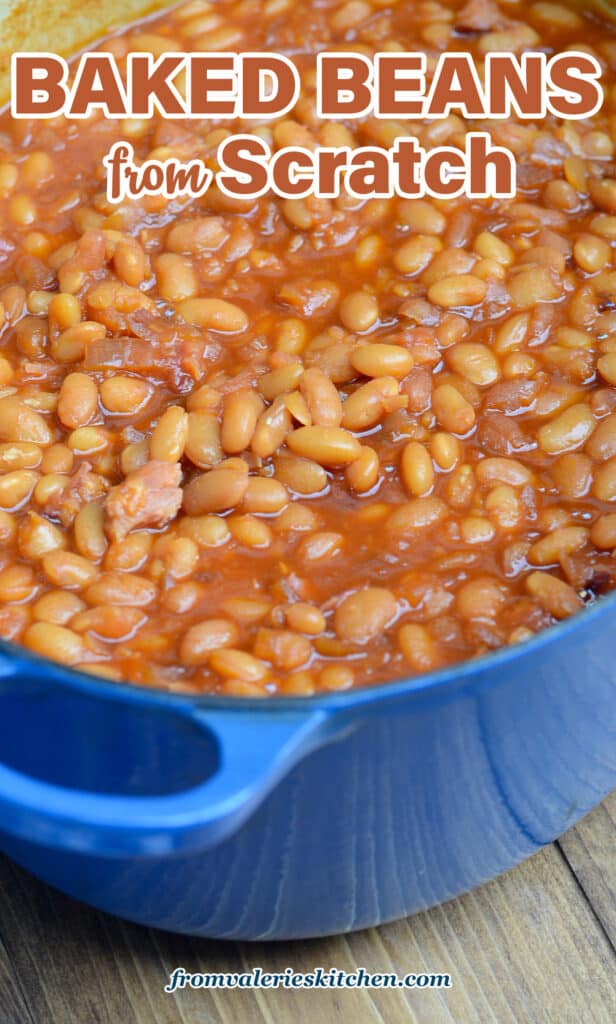
The rich, molasses-spiked flavor and tender texture of these old-fashioned Baked Beans from Scratch make them a true comfort food classic. They’re a perfect make-ahead dish for potlucks, barbecues, or any gathering.

This post may contain affiliate links. Please read our disclosure policy.
I love a good canned bean recipe, but there’s nothing like a great big pot of baked beans from scratch. It’s the way my mom used to make them and that distinctive slow-cooked, molasses flavor takes me straight back to my family dinner table.
There’s a little more labor involved and definitely more time is required but the effort is so worth it. Trust me, anyone who has been in or near your house while these are cooking will be waiting anxiously to eat them. Beans from scratch cooking in the oven make your house smell incredible.
Table of contents
Ingredient Notes
- Beans: When making baked beans from scratch, it’s important to choose a variety that will hold its shape and absorb the rich, savory sauce. Any one of the following will work well—just pick your favorite:
- Navy Beans: The most popular choice for classic baked beans. These small beans hold their shape well and become tender and creamy after a long cook time.
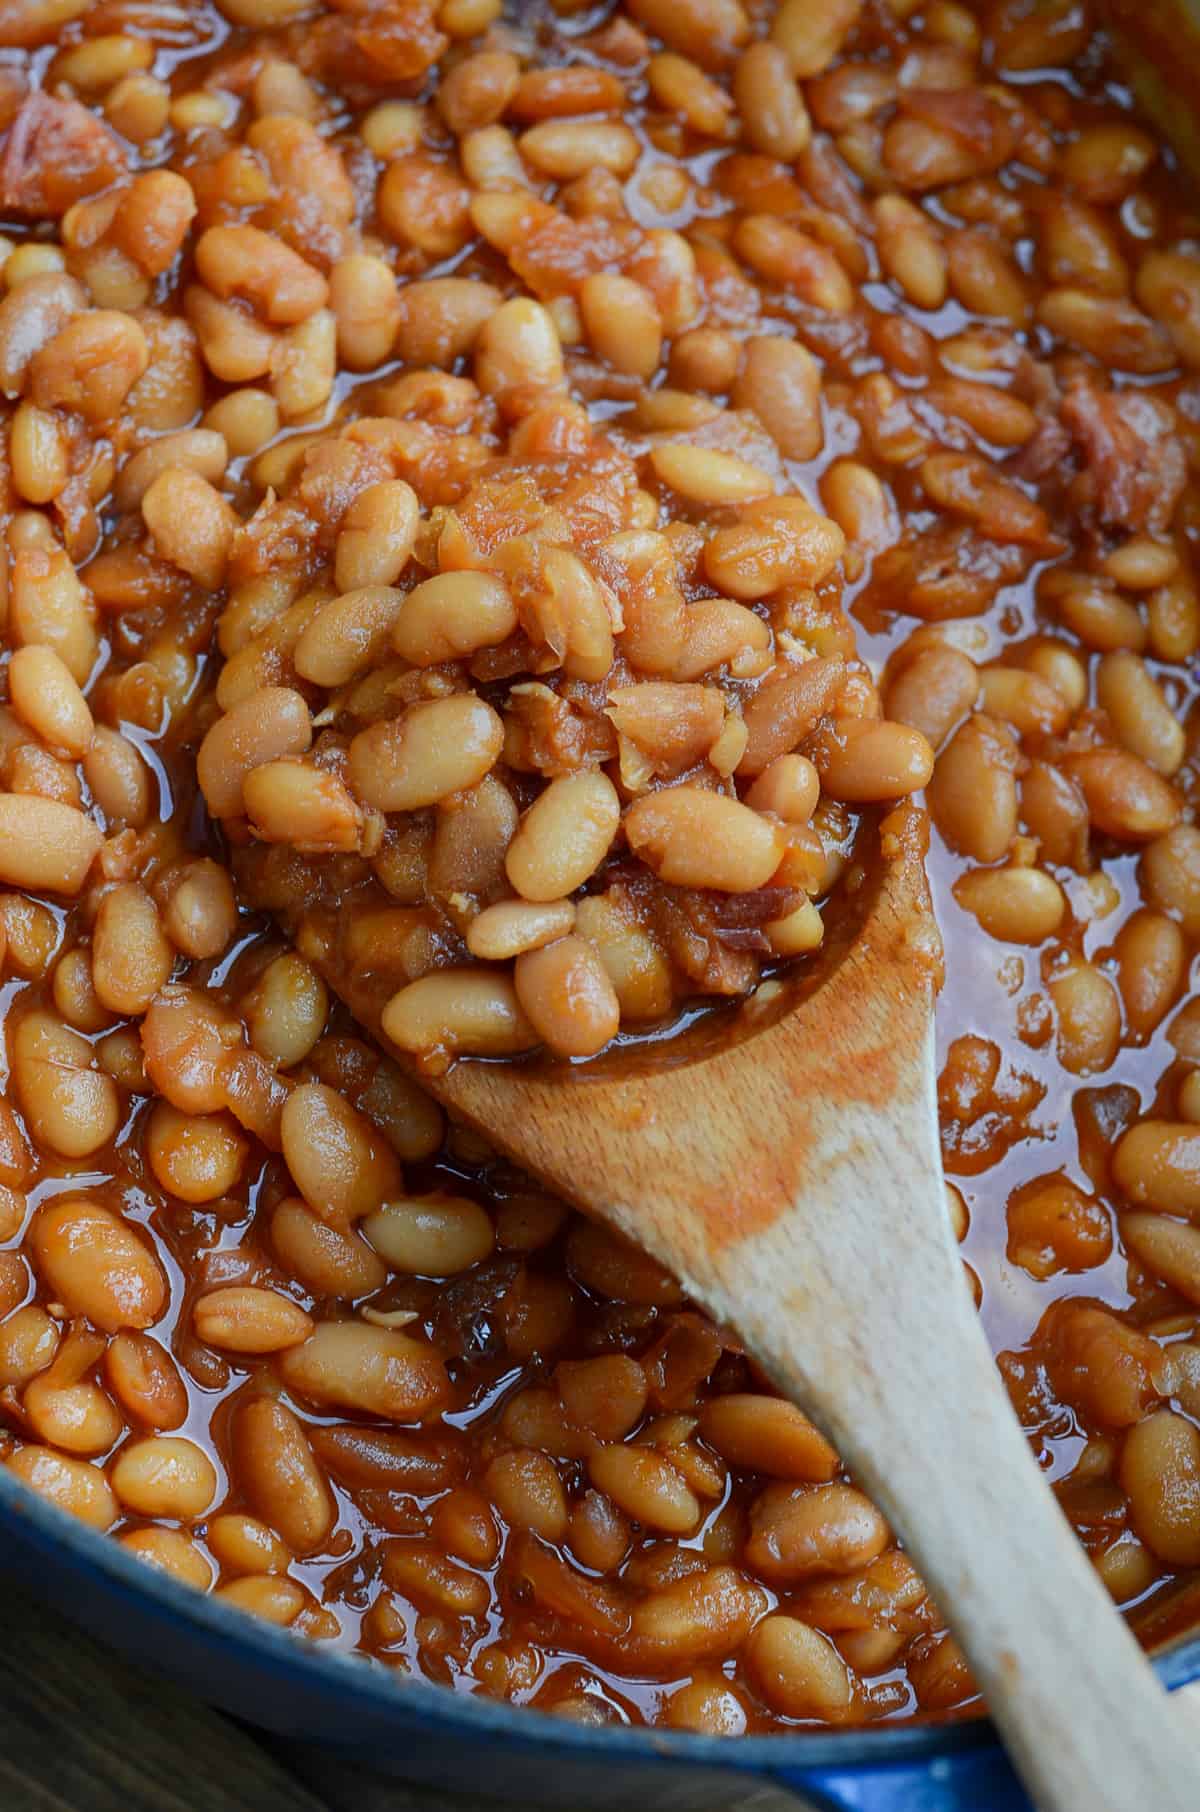
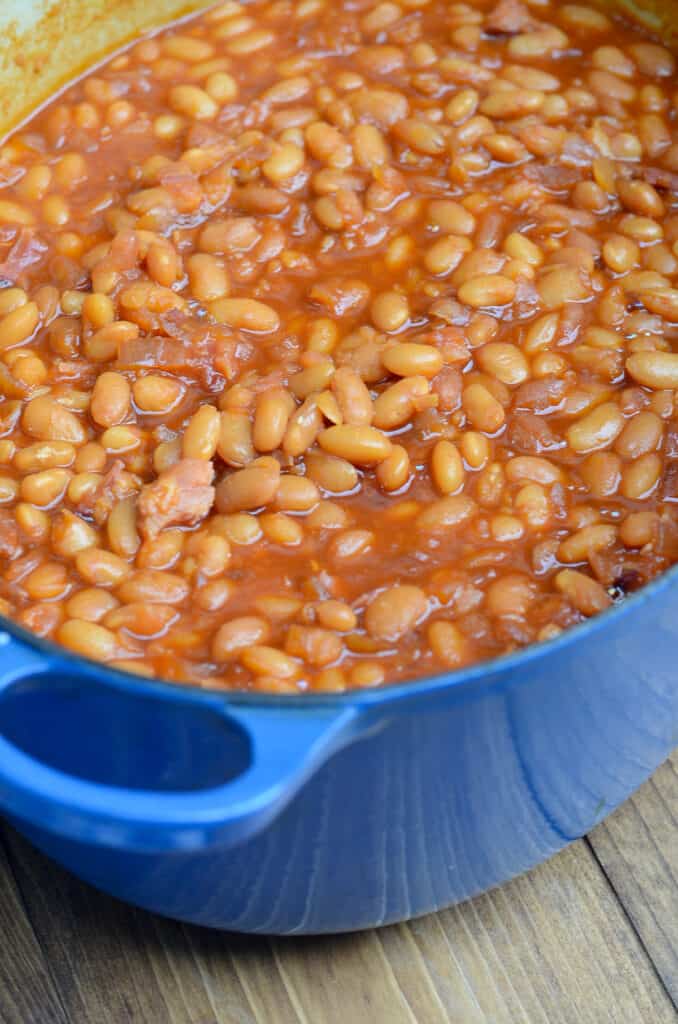
- Great Northern Beans: Slightly larger than navy beans with a similar creamy texture. These are the beans pictured in this post.
- Pink Beans: A lesser-known but excellent option. They’re similar to pinto beans in flavor and texture and work beautifully in this recipe.
- Brown sugar: Light or dark brown sugar will work, but dark brown sugar adds a deeper molasses flavor if you want a richer result.
- Molasses: Use regular unsulphured molasses (like Grandma’s Original). Avoid blackstrap molasses—it’s too bitter for baked beans.
- Dijon mustard: Adds a subtle tang and helps balance the sweetness.
- Apple cider vinegar: A touch of acidity brightens the flavor and rounds everything out.
- Ham bone or bacon: Use one or the other—not both. A meaty ham bone adds smoky depth and richness. If you don’t have one, crumbled cooked bacon is a great substitute.
How to Make Baked Beans From Scratch
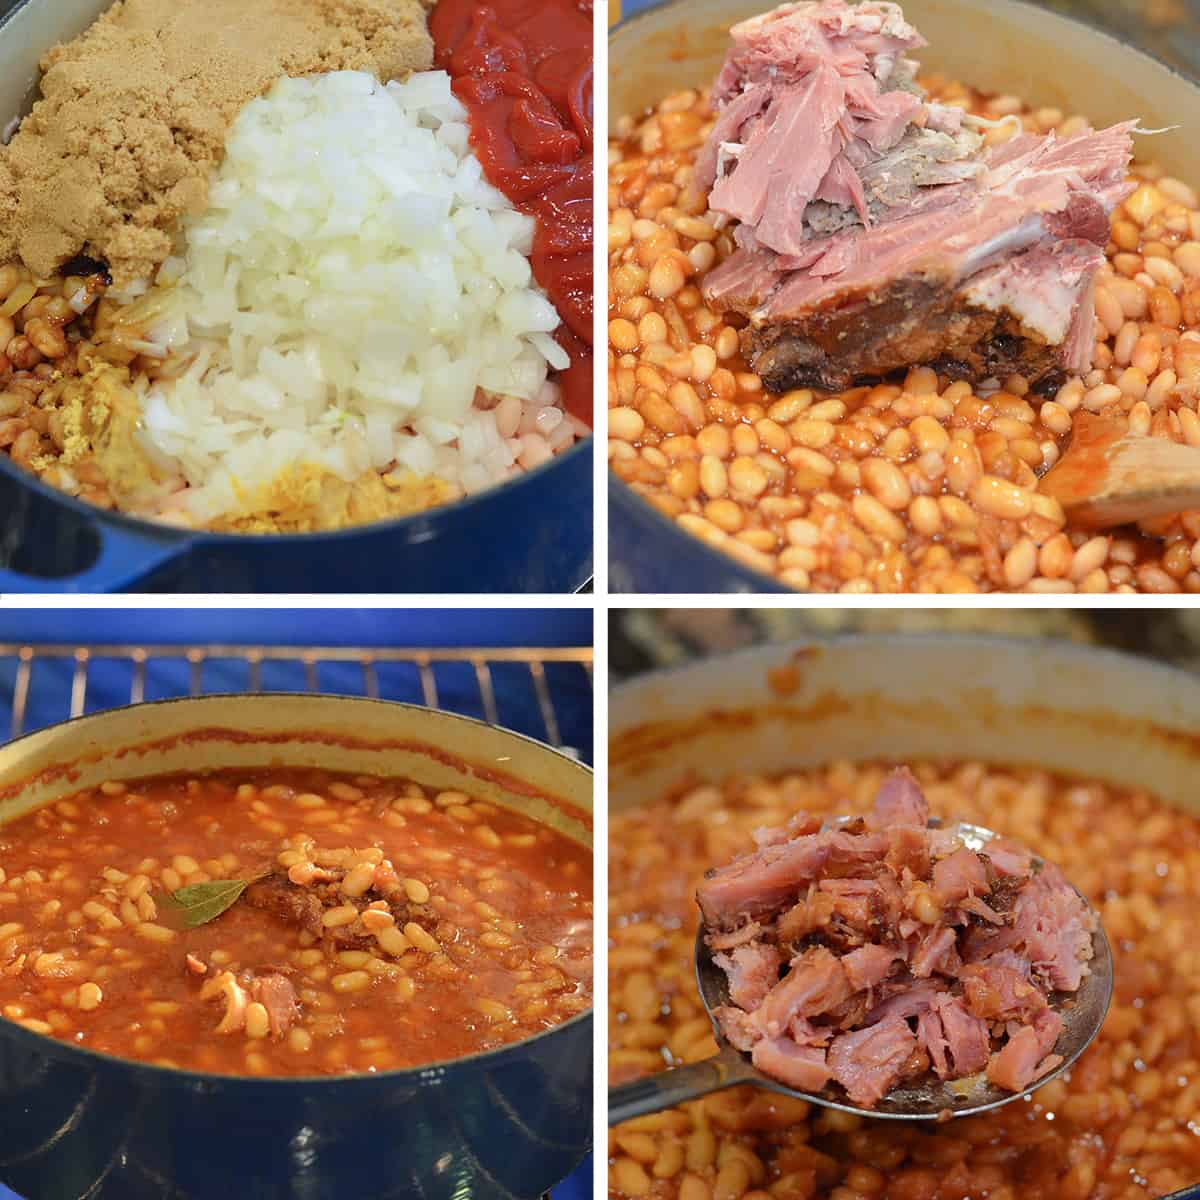
- Soak and simmer the beans. Use the overnight or quick soak method (see below for details), then simmer until the beans are just tender. Drain and reserve the cooking liquid.
- Combine ingredients. Add the beans back to the pot along with the onion, ketchup, molasses, Dijon, brown sugar, vinegar, salt, pepper, and 1 cup of the reserved liquid. Tuck in a ham bone (if using) and add a bay leaf.
- Bake low and slow. Cover and bake at 300 degrees F for 4½ to 5 hours, stirring occasionally. Add more reserved liquid during baking if the mixture looks dry.
- Finish and serve. Discard the bay leaf. If using a ham bone, remove it, shred any meat, and stir it back into the beans. Discard the bone and any excess fat. Taste and adjust seasoning as needed.
Overnight Soak: Rinse and sort the beans, then cover them with water in a large Dutch oven (about 2 inches above the beans). Cover and let them soak overnight. The next day, drain, add fresh water, and simmer for about an hour until just tender. Don’t forget to reserve the cooking liquid!
Quick Soak: Short on time? Rinse and sort the beans, bring them to a boil in a pot of water, then let them simmer for 3 minutes. Turn off the heat and let them sit for an hour. Drain, refill with fresh water, and simmer for 30 to 60 minutes until they start to soften. Again, reserve the liquid—it adds great flavor later on.
Tips for the Best Homemade Baked Beans
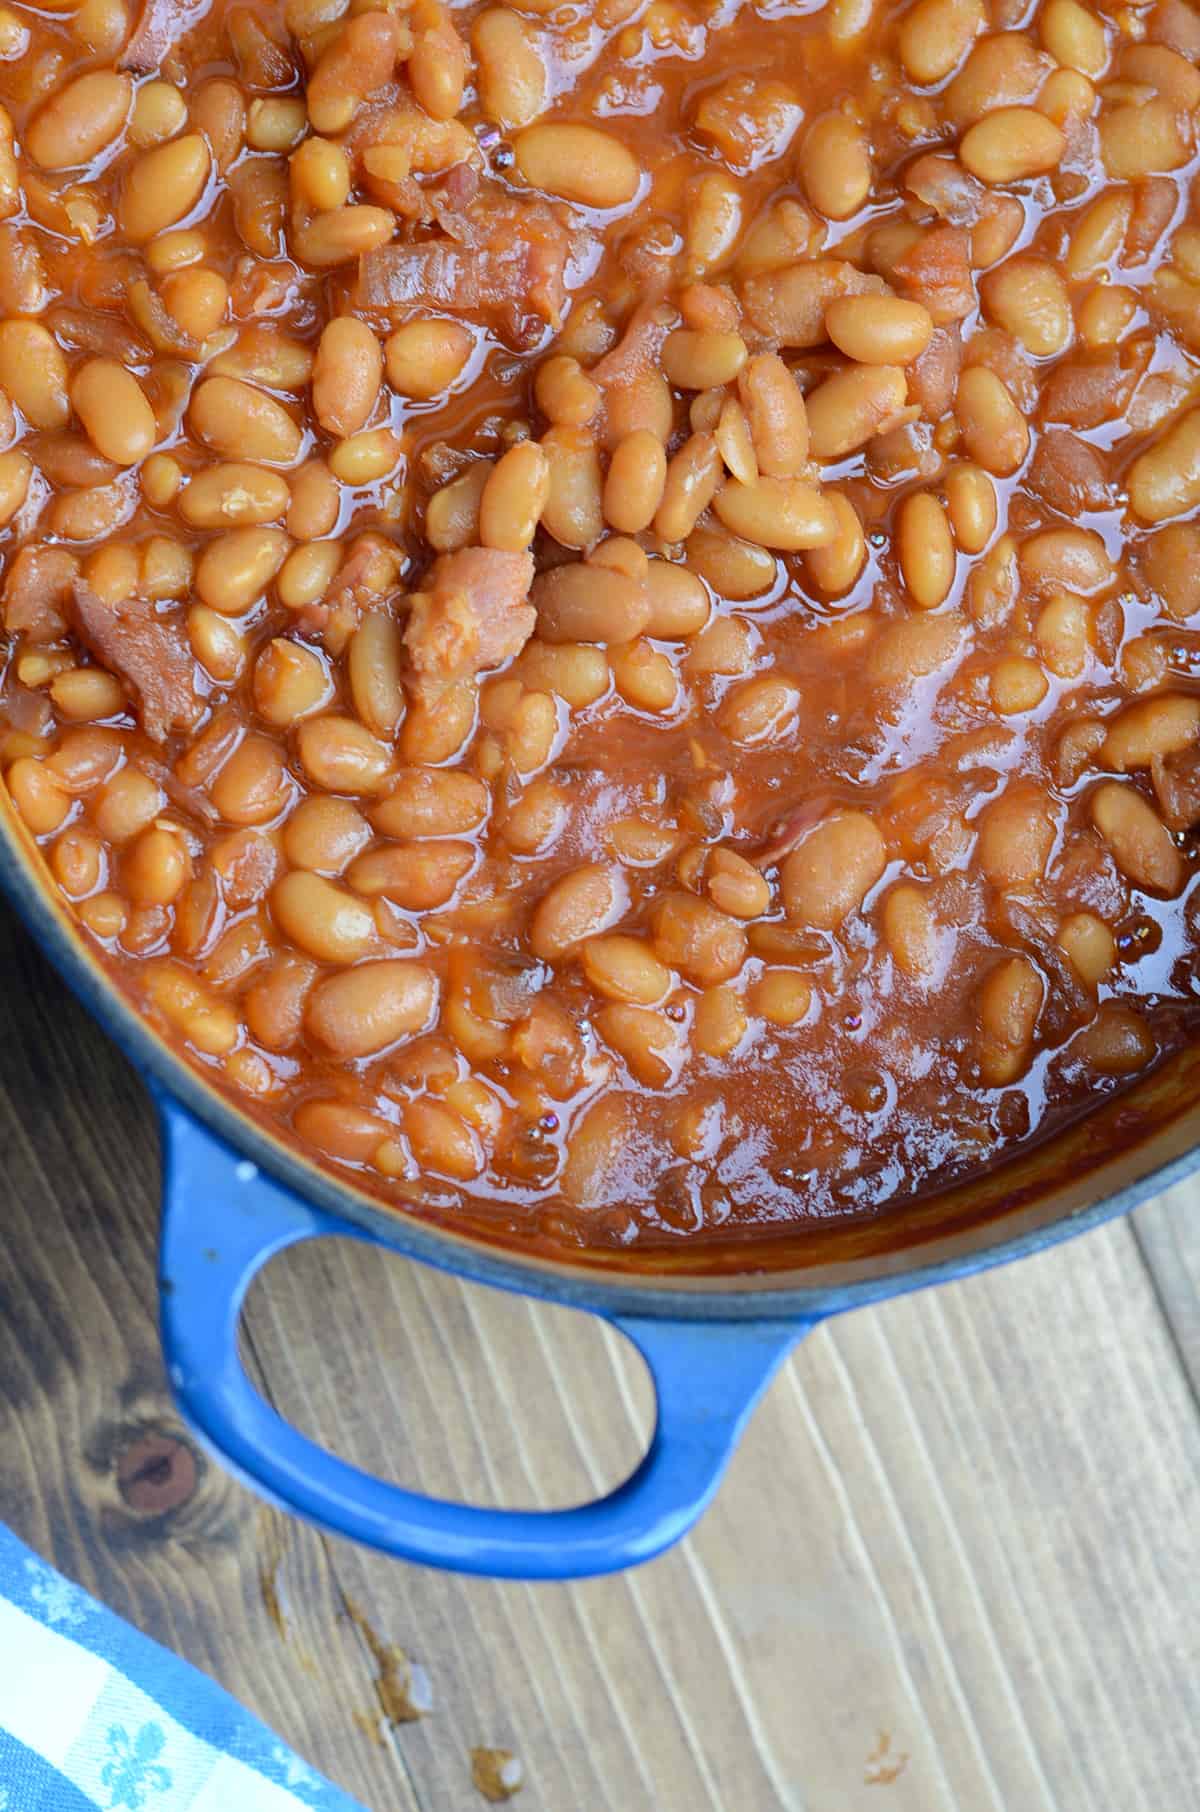
Reserve the cooking liquid: Reserving the water that the beans cooked in is a tip that I learned from my mom. The starchy water creates sauce with the best texture and flavor. Be careful not to add too much to avoid ending up with soupy baked beans. The sauce should be thick and cling to the beans.
Sweetness: How sweet or not sweet you like your beans is a very personal matter. Adjust the amount of sugar called for in the recipe to suit your taste. Then, taste and adjust the seasonings as needed before serving. You may need to add more salt, sweetness, or an extra splash of vinegar to suit your preferences.
Ham bone: To keep your the ham bone from your holiday ham nice and fresh until you are ready to use it, wrap the ham bone with meat attached tightly with plastic wrap and then with heavy duty foil or, even better, vacuum seal it. Pop it in the freezer and next time you’re ready to cook some beans, just thaw it out and you’re ready to go.
Substitutions: If you don’t have a leftover ham bone, you can substitute a ham hock purchased at the grocery store. Or omit it altogether and use cooked, crumbled bacon or a chopped ham steak for a meaty bite.
Stir occasionally: Stir the baked beans occasionally during cooking to prevent sticking and ensure even cooking.
Rest before serving: Allow the baked beans to rest for a few minutes before serving, as this will help the flavors to settle and meld even further and the sauce will continue to thicken slightly.
Storage and Reheating Tips
- Refrigerate: Transfer the cooled beans to an airtight container and refrigerate for up to 3 to 4 days.
- Freeze: When I made this batch, I doubled the recipe and used my vacuum sealer to seal up individual packets of the leftovers. No vacuum sealer? Just transfer them to any freezer-safe container, like plastic storage bags, and freeze them for up to 3 months.
- Reheating: Baked beans reheat well from the fridge or freezer. If frozen, let them thaw in the fridge overnight or run under warm water to loosen the container. Then, warm gently in a pot on the stove or in the microwave, adding a splash of water if needed to loosen the sauce.
More Bean Recipes You’ll Love
To learn how to pressure cook your beans to perfection, check out my recipe for Instant Pot Baked Beans and Instant Pot Mexican Pinto Beans.
My Calico Beans and Spicy Baked Beans are quick and easy canned bean recipes that I turn to over and over again for summer potlucks. Kielbasa Baked Beans are a hearty side dish or spoon them over rice for a delicious meal!
Sign up for my free newsletter for all the latest recipes and join me on Facebook, Instagram and Pinterest for more cooking inspiration!
Baked Beans from Scratch
Ingredients
- 1 pound package dry great northern, navy, or pink beans
- Lots of water
- 1 medium yellow onion, chopped
- 1 cup ketchup
- ⅓ cup brown sugar, packed (see notes below)
- ⅓ cup molasses
- 1 tablespoon Dijon mustard
- 1 tablespoon apple cider vinegar
- 1 ½ teaspoons salt, plus additional if desired
- 1 teaspoon freshly ground black pepper, plus additional if desired
- 1 bay leaf
- 1 meaty ham bone, omit if using bacon (see notes below)
- 4 slices thick-sliced bacon, cooked and crumbled (omit for ham bone)
Instructions
Overnight Soak Method
- Rinse and pick through beans removing any small pebbles or debris. Transfer beans to a large pot and pour in enough water to cover by about 2-inches. Cover the pot and let the beans soak overnight.
- The next day, drain the beans and cover with the same amount of fresh water. Bring to a boil, then reduce heat to low, cover the pot, and let simmer for 1 hour. Drain beans, reserving liquid.
Quick Soak Method
- Rinse and sort through the beans, place them in a large pot, and add enough water to cover them by about 2-inches. Bring to a boil then reduce the heat and simmer for 3 minutes. Remove from heat and let the beans stand for 1 hour. Drain and rinse the beans and return them to the pot. Add the same amount of fresh water and bring it to a boil once more. Then, reduce the heat and simmer for 30 to 60 minutes, or until the beans are beginning to get tender. Drain and reserve the cooking liquid.
To Cook The Soaked Beans
- Preheat oven to 300 degrees F.
- In a large oven safe pot, Dutch oven or baking dish, combine the soaked beans, 1 cup cooking liquid, onion, ketchup, brown sugar, molasses, mustard, apple cider vinegar, salt, pepper, bay leaf, and bacon (only add bacon if not using ham bone). Mix well. If using ham bone, tuck it into the beans. Cover and bake for 4 ½ to 5 hours or until the beans are very tender and sauce has thickened to desired consistency. Stir occasionally and add more of the reserved cooking liquid if needed during the cooking time.
- At end of cooking time remove and discard bay leaf. Transfer the ham bone (if using) to a cutting board and pull off any good meat with a fork and return it to the beans. Discard the bone and fatty meat. Taste beans adjust seasonings, if needed.
Notes
- Refrigerate: Transfer the cooled beans to an airtight container and refrigerate for up to 3 to 4 days.
- Freeze: When I made this batch, I doubled the recipe and used my vacuum sealer to seal up individual packets of the leftovers. No vacuum sealer? Just transfer them to any freezer-safe container, like plastic storage bags, and freeze them for up to 3 months.
- Reheating: Baked beans reheat well from the fridge or freezer. If frozen, let them thaw in the fridge overnight or run under warm water to loosen the container. Then, warm gently in a pot on the stove or in the microwave, adding a splash of water if needed to loosen the sauce.
Nutrition
Nutrition information is automatically calculated using generic ingredients, and is an estimate not a guarantee. For more accurate results, please refer to the labels on your ingredients at home.
Like this? Please rate & comment below!


made these for the first time and they came out perfect. my boyfriend, who is a baked bean fanatic, told me these were the best beans he’s ever had!! thank you
I love hearing this! Thanks, Lori. 🙂
Far to little liquid at 1 cup. Beans were burn in an hour when I checked to add more water. Had to start over with 4 cups of water instead of one and this worked fine.
Sorry you had this issue. With such a low oven temeprature, 1 cup of liquid to begin has always worked for me, but I do check periodically and add additional liquid throughout the cooking time, as needed. I’m glad to hear you made it work for you.