A hint of peppermint adds a festive touch to these fudgy Chocolate Peppermint Crinkle Cookies. A wonderful choice for your holiday baking list.
Looking for more Christmas cookie recipes? My Italian Cookies and Chewy Iced Molasses Cookies are on my must-bake list every year!
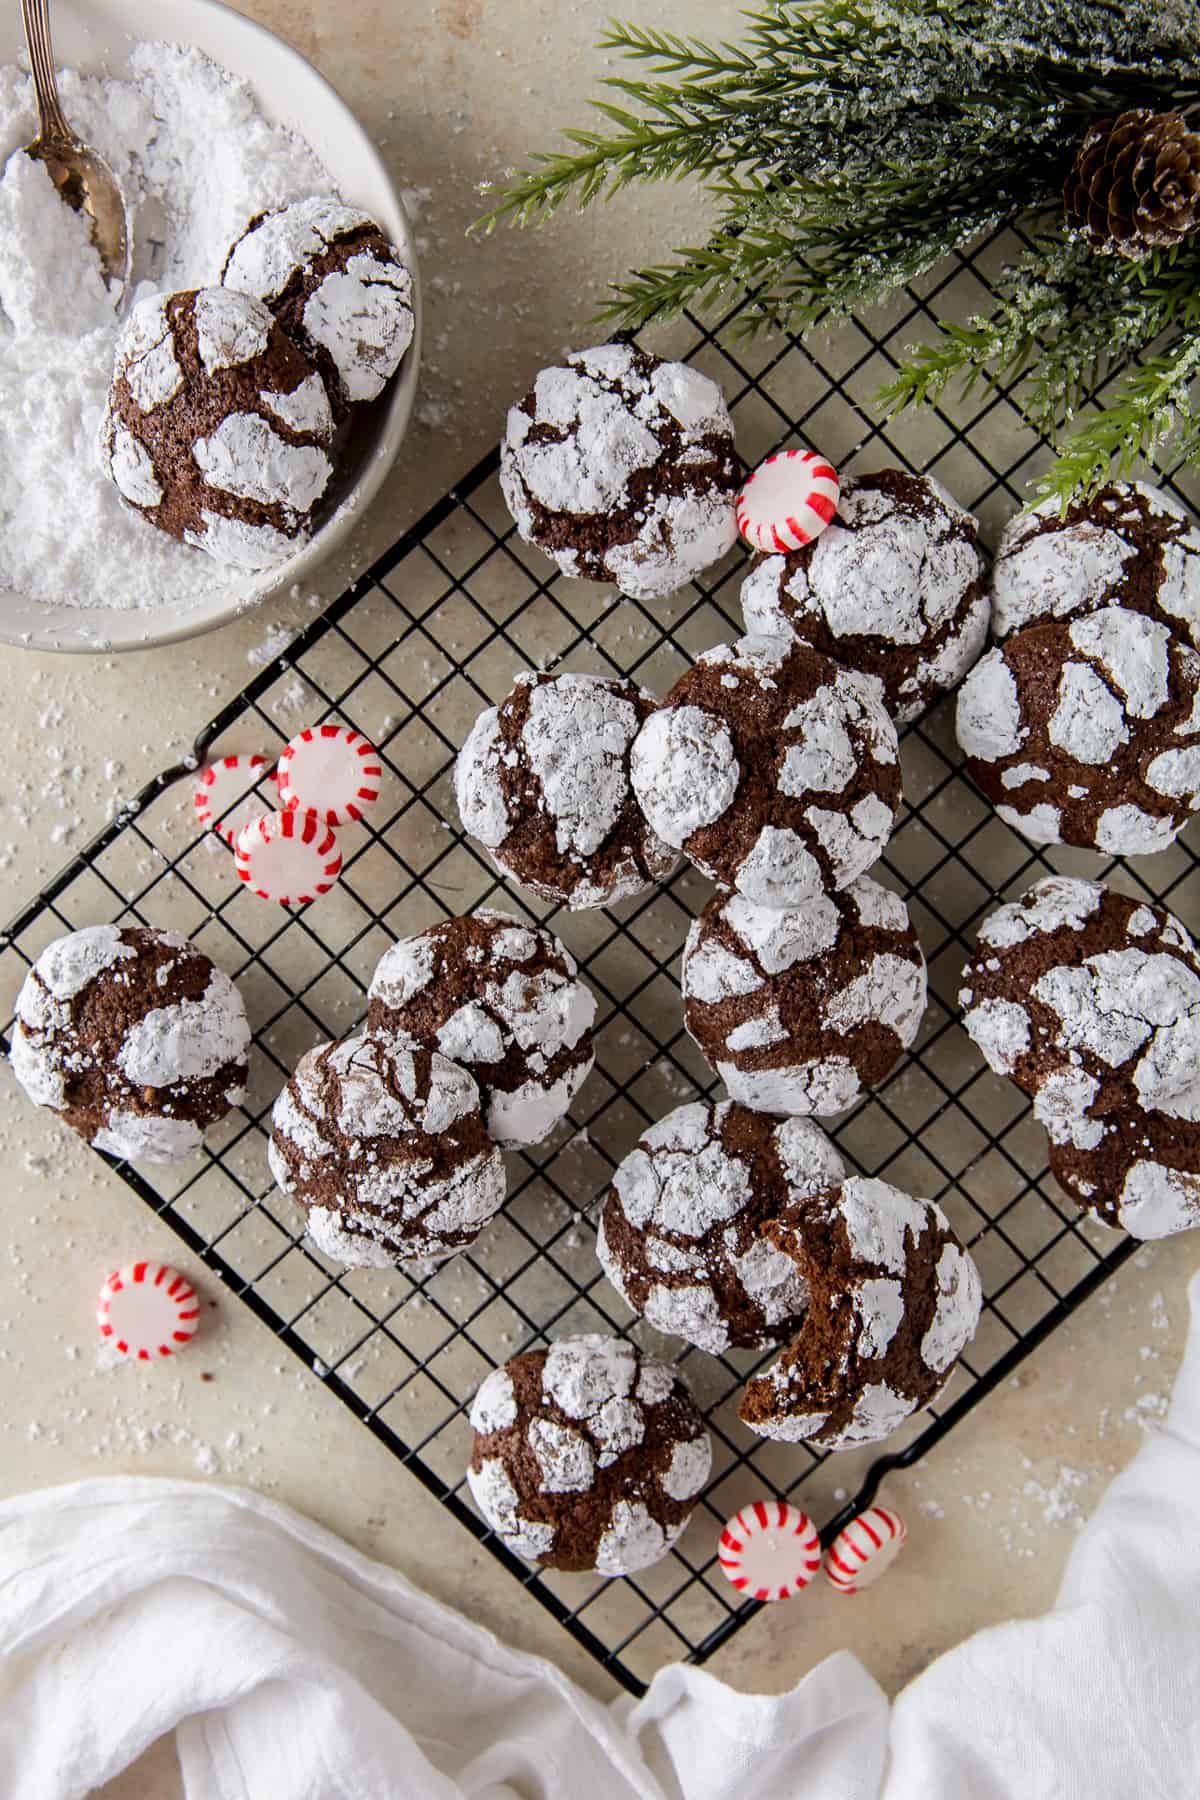
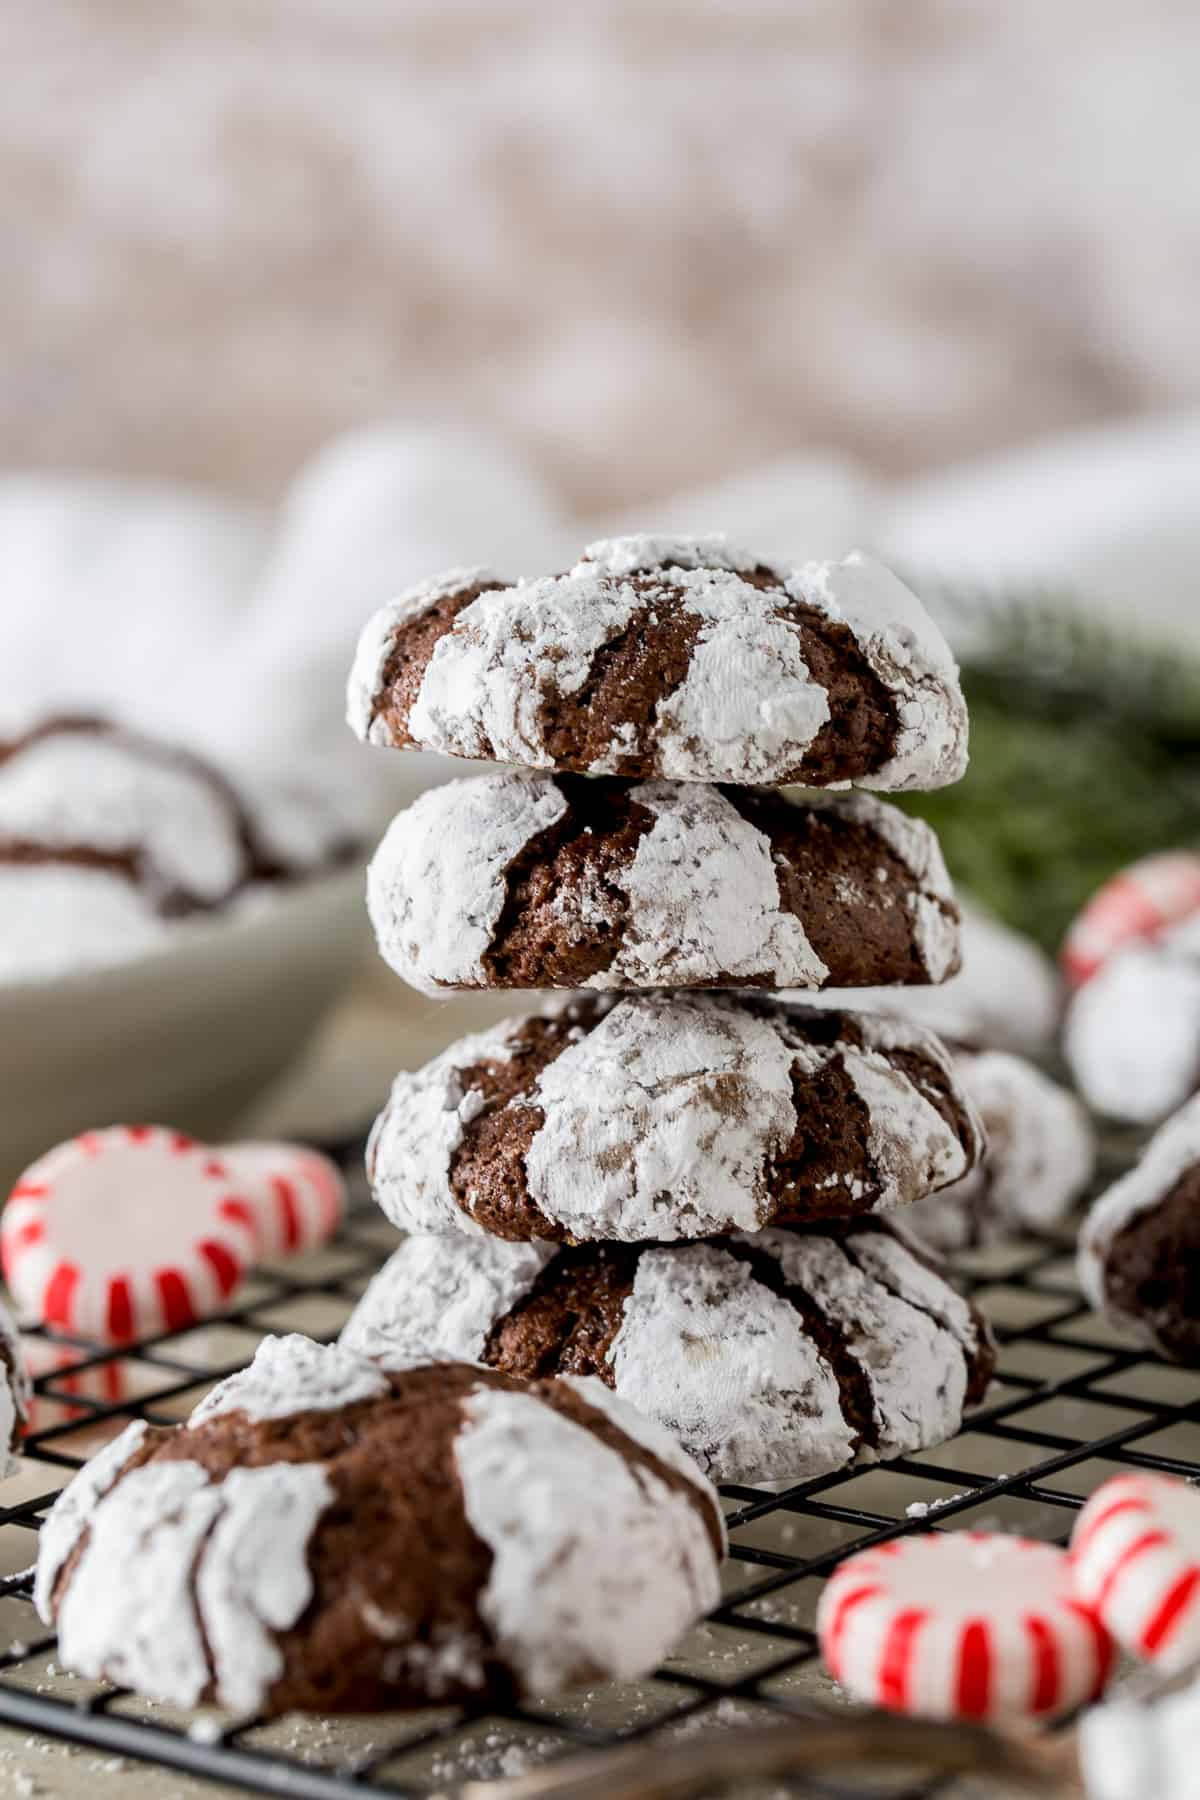
These Chocolate Peppermint Crinkle Cookies have Christmas written all over them. From their snowy crackled tops to the fudgy mint chocolate centers, they are sure to put you in the holiday mood. If you’re looking for an easy cookie to add to your holiday baking list, this is it!
Long, long ago I discovered the chocolate mint crinkles that Panera has in their bakery case at this time of year. I have no idea what I had for lunch that day but that fudgy, minty cookie had a lasting impact on me.
To satisfy my craving at home, I decided to add some peppermint extract to my beloved and very easy chocolate crinkle recipe. The result was one of the most perfect Christmas cookies ever.
Table of contents
Ingredient Notes
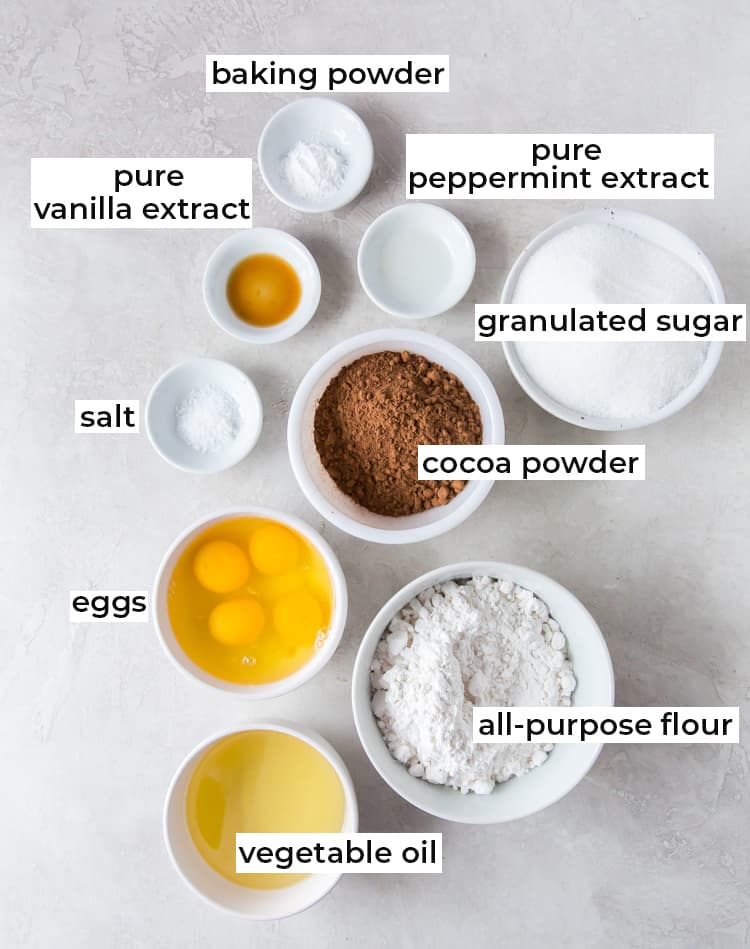
- I love baking with cocoa powder. There is no chocolate to melt which saves time and effort and it adds an exceptionally rich chocolate flavor to baked goods like these cookies and my Classic Fudge Walnut Brownies.
- For the best result, I recommend going with pure extracts, not imitation which are flavored with artificial ingredients. Pure vanilla extract gets its flavor from vanilla beans and pure peppermint extract is made with peppermint oil.
How to Make Chocolate Peppermint Crinkle Cookies
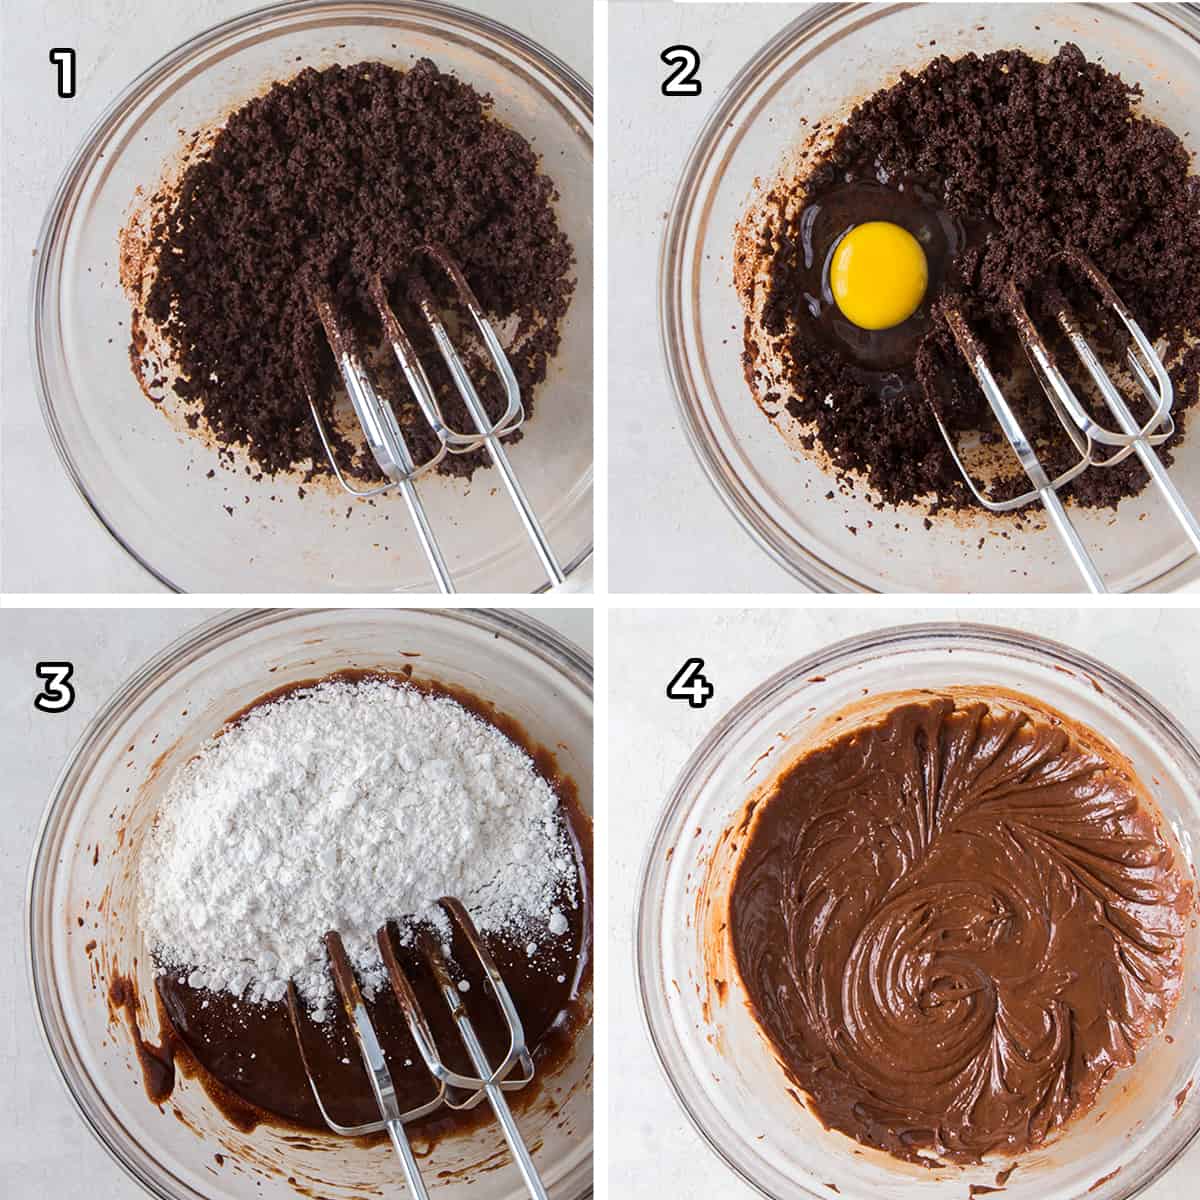
- In a large bowl, use an electric mixer to combine the cocoa, granulated sugar, and vegetable oil.
- Beat in the eggs, one at a time, then add the vanilla and peppermint extract.
- In a separate mixing bowl, whisk together the flour, baking powder, and salt. Add the dry mixture into the wet mixture and mix well. The dough will be glossy and very sticky but will be easier to manage once it has been chilled.
- Cover the bowl and chill for at least 4 hours.
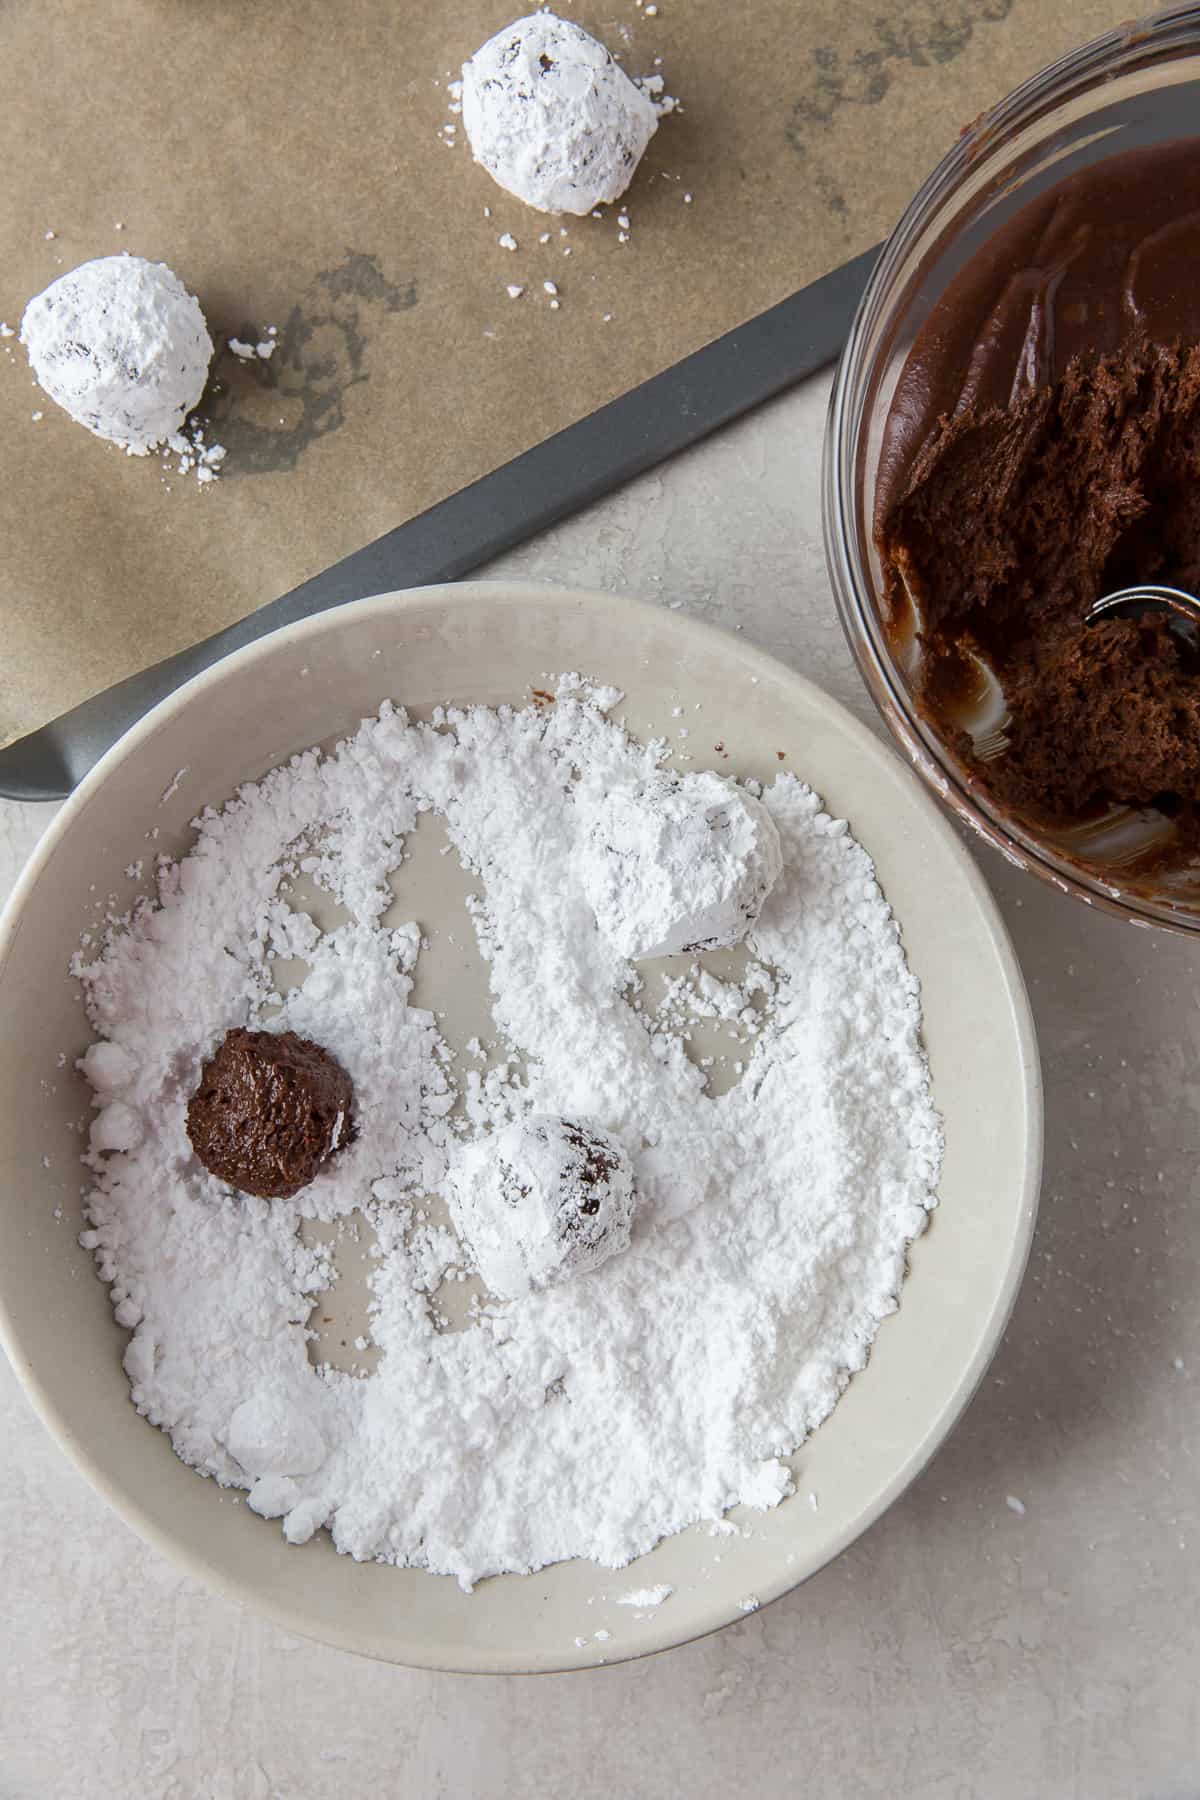
- Shape: Roll the chilled dough into 1-inch balls. You can use a small cookie scoop if you want to be sure they are uniform size but most of the time I just eyeball it. Roll them in powdered sugar in a shallow bowl to coat them well and place them on a parchment paper lined baking sheet.
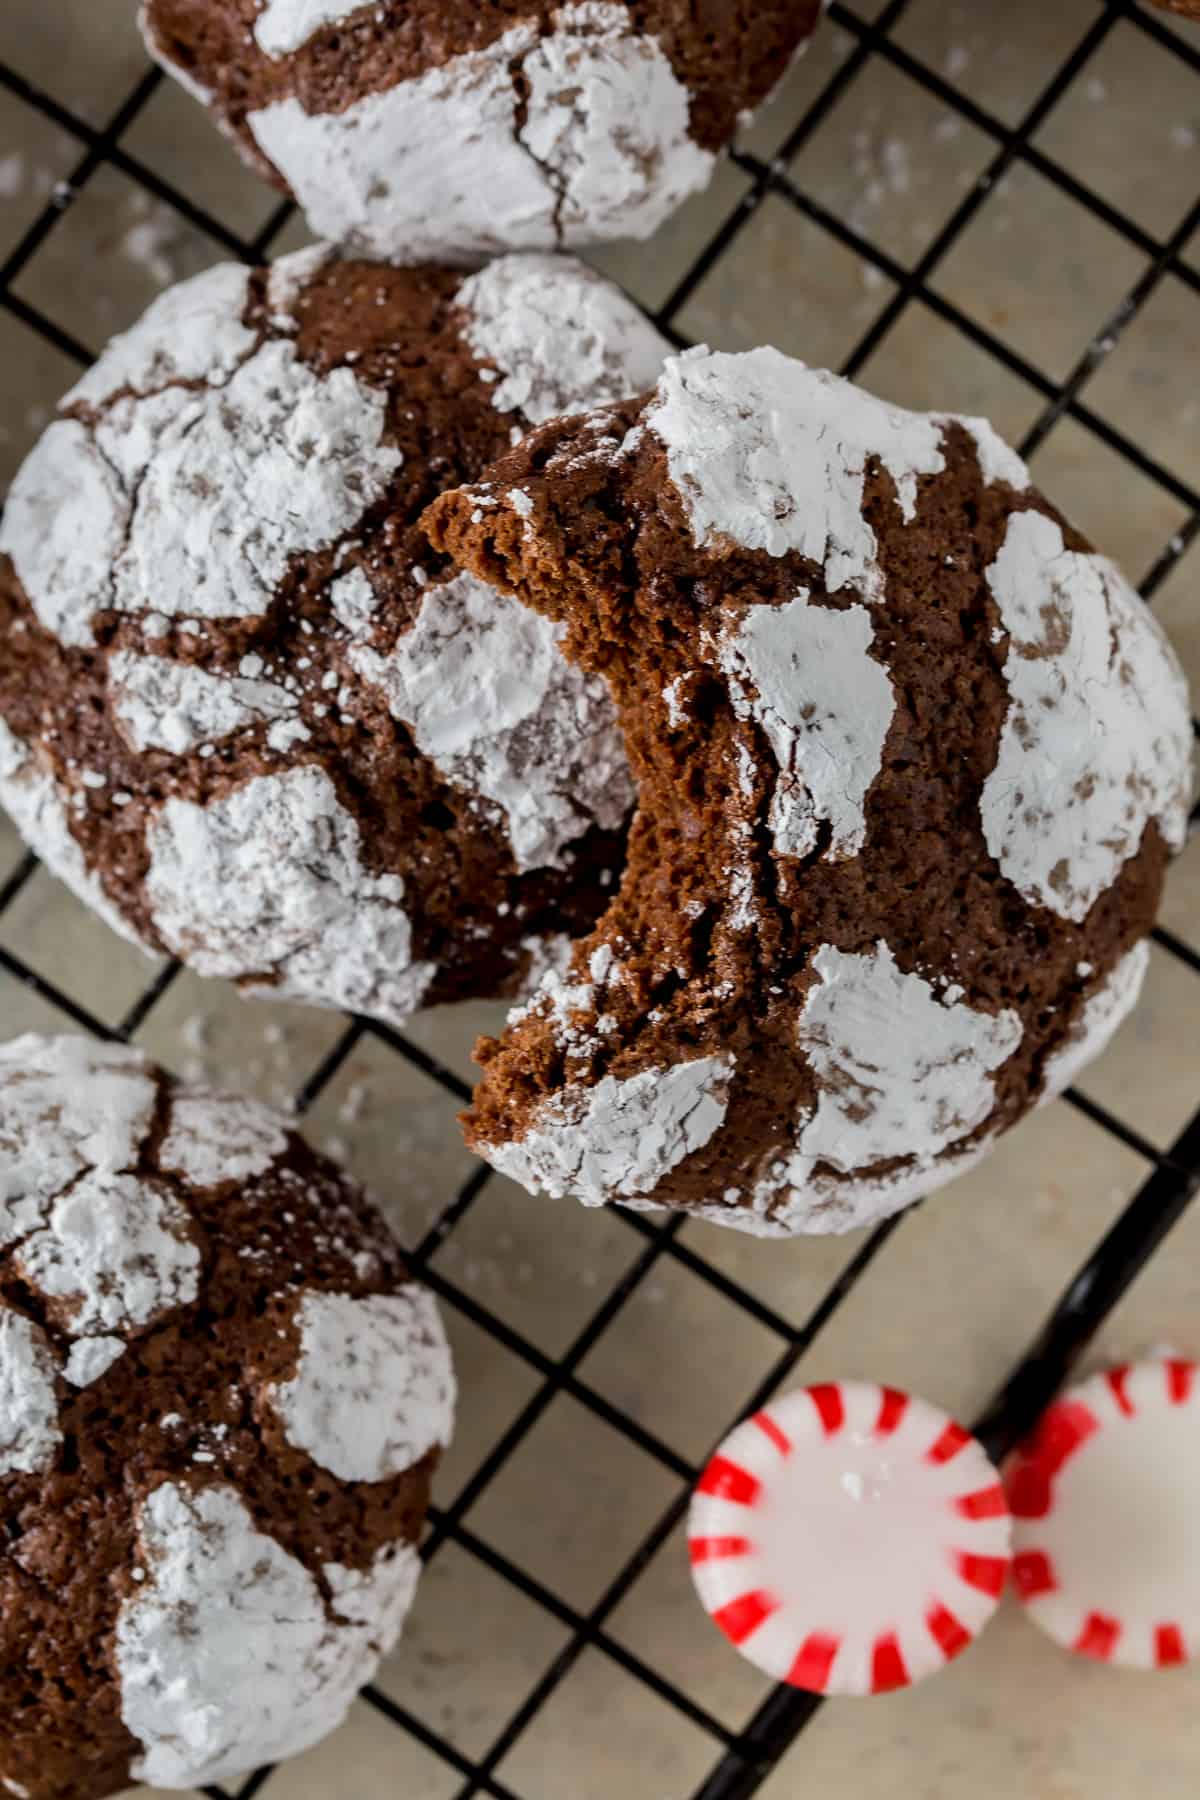
- Bake: Bake for 10 to 12 minutes, until just set. Let the cookies cool on the cookie sheet for a minute before transferring to wire racks to cool completely.
More Chocolate Recipes You’ll Love
- One Bowl Chocolate Cake
- Chocolate Bourbon Pecan Pie Bars
- Chocolate Brownie Oatmeal Cookies
- Chewy Chocolate Dipped Oatmeal Cookies
- Molten Chocolate Cakes with Sugared Raspberries
Sign up for my free newsletter for all the latest recipes and join me on Facebook, Instagram and Pinterest for more cooking inspiration!
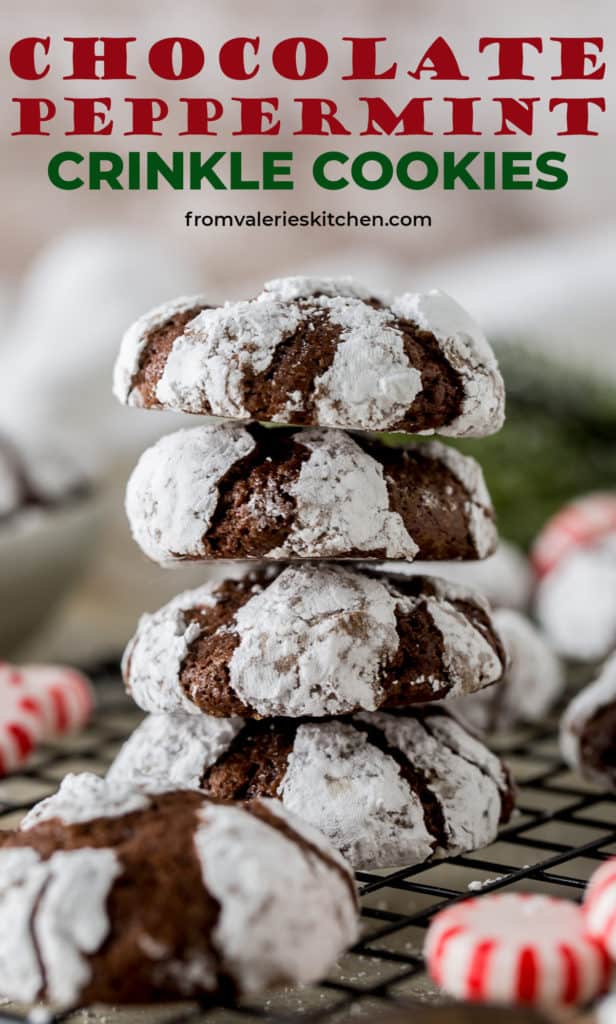
Chocolate Peppermint Crinkle Cookies
Equipment
Ingredients
- 1 cup unsweetened cocoa powder
- 2 cups granulated sugar
- ½ cup vegetable oil
- 4 eggs
- 1 teaspoon pure vanilla extract
- 1 teaspoon pure peppermint extract
- 2 cups all-purpose flour
- 2 teaspoons baking powder
- ½ teaspoon salt
- ½ cup powdered sugar
Instructions
- In a large bowl, mix together the cocoa, white sugar, and vegetable oil. Beat in the eggs, one at a time, then add the vanilla and peppermint extracts.
- In a separate mixing bowl, whisk together the flour, baking powder, and salt. Add the dry mixture into the wet mixture and mix until well combined. Cover the bowl and chill for at least 4 hours.
- Preheat oven to 350 degrees F. Line cookie sheets with parchment paper or a silicone baking mat. If not using either, coat the cookie sheets with nonstick cooking spray. Place powdered sugar into a small shallow bowl.
- Roll dough into 1-inch balls (use a #40 cookie scoop or just eyeball it). Roll the balls of dough in the powdered sugar to generously coat all sides. Transfer the coated dough to the cookie sheets and place them about 2-inches apart.
- Bake for 10 to 12 minutes until just set. Remove from the oven and allow cookies to cool on the cookie sheet for a minute before transferring to wire racks to cool.
Nutrition
Nutrition information is automatically calculated using generic ingredients, and is an estimate not a guarantee. For more accurate results, please refer to the labels on your ingredients at home.
Adapted from Allrecipes
This post was originally published on December 11, 2011. It has been updated with new text and images.









This will be a new Christmas staple!
Something is terribly wrong with these measurements. The dough was so sticky I had to add an extra cup of flour and it’s still sticky. I cannot understand how this recipe could have worked for you. I let the dough chill overnight too. Big head scratcher on this one.
Hi Joanne. The dough should be very sticky and if you look at the instructions in the post, you’ll see that I mentioned this – “The dough will be glossy and very sticky but will be easier to manage once it has been chilled.”. After chilling, just scoop it up and work it into balls with your hands. It works! I don’t recommend adding additional flour or it will ruin the wonderful texture of these cookies.
These are delicious and perfect with a glass of milk. Kind of a pain to have to chill for so long, but worth it. Definitely will make again.