
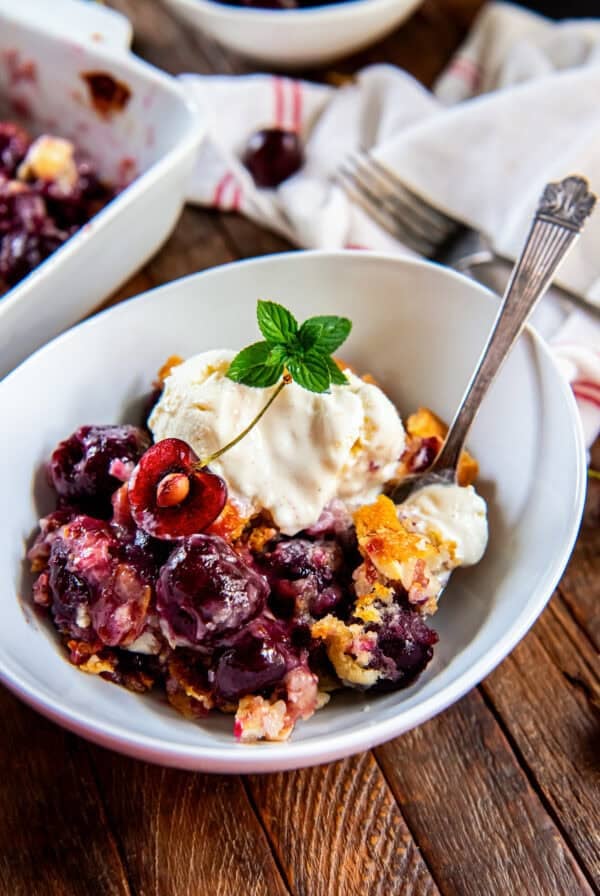
Fruit Desserts
All Desserts
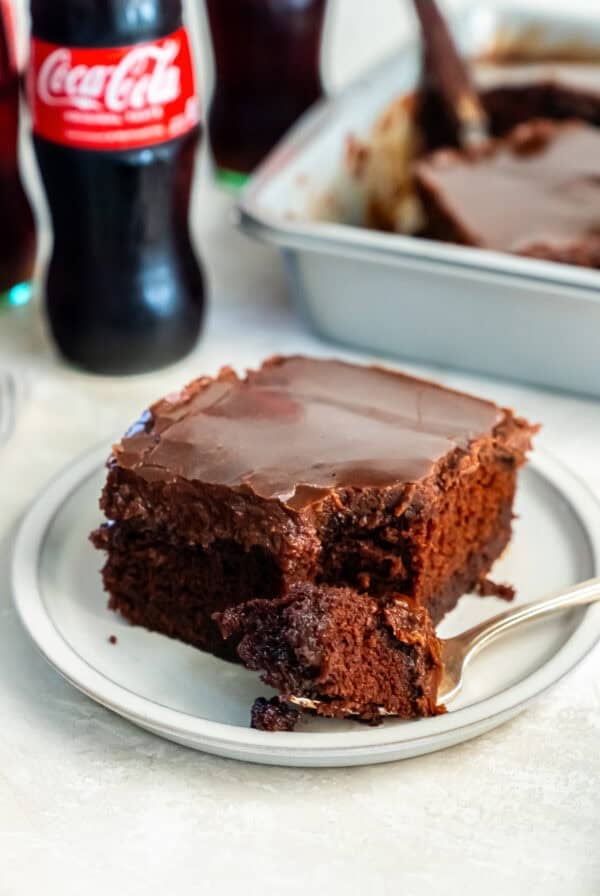
Cakes
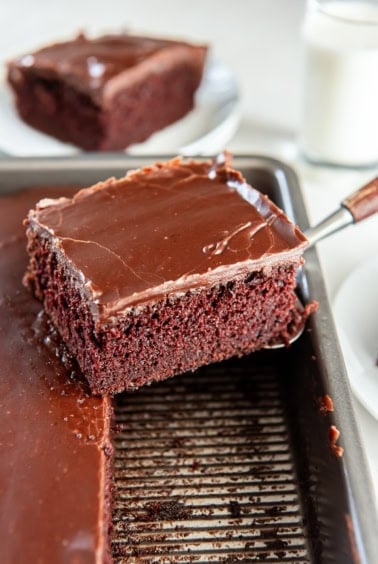
Coca-Cola Cake

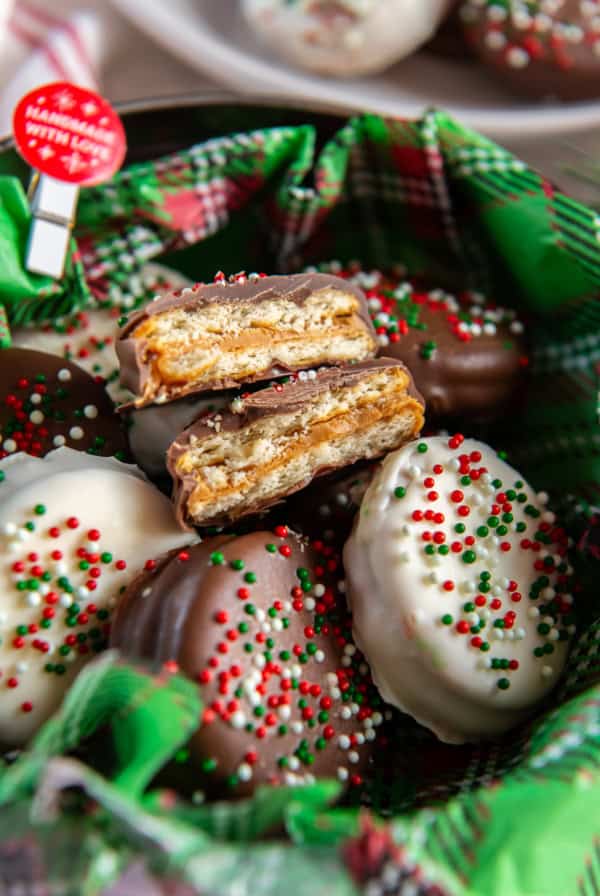
Christmas
28 Christmas Dessert Recipes
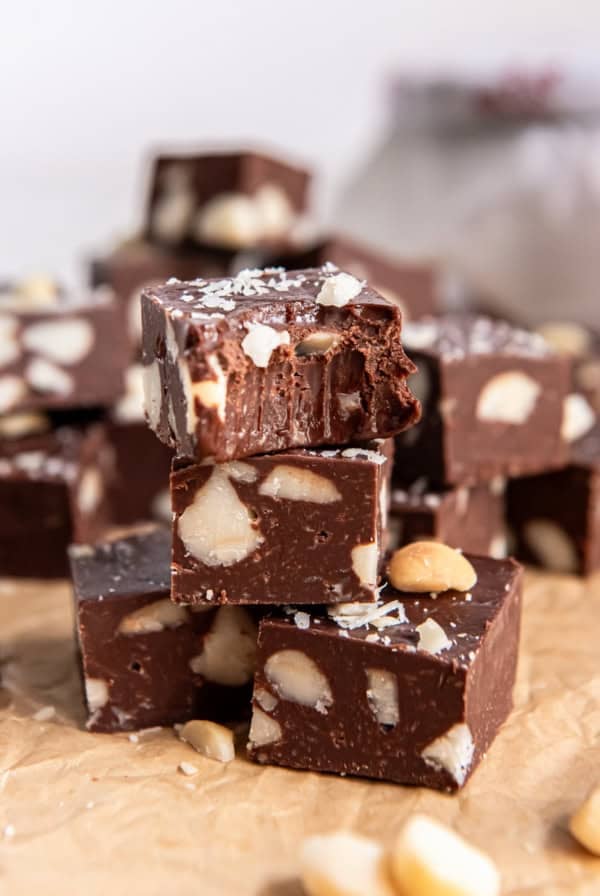
Candy
Macadamia Nut Fudge
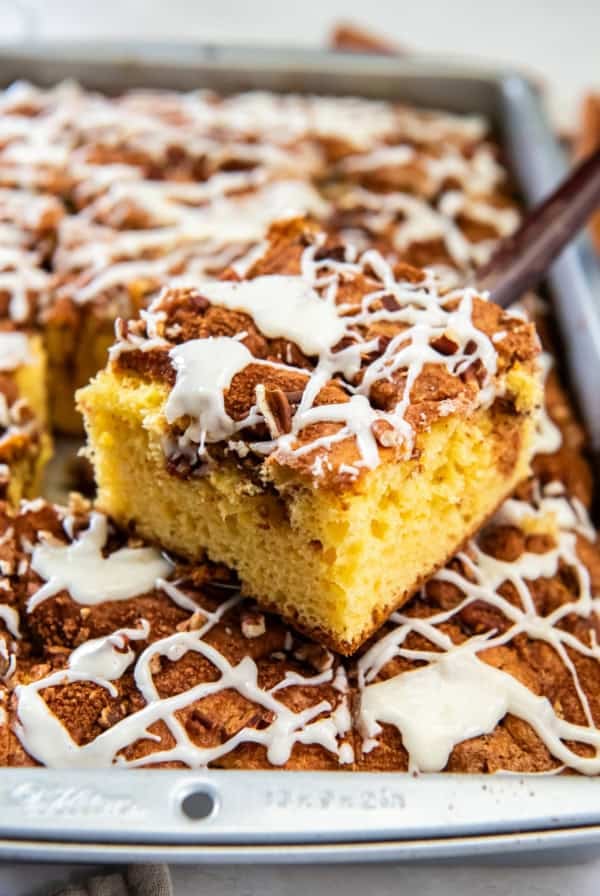
Breakfast
Cake Mix Coffee Cake
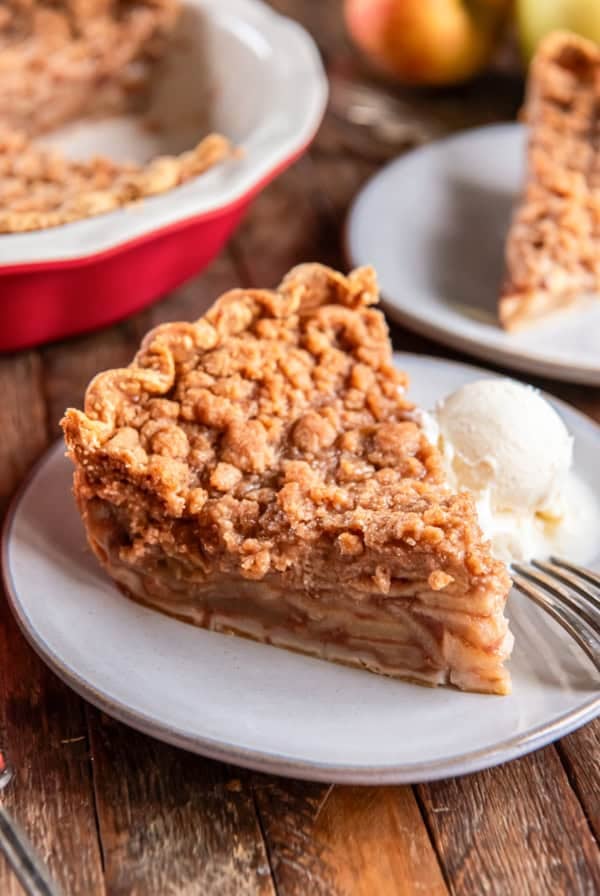
Pies and Pastries
Dutch Apple Pie
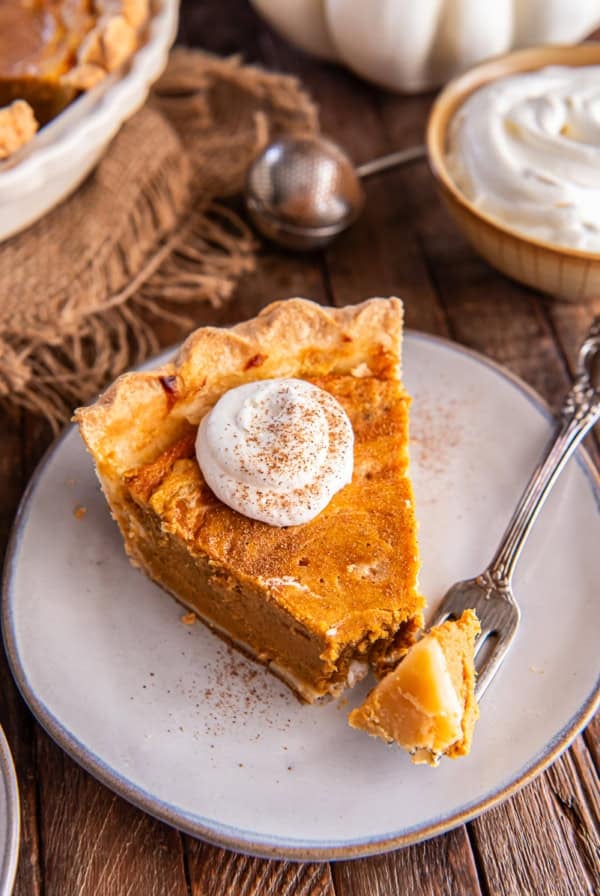
Pies and Pastries
Hazelnut Pumpkin Pie
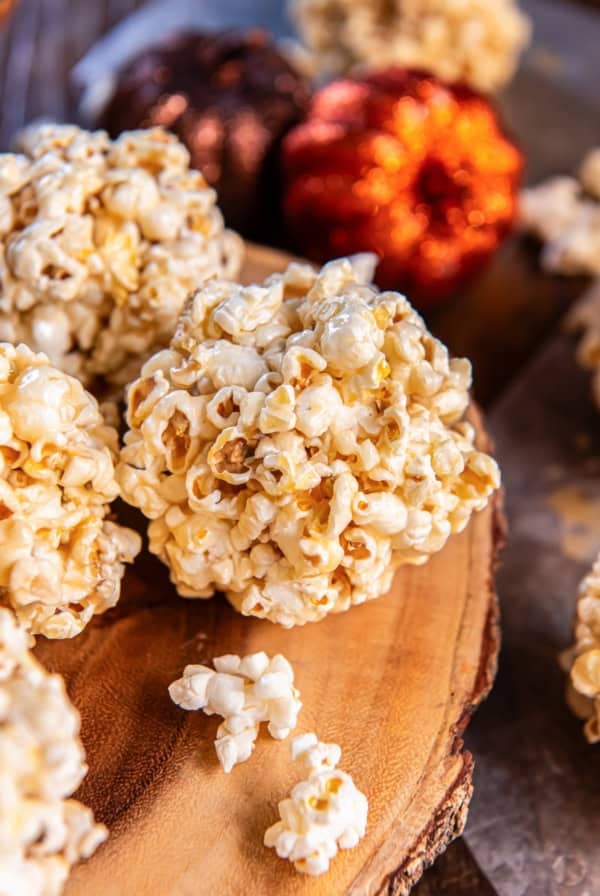
Halloween
Popcorn Balls
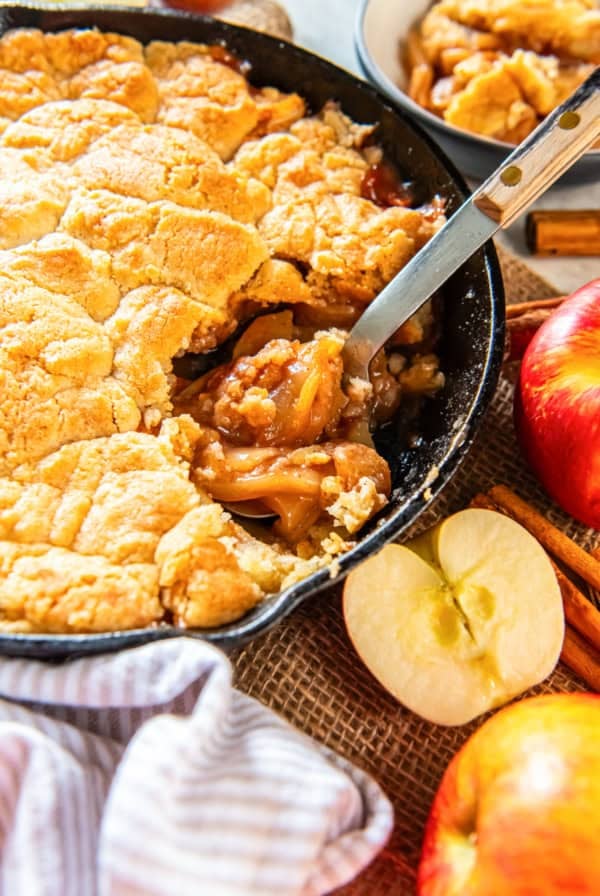
Pies and Pastries
Skillet Apple Cobbler
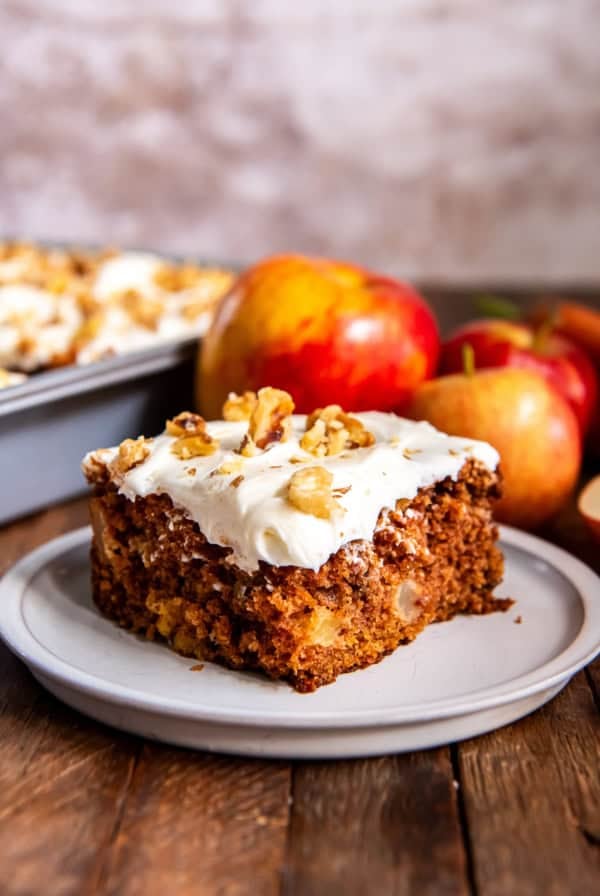
Cakes
Apple Carrot Cake
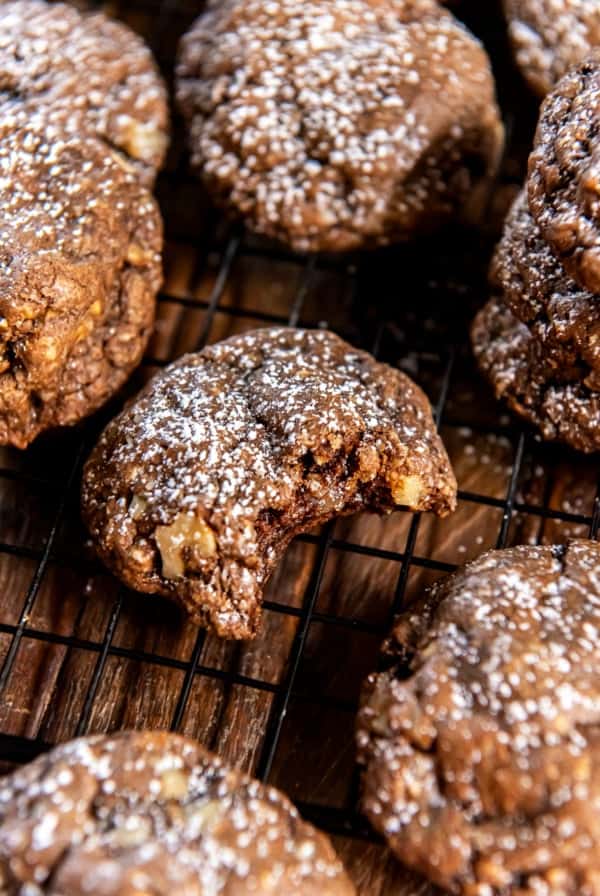
Cookies
Chocolate Oatmeal Cookies

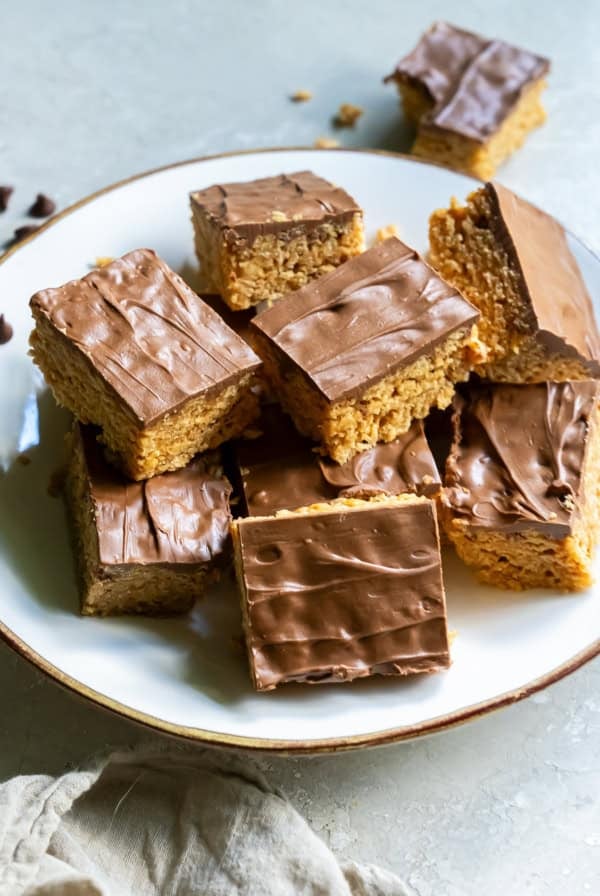
Bars + Brownies
Scotcheroos
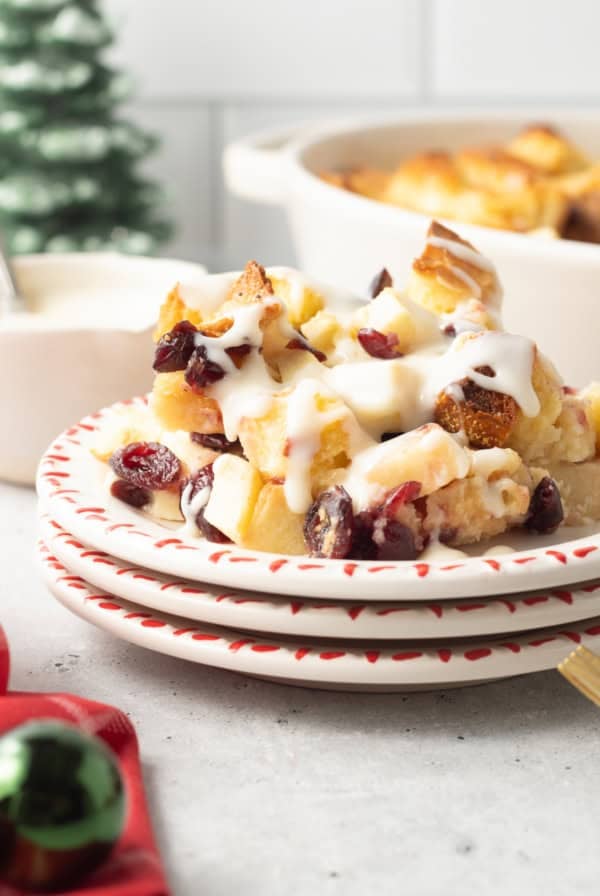
Christmas
Christmas Bread Pudding
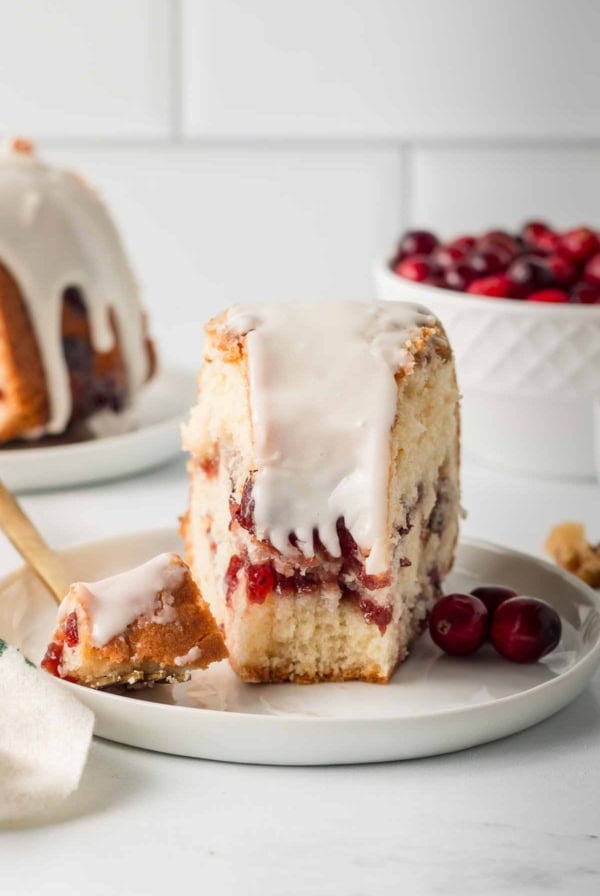
Cakes
Cranberry Bundt Cake
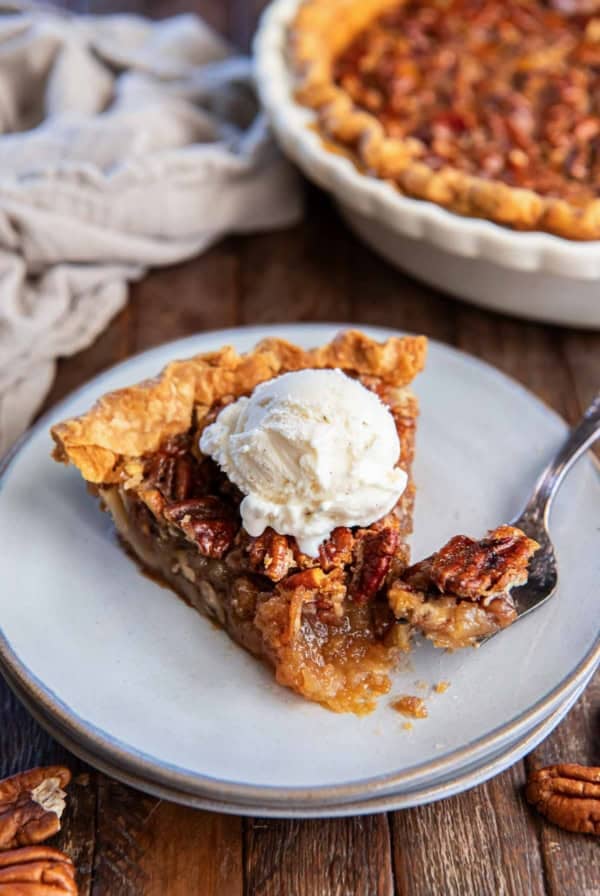
Pies and Pastries
Bourbon Pecan Pie
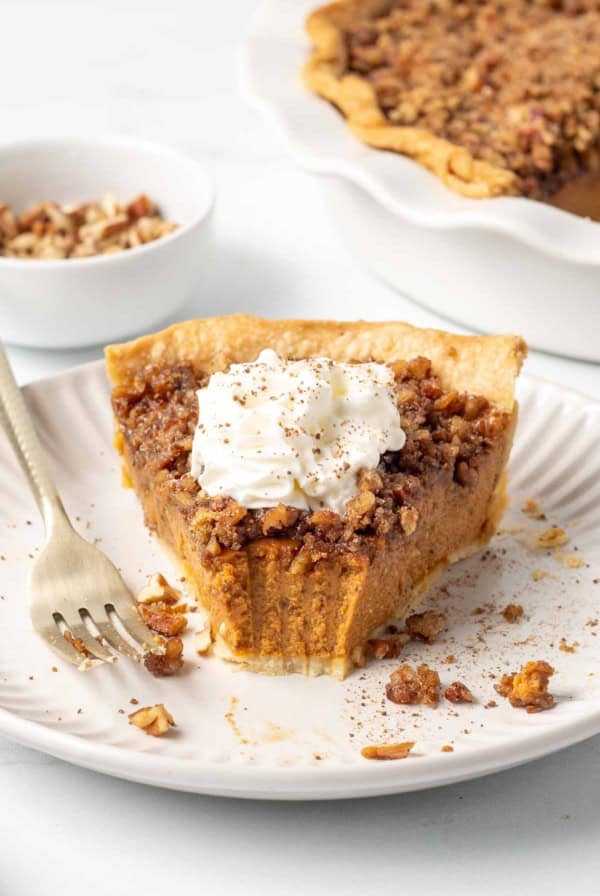
Pies and Pastries
Praline Pumpkin Pie

Nut-Free
Golden Yam Cake
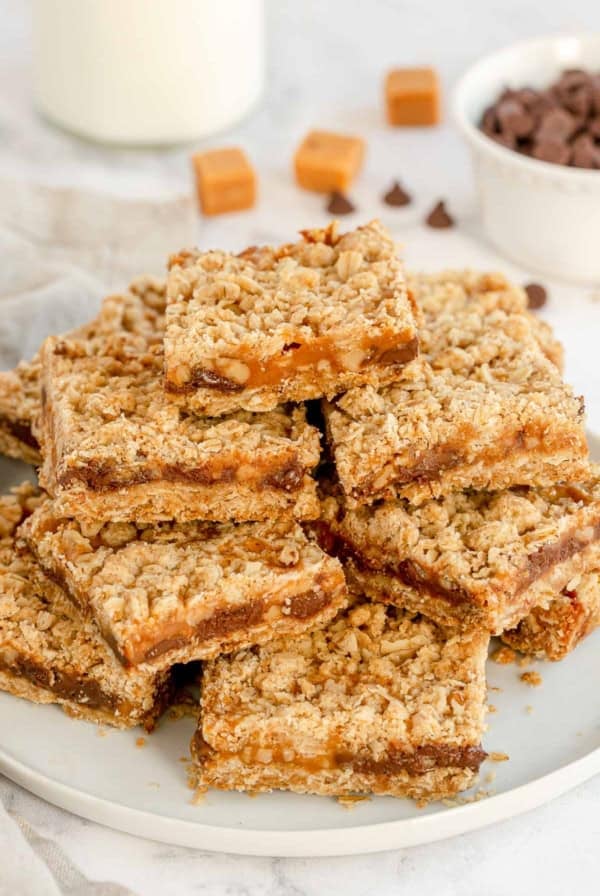
Bars + Brownies
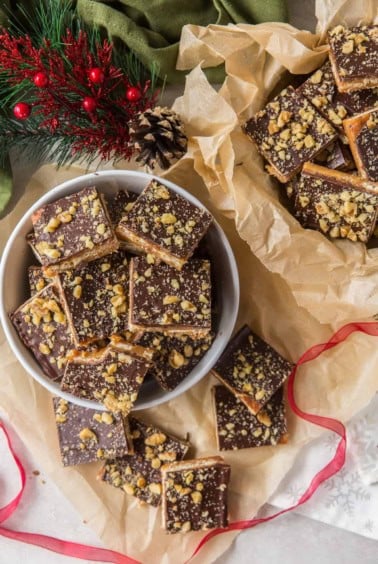
Chocolate Caramel Bars
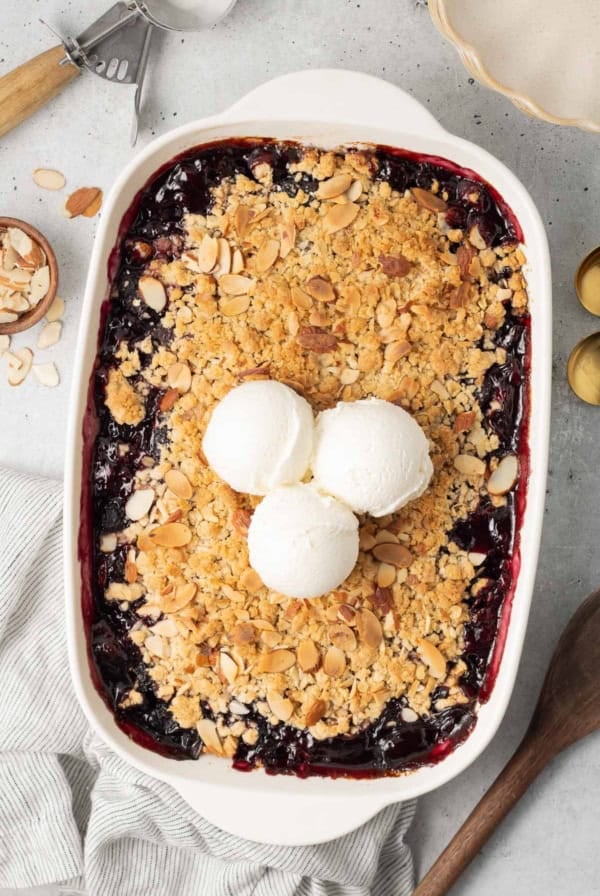
Pies and Pastries
Easy Cherry Crisp
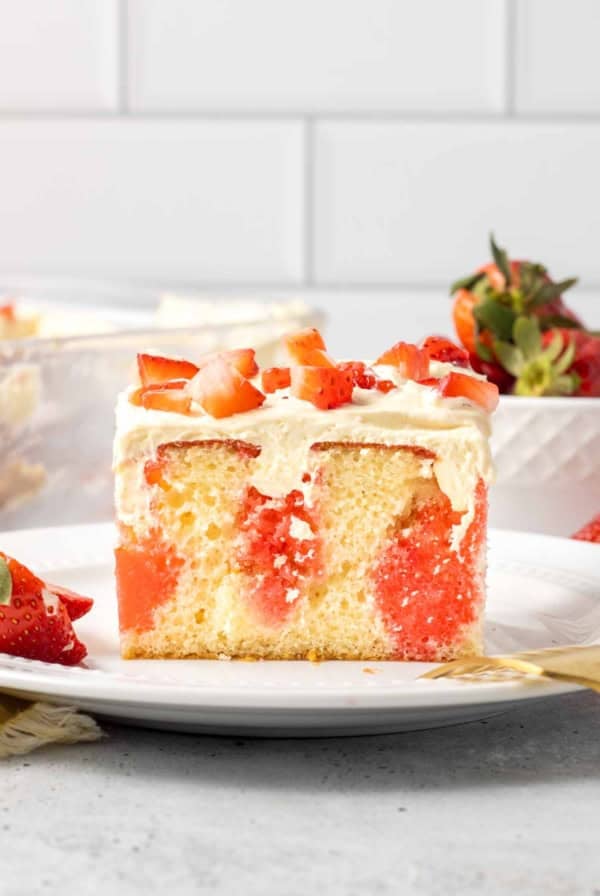
Cakes
Jello Cake
Bars + Brownies